Archive for knit/crochet

A Little Birdie Told Me

DSC00614DSC00606DSC00073-Edited

This is a free pattern found here DSC00054-Edited

The pattern is pretty easy if you have intermediate knitting skills so this is going to be a relatively short blog. I followed the knitting pattern. However, I did alter the next few steps a bit.DSC00057-Edited

Sew your birdie’s head and back closed using the mattress stitch. DSC00063-EditedStuff it full of fluff and sew up it’s bum.DSC00066-Edited

Once you’ve finished stuffing and sewing your birdie closed, use the leftover yarn to make the hanging thread. Just thread the yarn through the bird and make a tiny knot – be sure to leave a big loop. Don’t worry about making them all the same length. The varying lengths give them character. little birdie told me

I did add eye’s.. but it looks a little creepy. However, If you like them…DSC00060-Edited

I loved making these and love how they look hanging in my bedroom window. I also stuffed a few with potpourri and hung them around the house.
DSC00612

Sweet Wedding Shawl

IMG_2468
IMG_2472My husband’s step-sister, Joella Sweet is getting married in October. Although I have never officially met her, I am very fond of her and I wanted to make her something special to wear during her wedding. I thought a lace shawl would be perfect.

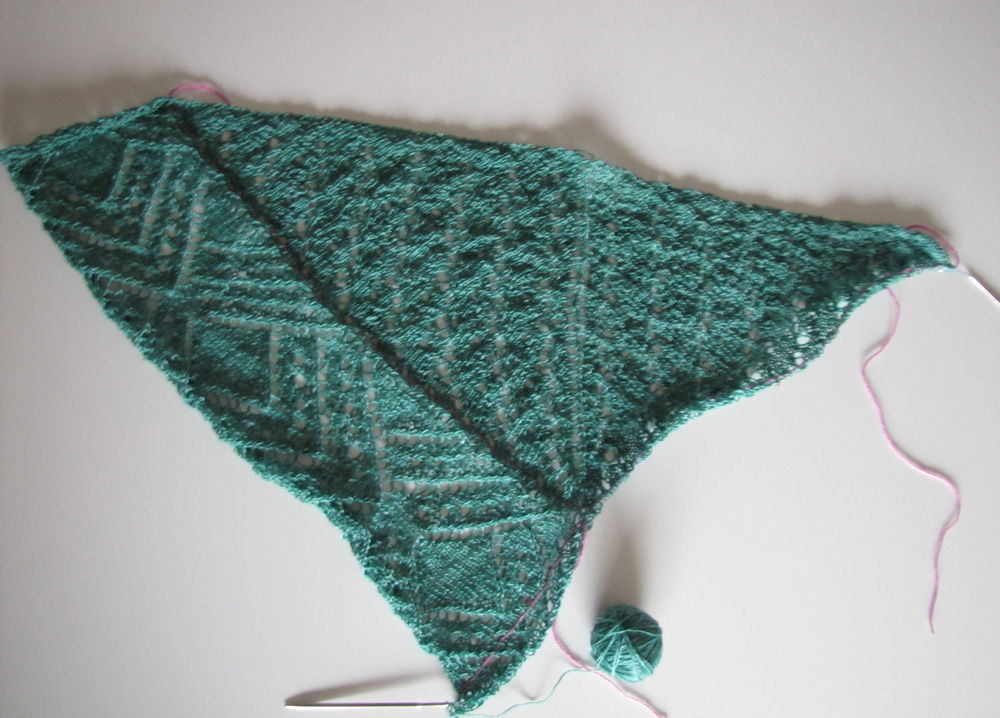
This is my first lace shawl pattern. Although I am happy with the finished product, I did find this pattern difficult to understand and very frustrating. If you decide to knit this and aren’t an experienced lace/shawl knitter, be prepared for some challenges. It took me a long time to get into the rhythm of it. If it wasn’t for the tips offered by my super-fantastic knitting group I don’t know if I would have finished it.IMG_2431

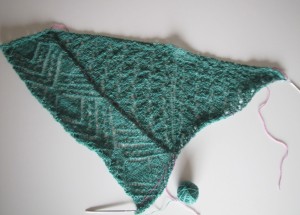
If you are new to lace knitting, I recommend that you learn how to use a lifeline. If you use ADDI click needles, they sell a lifeline tool. However, if you want a free and handy substitute you can just use a different color yarn and big needle to thread it through your stitches. There are videos on youtube that will show how to do this if you don’t have a helpful knitting group. I STRONGLY recommend that you use a lifeline when knitting shawls. All those YO’s and K2TOG are impossible to save if you drop a stitch.

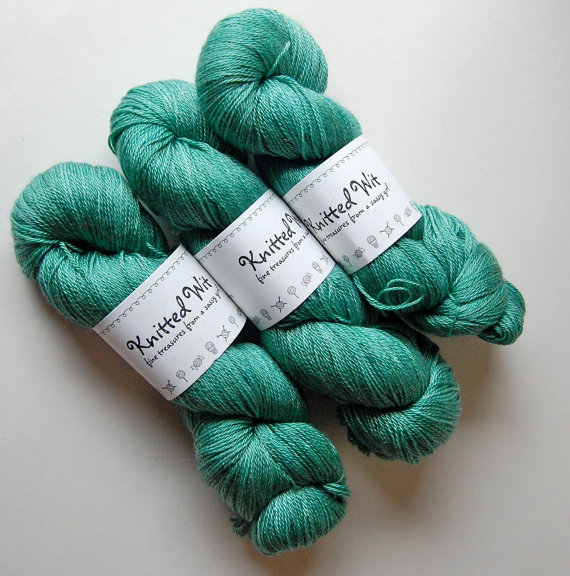
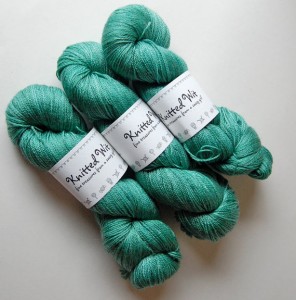
That yarn is from KnittedWit, an Etsy seller. I am a big fan of Etsy and handmade products. I was excited to buy this yarn from a “real person”. I loved this yarn and I recommend that you check out her shop. She takes custom orders and is very easy to work with.
il_570xN.404692880_ttp1

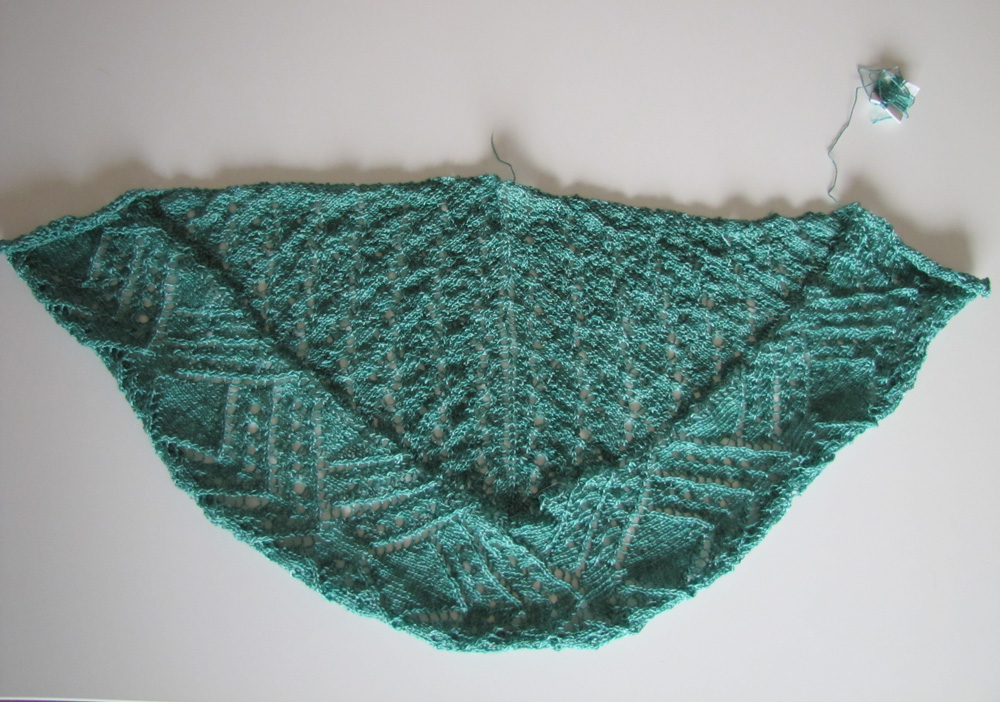
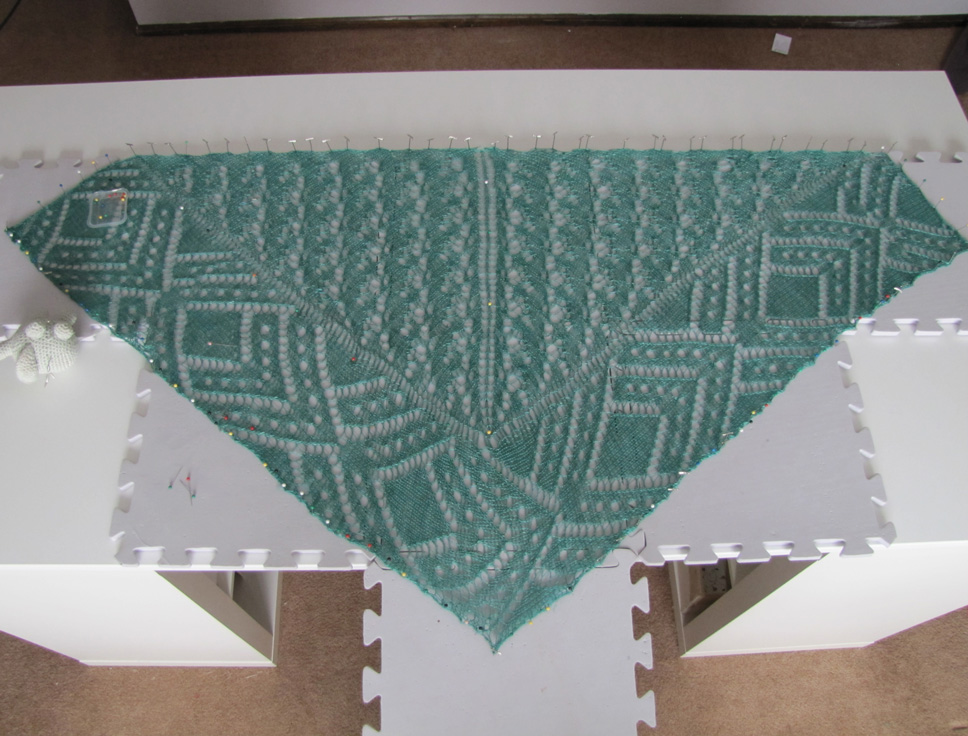
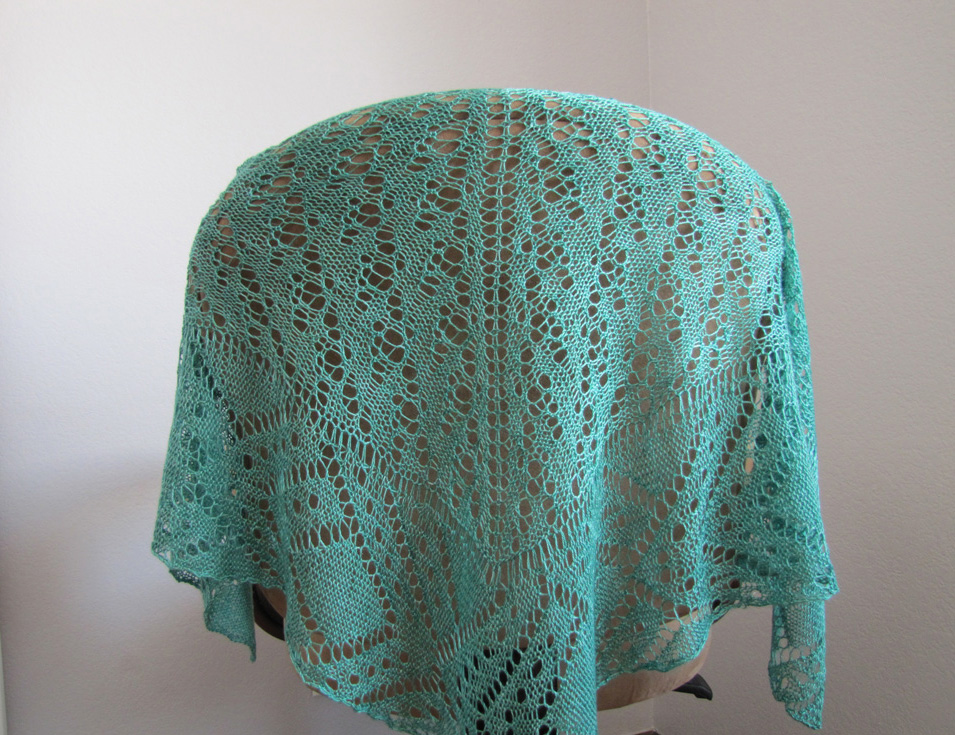
This wasn’t a free pattern so I won’t go too far into detail about the knitting. It’s knit top down and then the border is knit left to right with a tiny bit of short rows. When it’s finished it should look like this…IMG_2438

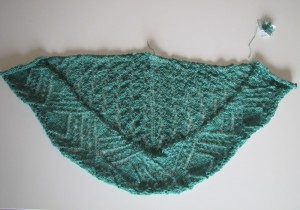
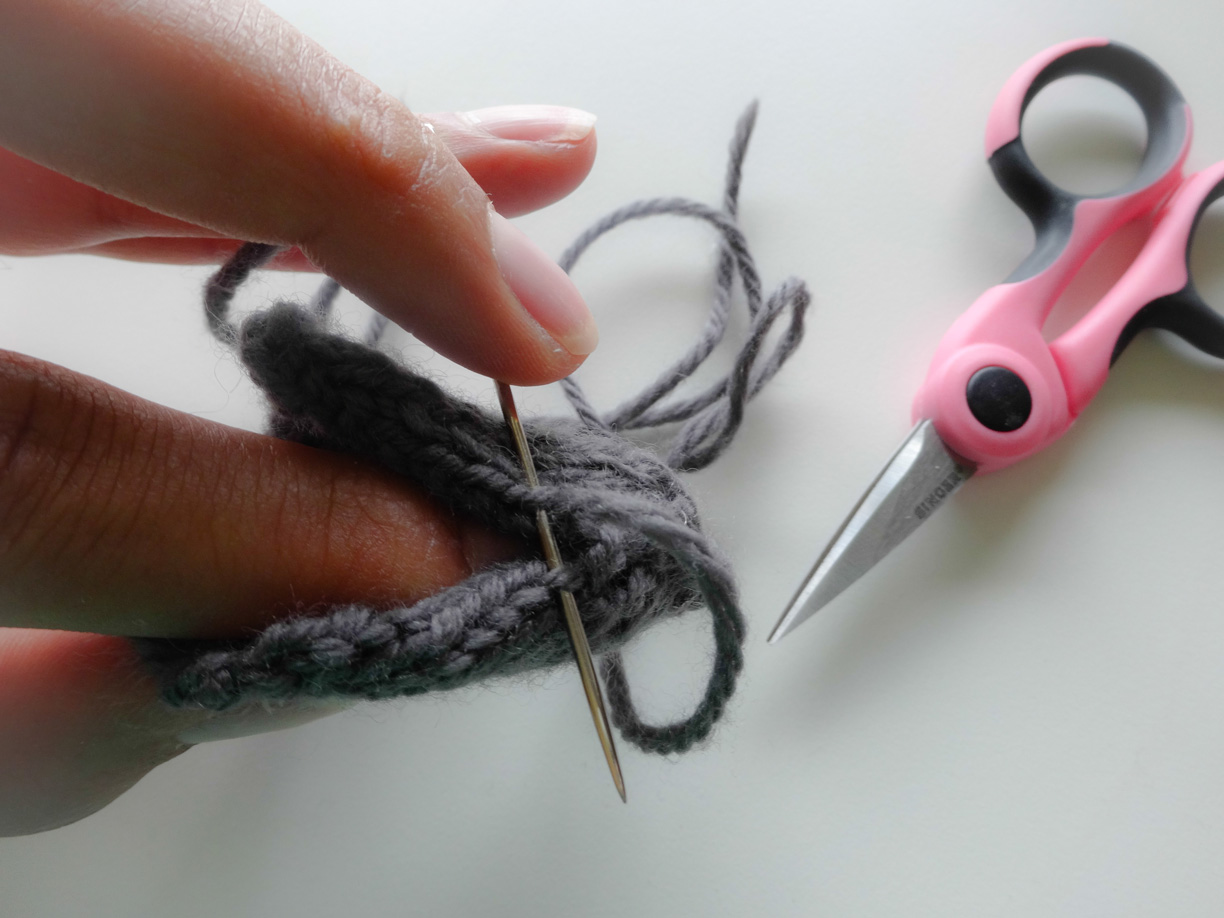
Weave in the loose ends. In theory you shouldn’t have many because this shawl can be knit with one skein of yarn, but I had a few mishaps including a time when I almost vacuumed the half finished shawl and snapped the yarn. I use a tiny crochet hook and a big yarn needle for weaving ends.IMG_2439

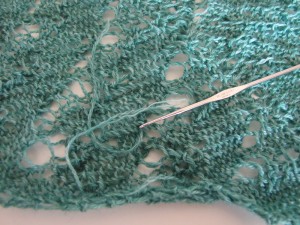
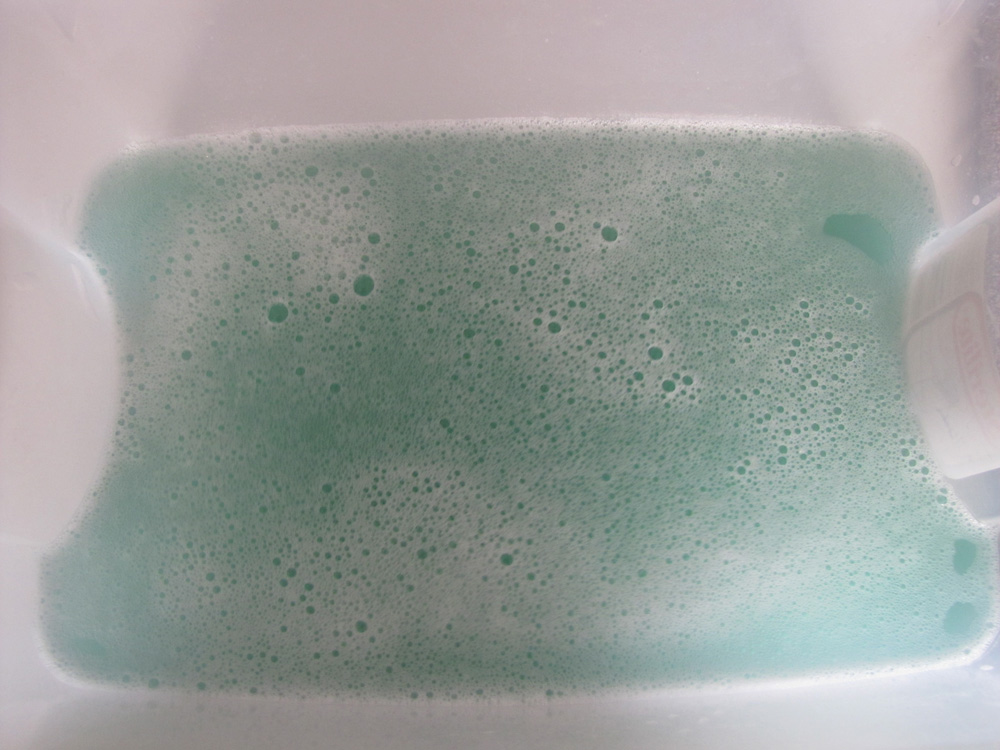
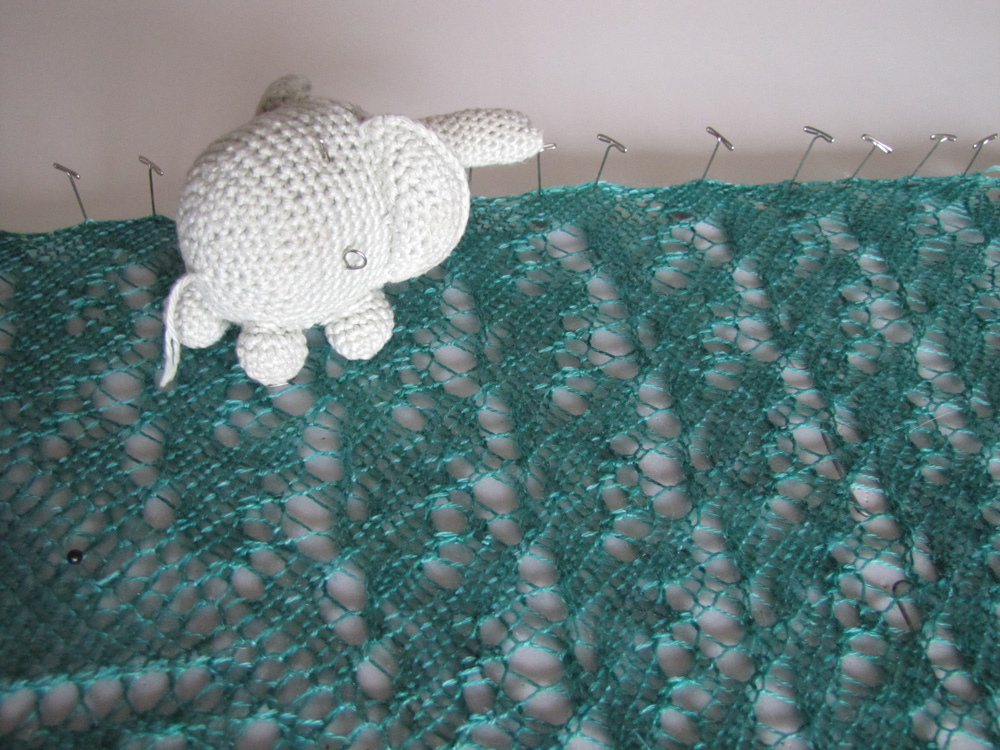
Give the shawl a soak rinse and block the shawl. This step amazes me. The shawl instantly grew to about three times its size. I used a ruler to make sure I wasn’t stretching one side too far and I gave the bottom a bit of a point but other than that I didn’t get too fancy. IMG_2458

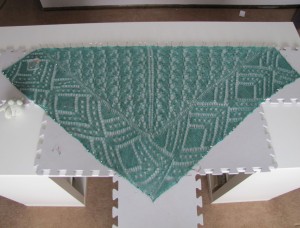
I was a little alarmed by how green the water turned from the yarn. I believe it’s because the yarn was hand dyed. I rinsed the shawl twice until the water ran clear. Hopefully, this will ensure the shawl doesn’t bleed on the wedding dress. Also the shawl color didn’t fade at all. If anything the bath seemed to make the color pop more. I really love how beautiful this yarn knits up!IMG_2443

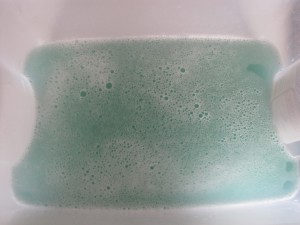
I am excited to mail this out to Joella. Even if she decides not to wear it down the aisle, I think she will get plenty of use out of it.
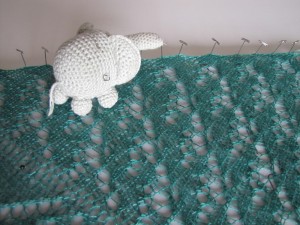
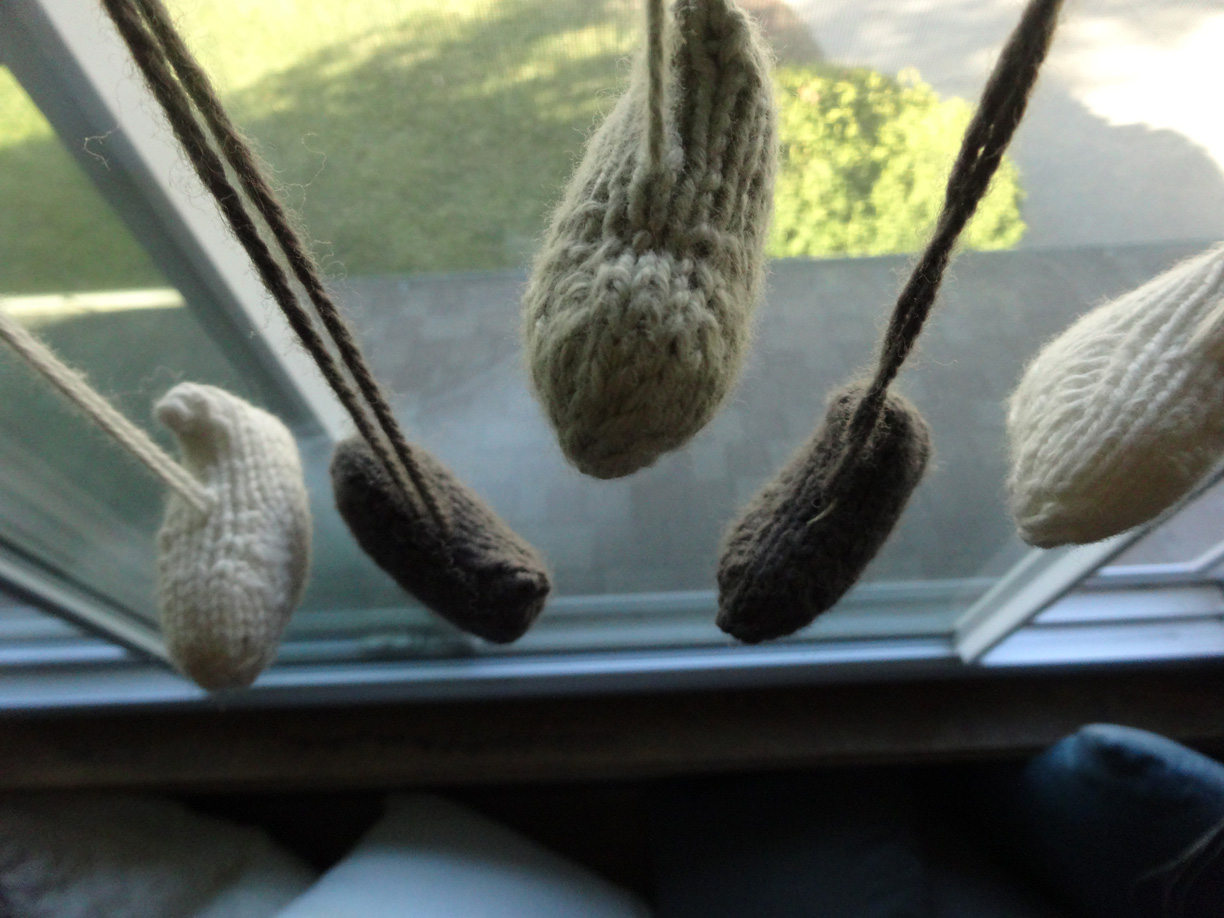
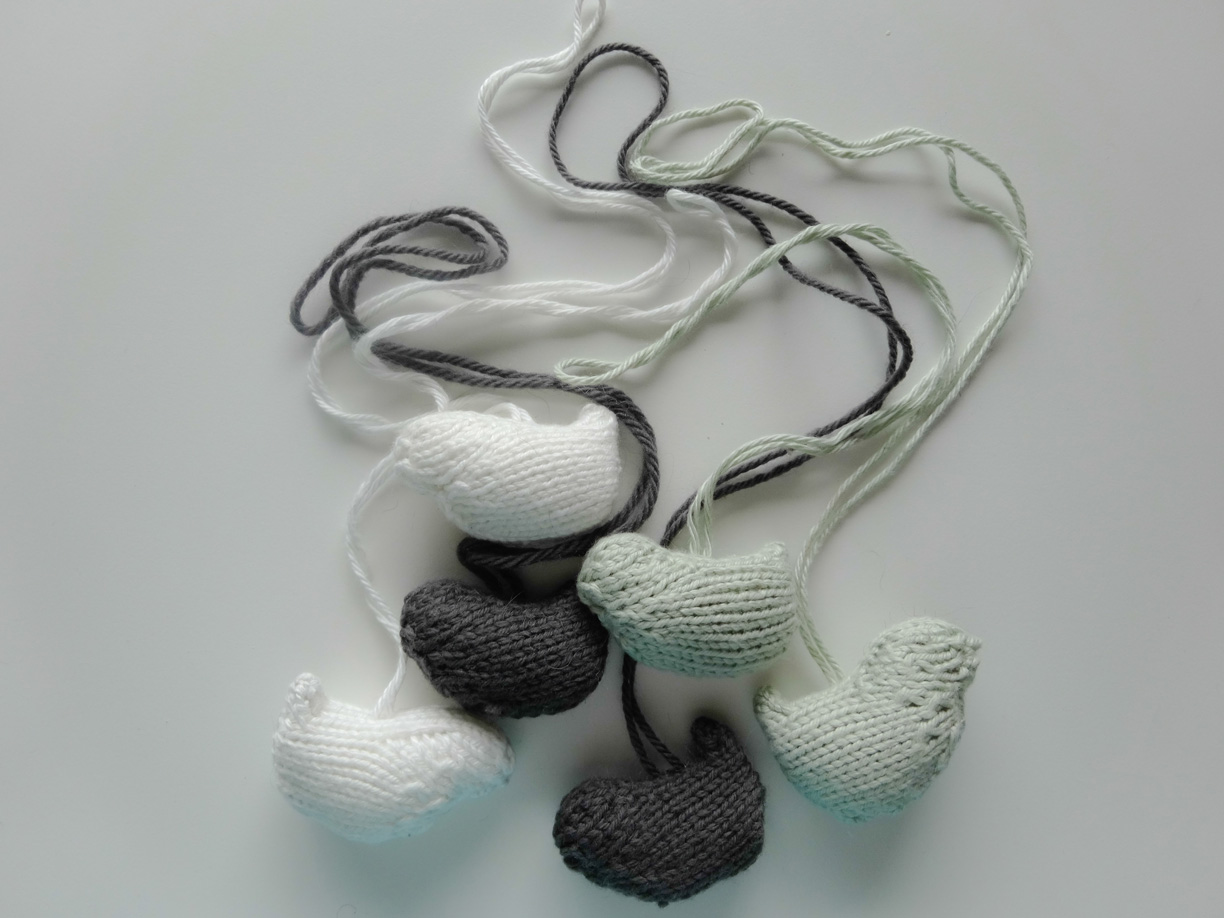
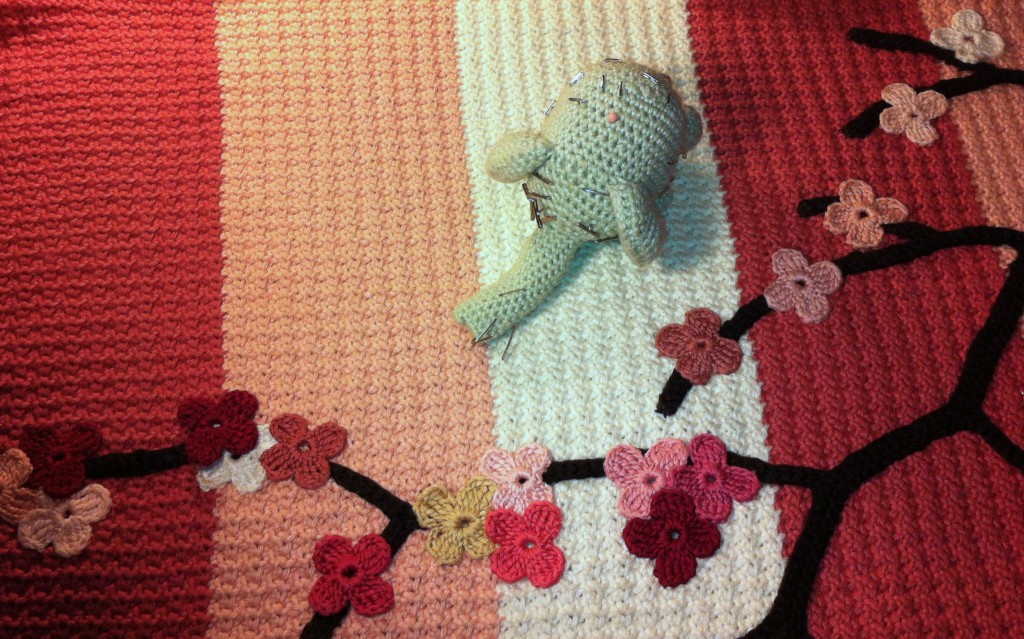
IMG_2453

Willow’s Cherry Blossom Blanket

Crochet Cherry Blossom Baby Blanket TutorialCrochet, Cherry Blossom, Baby Blanket, Crochet Flowers, Crochet Branch,Crochet Cherry Blossom Baby Blanket TutorialThis is Willow and her Cherry Blossom Blanket. Willow is the daughter of my close friend Kat. Although I have not met Willow, I like the thought that she has started her life and will (hopefully) always have something from me that is full of all of my good thoughts and love.This post is not as much a step by step tutorial, but it is one of my most favorite and most time consuming projects I’ve worked on. I will admit that by the time it was done, there was a part of me that wanted to keep it and I might have – if I was 2 feet tall.


What I used:

Flowers (butterflies)
Crochet Hook size C
DMC Mouliné Spécial 25 Six Strand Embroidery Floss
Blog_0277 Edited

Blanket
Crochet Hook size I
Knit Picks Comfy Worsted Flamingo (5 skeins)
Knit Picks Comfy Worsted White (3 skeins)
Knit Picks Comfy Worsted Peony (5 Skeins)
Knit Picks Comfy Sport Bison (1 Skein)
Curved needle
Transparent thread

How it got started:
Originally, I did start this blanket following The Tulip Baby Blanket pattern. The problem is Crochet. Crocheting and I are like you and your best friend’s boyfriend. You have to get along because your best friend (we’ll call her “Awesome Finished Object”) is the most important thing in the world to you. But really, you think he sucks and if it wasn’t for Awesome Finished Object, you’d have nothing to do with him. Anyway, I bought all of the supplies for the “Tulip Baby Blanket” and completed the base and border. Then my BFF’s creepy boyfriend and I got into a HUGE fight. Tulip Baby Blanket Pattern

Going rouge:` Edited-2
I couldn’t figure out how to make the tulips and I was just about to give up on this project when a friend suggested I use the ‘butterflies’ I’d made about a year earlier for a un-finished project. I use the term butterflies loosely because really the butterflies are flowers with a string/antenna tied around the middle. 260 antenna severed and I had flowers. I used DMC Mouliné Spécial Six Strand Embroidery Floss to make the flowers, It’s the stuff you likely used to make friendship bracelets back in the day (which was a Wednesday by the way). I doubled it up and used a C hook. Flower Pattern

IMG_0315Branch:
I couldn’t find a pattern for the branch, so I winged it using the basics from a ivy vine pattern I found on Ravelry, a social networking site for knitters, and by staring at a canvas picture of a cherry blossom tree on my bedroom wall. Making the branch wasn’t hard, but constantly measuring it against the blanket to make sure it fit was very time consuming. I’d take pictures of how it ‘lay’ pinned to the blanket and then try to crochet it to continue that flow. It sounds easy in theory, but constructing a three foot branch with a bunch of little branches “randomly” shooting out all over the place is wicked complicated. Ivy Vine Pattern

Blog_0349Sewing:
Wretched wretched wretched sewing. Everything that came before I threaded the first needle was the easy part. This took longer then any other part of the Crochet Cherry Blossom Baby Blanket Tutorialproject and I hated every part of it (we’ll come back to this). I basically lived in my dining room for six weeks sewing. I worked on the blanket almost every single day for at least eight hours a day. First I spent an obscene amount of money on yarn that matched each flower. However, I quickly discovered that was ridiculous and bought invisible thread. I didn’t know how to sew when I started sewing the branch/flowers on the blanket, so it looked atrocious (that wasn’t spelled how I thought it would be either). When I realized that what I was doing was absolute crap, I had to take it all out and start over but once I got the hang of it, things started movingly smoothly.

Done:IMG_0392
When it was done I had nothing to do. I sort of wandered around the house and felt very sad and restless and tried to cram more and more flowers on the blanket. Then, my husband suggested I make another blanket and I briefly considered sewing some flowers onto his forehead. I realized that although I may have hated working in a homemade sweatshop, I loved creating my own pattern, I loved watching something new and unique being created by my hands and I was sad when that ended.