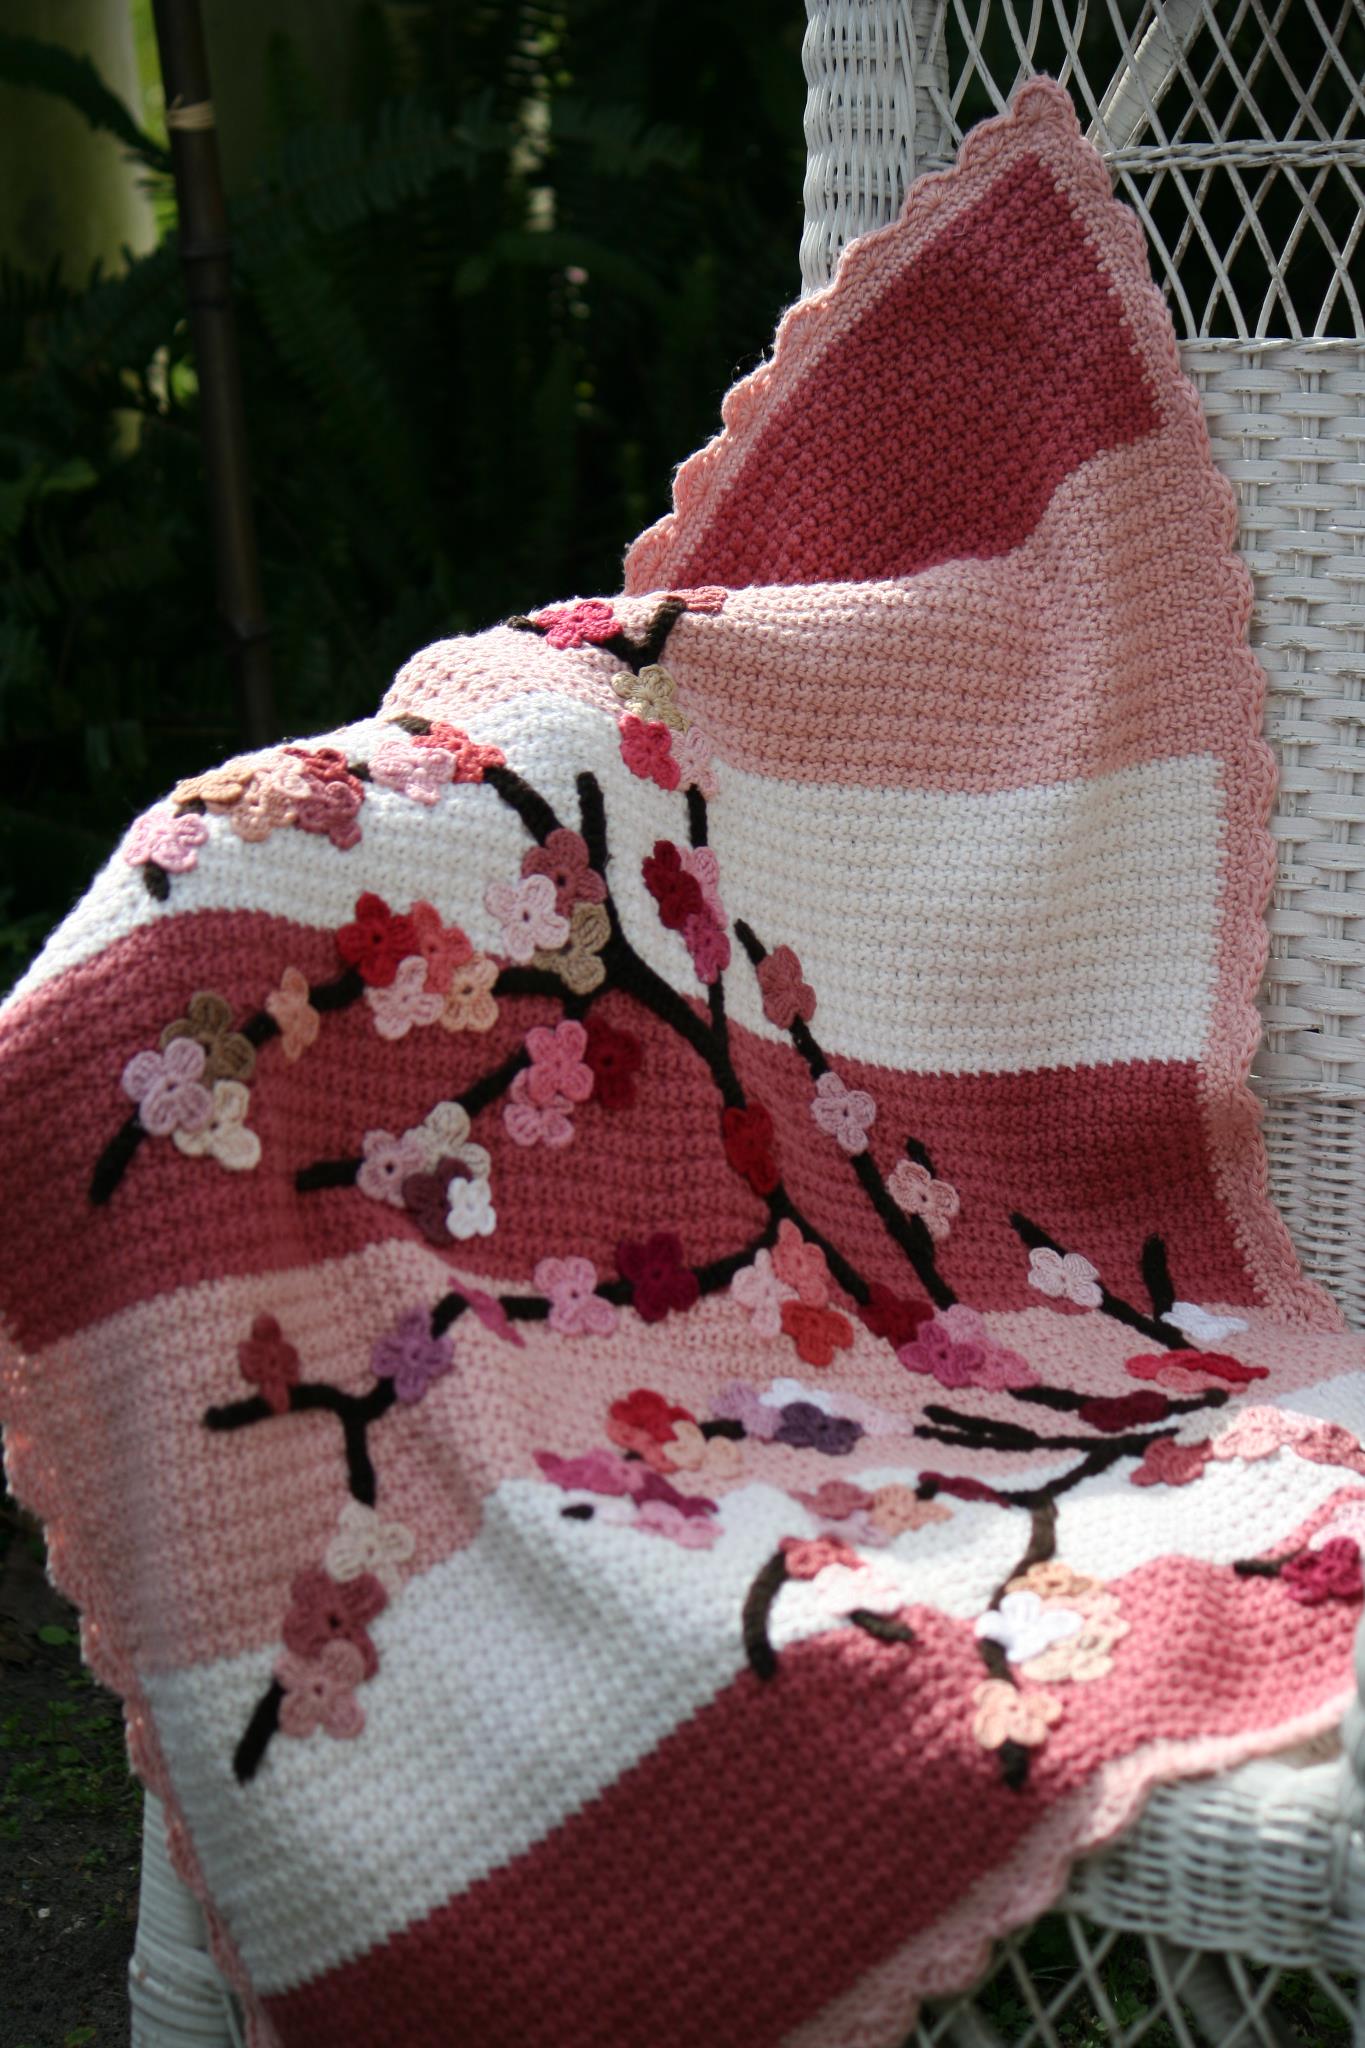
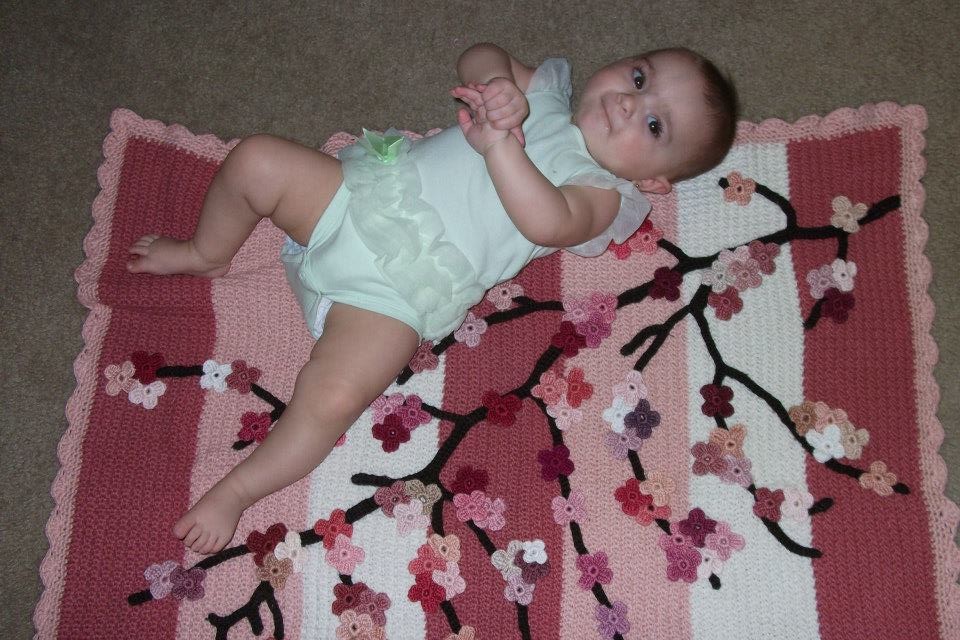
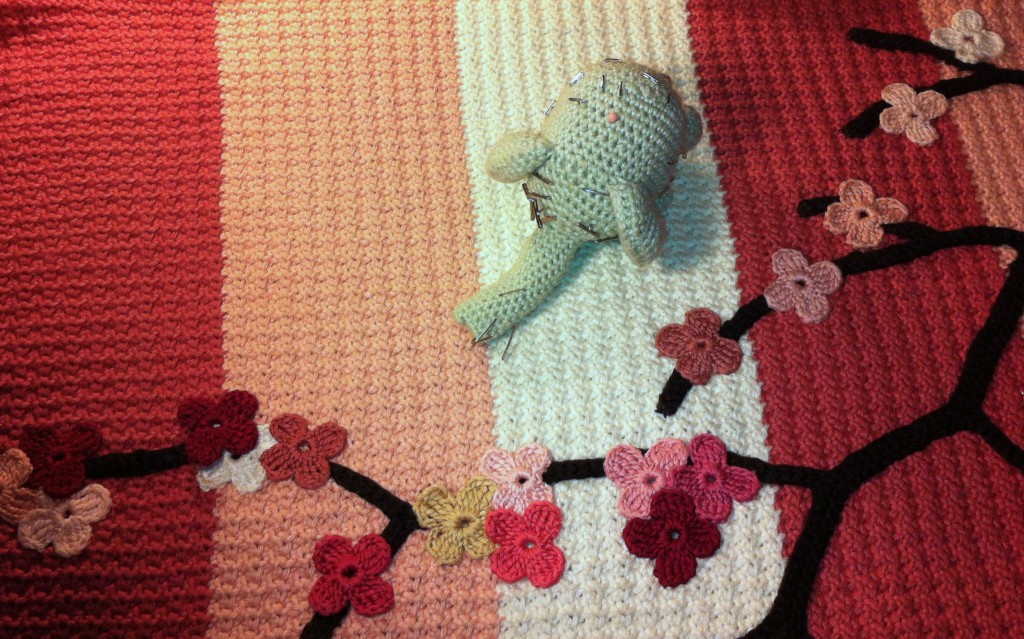
 This is Willow and her Cherry Blossom Blanket. Willow is the daughter of my close friend Kat. Although I have not met Willow, I like the thought that she has started her life and will (hopefully) always have something from me that is full of all of my good thoughts and love.This post is not as much a step by step tutorial, but it is one of my most favorite and most time consuming projects I’ve worked on. I will admit that by the time it was done, there was a part of me that wanted to keep it and I might have – if I was 2 feet tall.
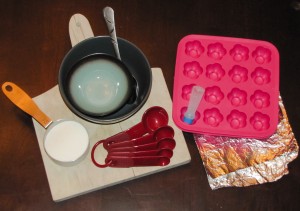
What I used:
Flowers (butterflies)
Crochet Hook size C
DMC Mouliné Spécial 25 Six Strand Embroidery Floss
Blanket
Crochet Hook size I
Knit Picks Comfy Worsted Flamingo (5 skeins)
Knit Picks Comfy Worsted White (3 skeins)
Knit Picks Comfy Worsted Peony (5 Skeins)
Knit Picks Comfy Sport Bison (1 Skein)
Curved needle
Transparent thread
How it got started:
Originally, I did start this blanket following The Tulip Baby Blanket pattern. The problem is Crochet. Crocheting and I are like you and your best friend’s boyfriend. You have to get along because your best friend (we’ll call her “Awesome Finished Object”) is the most important thing in the world to you. But really, you think he sucks and if it wasn’t for Awesome Finished Object, you’d have nothing to do with him. Anyway, I bought all of the supplies for the “Tulip Baby Blanket” and completed the base and border. Then my BFF’s creepy boyfriend and I got into a HUGE fight. Tulip Baby Blanket Pattern
Going rouge:
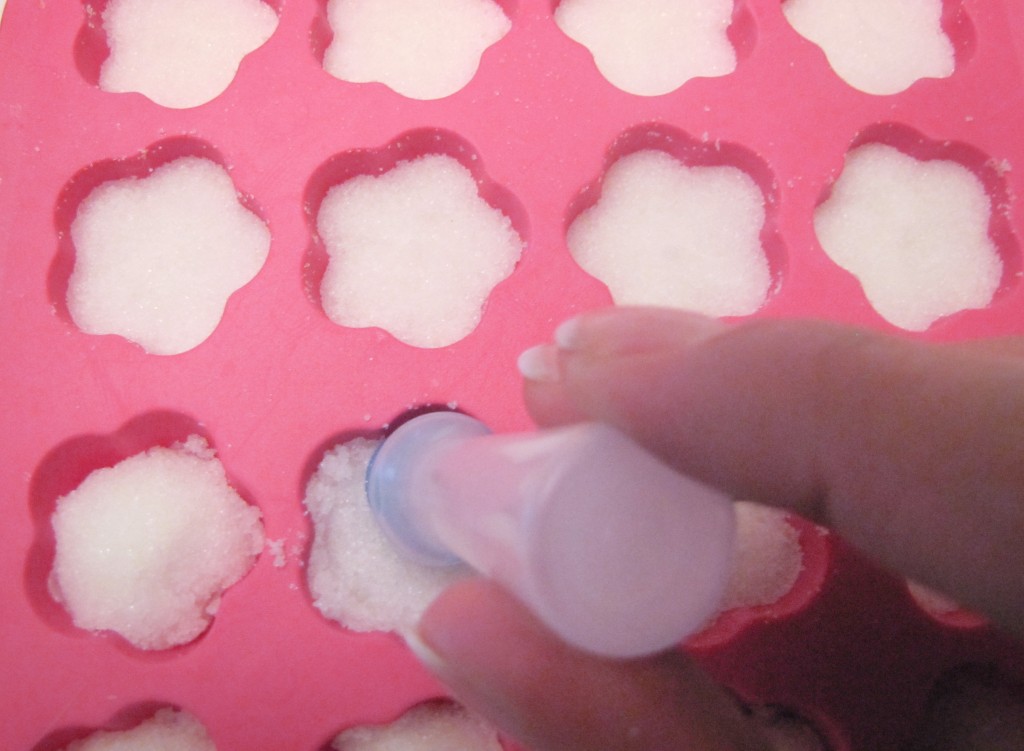
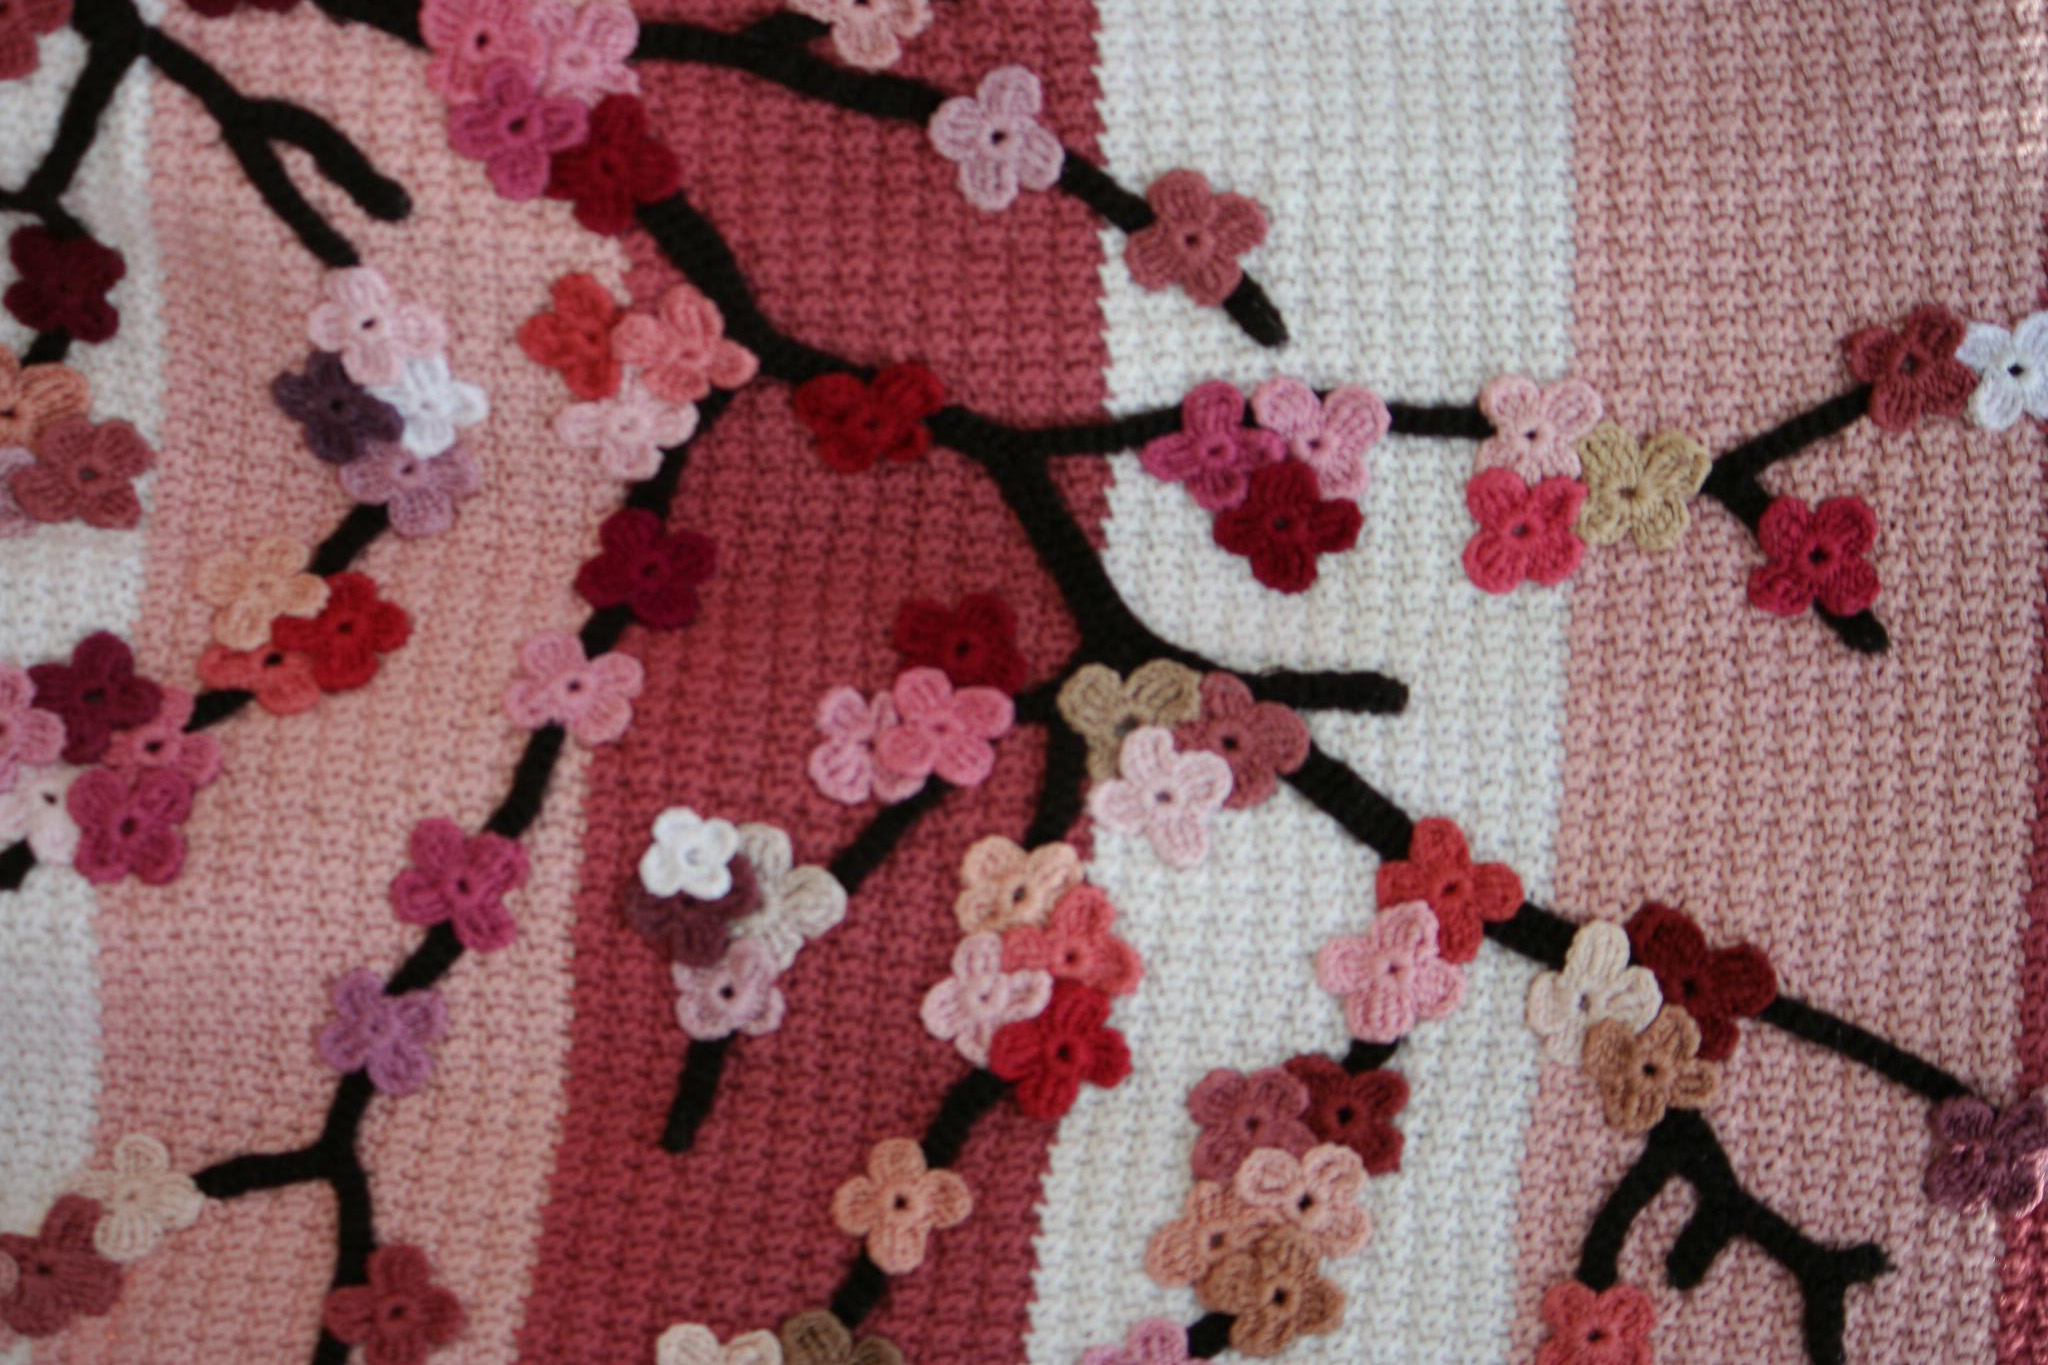
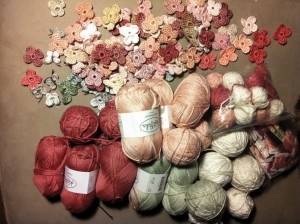
I couldn’t figure out how to make the tulips and I was just about to give up on this project when a friend suggested I use the ‘butterflies’ I’d made about a year earlier for a un-finished project. I use the term butterflies loosely because really the butterflies are flowers with a string/antenna tied around the middle. 260 antenna severed and I had flowers. I used DMC Mouliné Spécial Six Strand Embroidery Floss to make the flowers, It’s the stuff you likely used to make friendship bracelets back in the day (which was a Wednesday by the way). I doubled it up and used a C hook. Flower Pattern
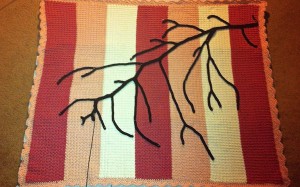 Branch:
I couldn’t find a pattern for the branch, so I winged it using the basics from a ivy vine pattern I found on Ravelry, a social networking site for knitters, and by staring at a canvas picture of a cherry blossom tree on my bedroom wall. Making the branch wasn’t hard, but constantly measuring it against the blanket to make sure it fit was very time consuming. I’d take pictures of how it ‘lay’ pinned to the blanket and then try to crochet it to continue that flow. It sounds easy in theory, but constructing a three foot branch with a bunch of little branches “randomly” shooting out all over the place is wicked complicated. Ivy Vine Pattern
 Sewing:
Wretched wretched wretched sewing. Everything that came before I threaded the first needle was the easy part. This took longer then any other part of the  project and I hated every part of it (we’ll come back to this). I basically lived in my dining room for six weeks sewing. I worked on the blanket almost every single day for at least eight hours a day. First I spent an obscene amount of money on yarn that matched each flower. However, I quickly discovered that was ridiculous and bought invisible thread. I didn’t know how to sew when I started sewing the branch/flowers on the blanket, so it looked atrocious (that wasn’t spelled how I thought it would be either). When I realized that what I was doing was absolute crap, I had to take it all out and start over but once I got the hang of it, things started movingly smoothly.
Done: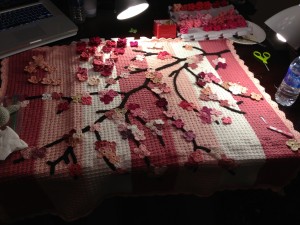
When it was done I had nothing to do. I sort of wandered around the house and felt very sad and restless and tried to cram more and more flowers on the blanket. Then, my husband suggested I make another blanket and I briefly considered sewing some flowers onto his forehead. I realized that although I may have hated working in a homemade sweatshop, I loved creating my own pattern, I loved watching something new and unique being created by my hands and I was sad when that ended.