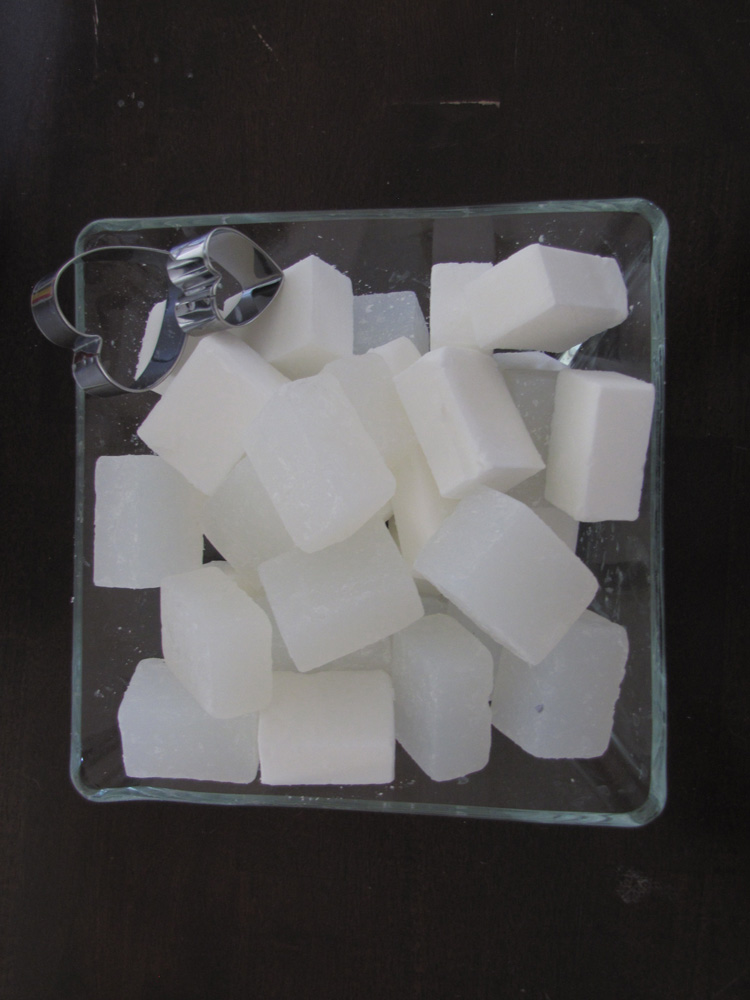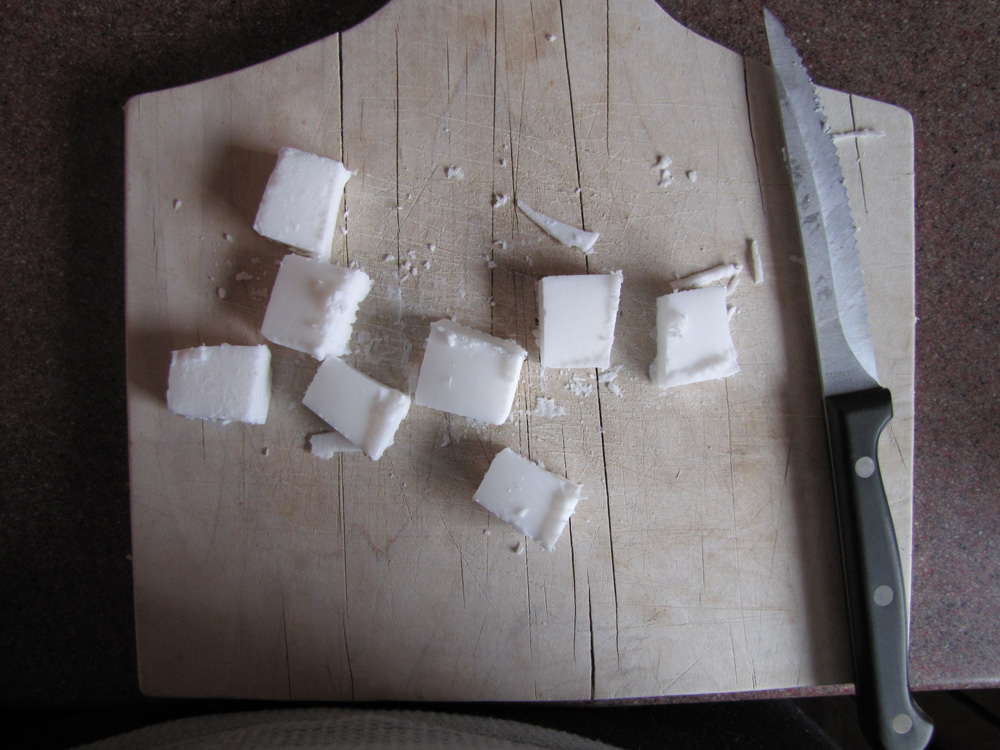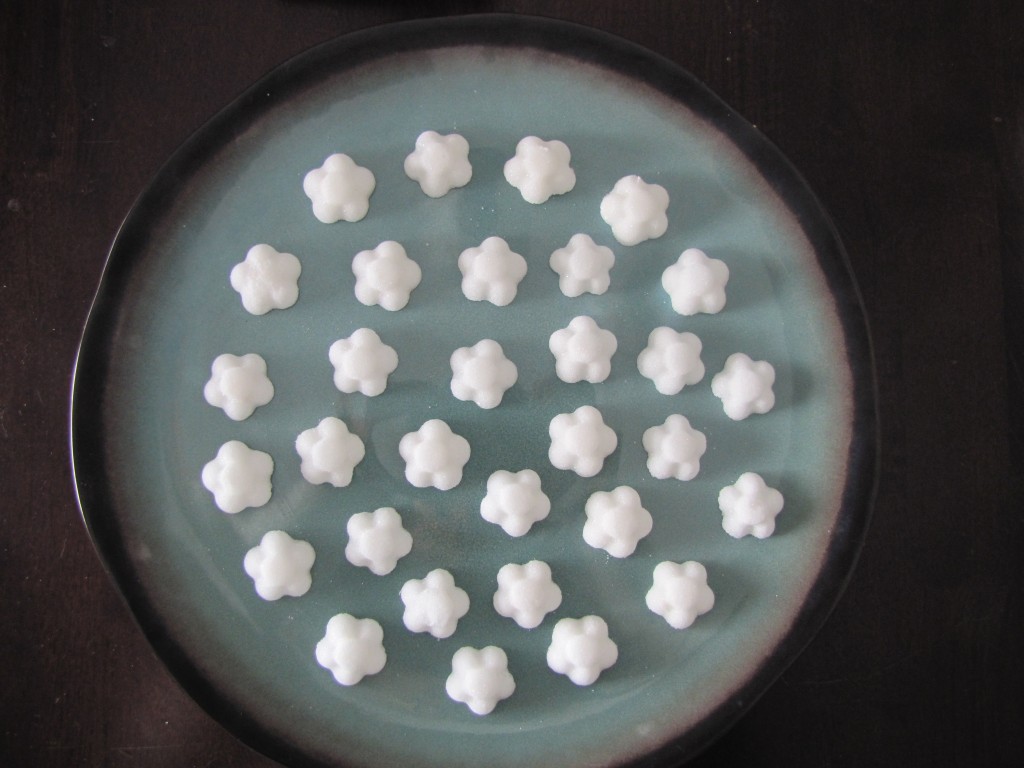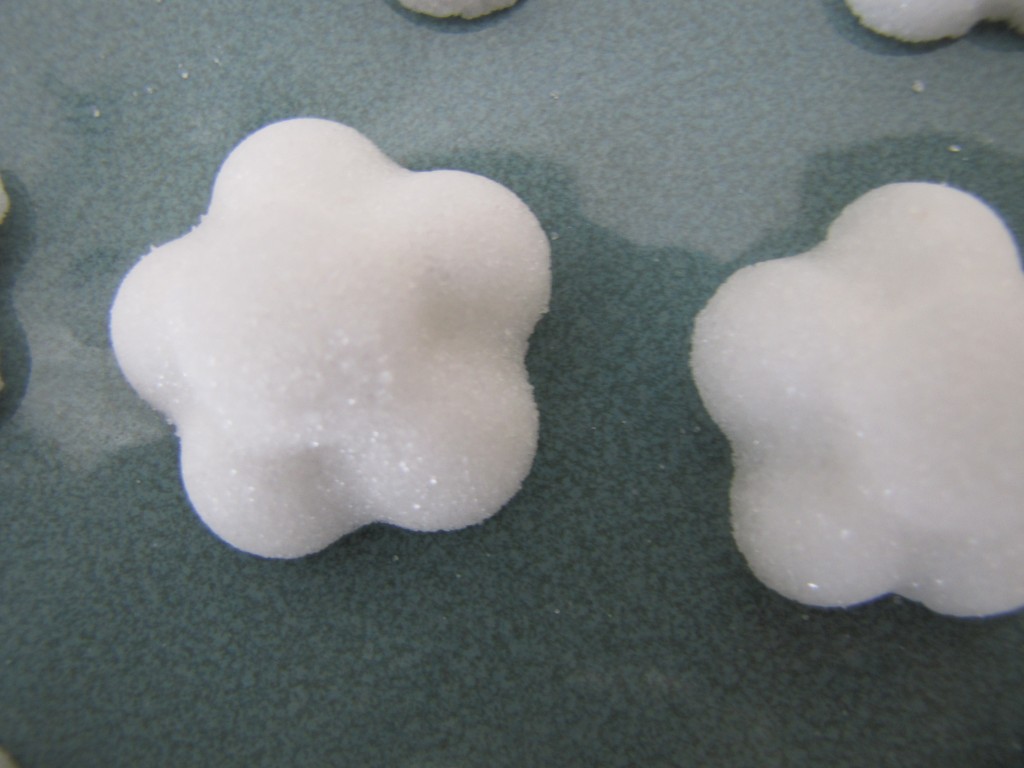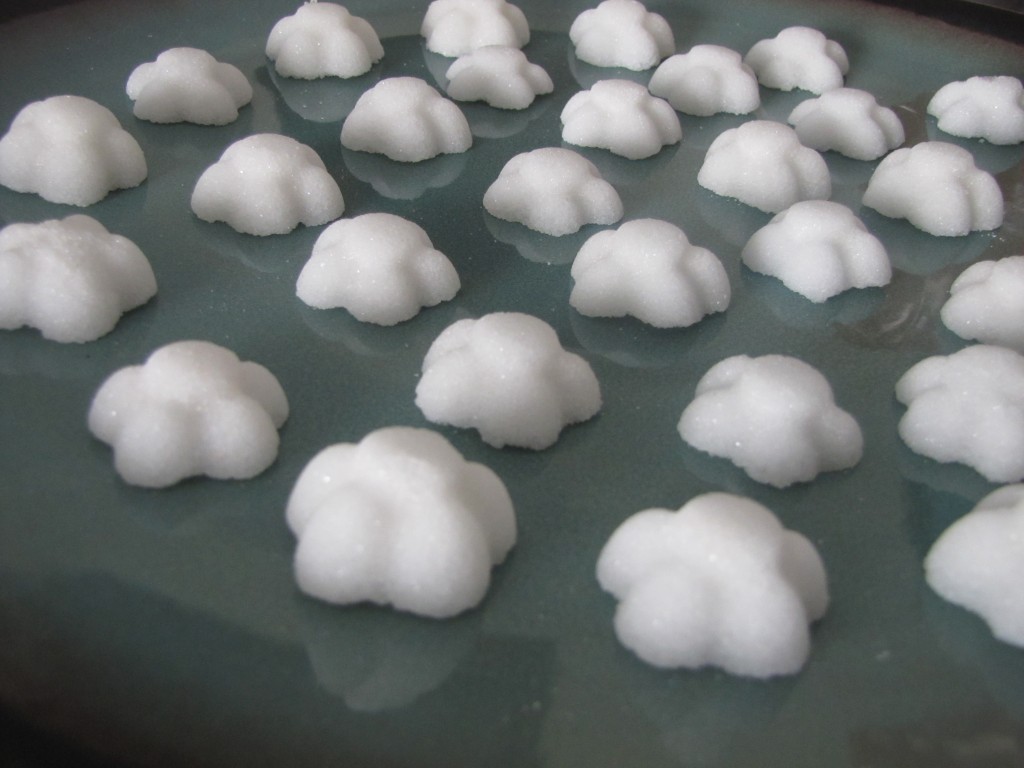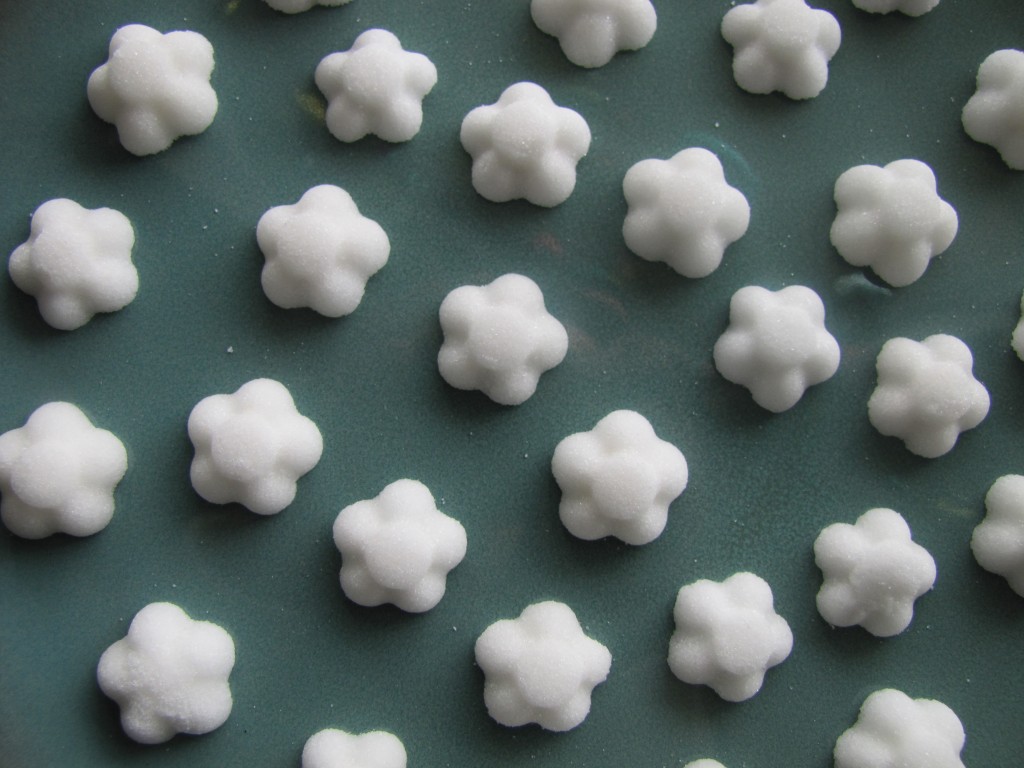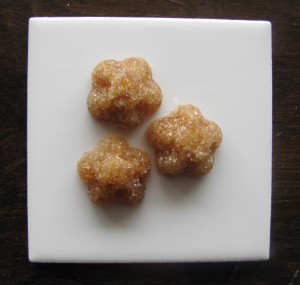
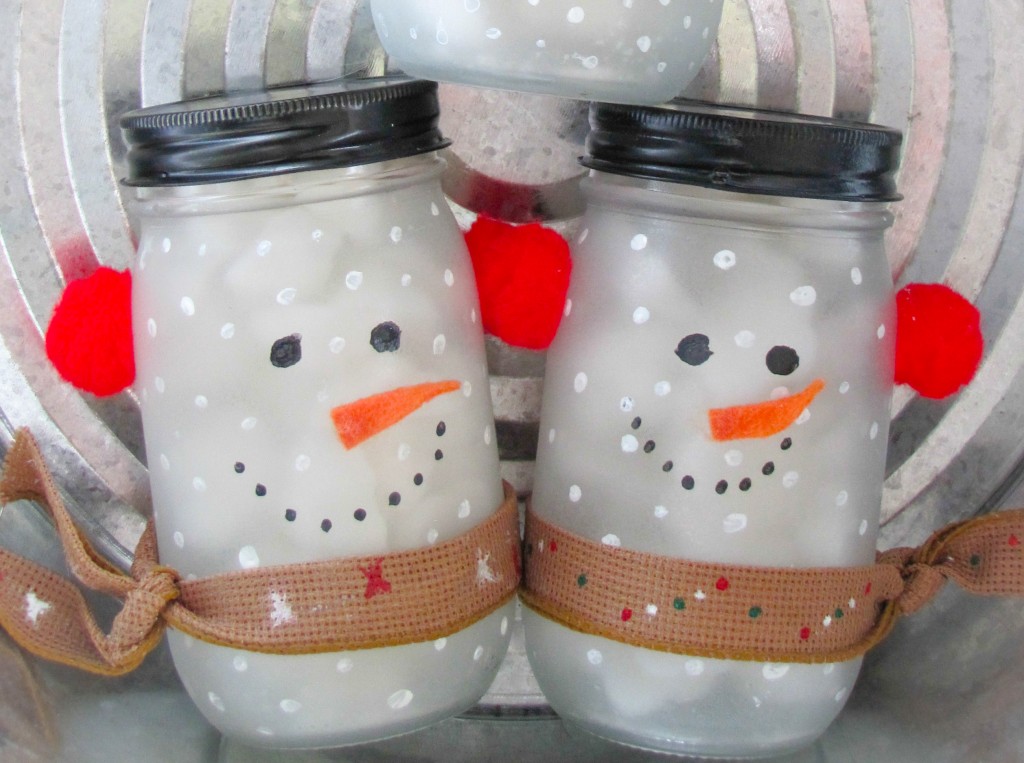
 I got the idea for the mason jar snowmen while I was working on my holiday gifts. I needed a jar for the sugar cubes I made for friends and family for Christmas. I love gifts that can be practical and beautiful. I’ve become a big fan of upcycling and I’d been wanting to experiment with frosted spray paint. I had 5 mason jars that I’d gotten from Tokyo Joe’s restaurant that I thought would be perfect. I love how the white sugar cubes add to the “snow” effect and it’s a gift that can be reused for decoration or refilled with something next year during the holidays. (I hope)
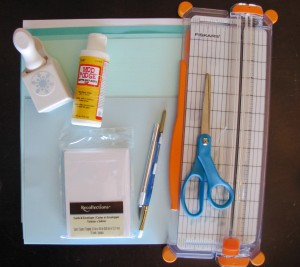
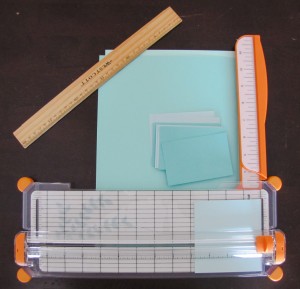
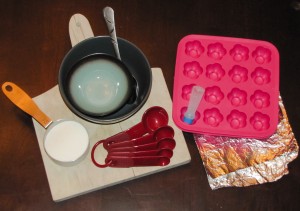
What I used:
Mason Jar w/lid
Black spray paint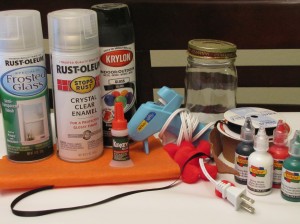
Frost spray paint
Clear sealant spray paint
Super glue (I recommend the kind with a brush)
Orange Felt
Ribbon (I recommend wire edge)
Paint (white, black) and any colors you want to paint your scarf if you choose this option
Tools:
Scissors
Glue Gun (optional)
Paint Brush
Masking Tape
I put my snowman together in the below order because it helps me keep my face centered. I like crafting and being creative but I’m not the most artistic or good at tiny details, so “dressing” the jar in a scarf and ear muffs reduced my error rate. You do not have to do it in this order.
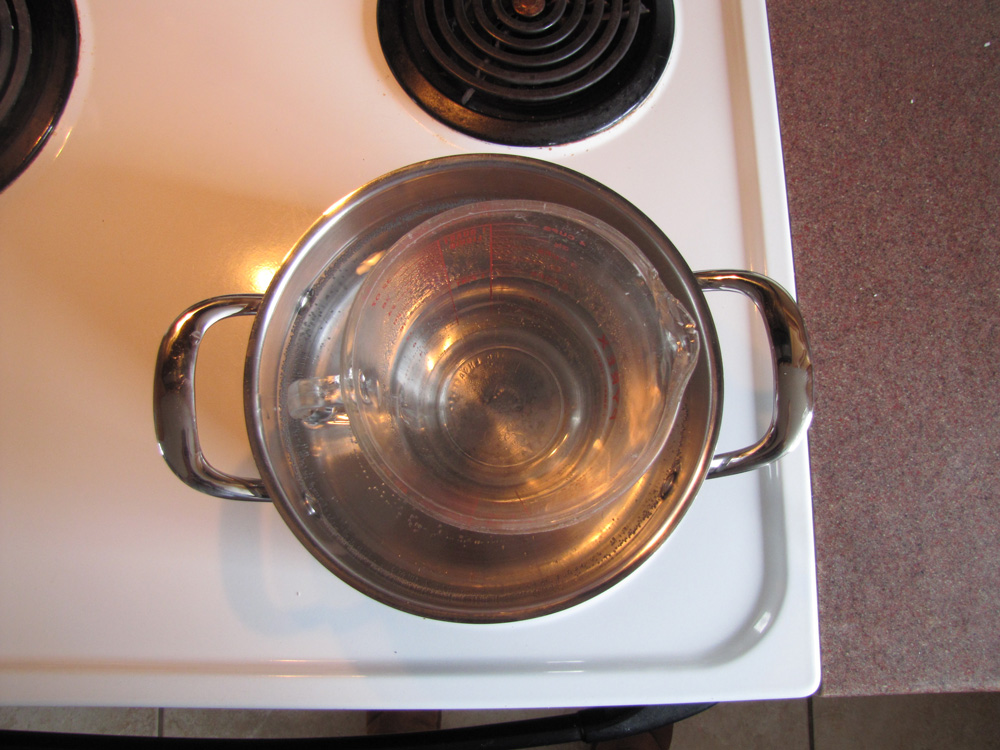
Frost the Snow Jar:
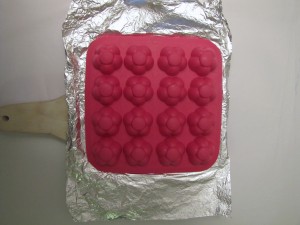
Clean the jar thoroughly. Cover the rim of the jar with masking tape to protect it from the frost spray paint. I also put spray paint can tops into the jar to protect the inside from any fly away spray paint. Lightly spray the jar with a thin layer of frost and let dry. 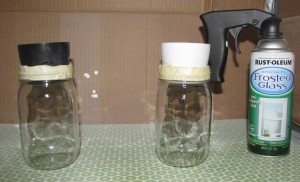 Repeat 2-3 times or until you feel that the jar is frosted to your desired level of frostiness. Apply two coats of sealant to help protect the frost from chipping.
The frost won’t stick to a jar that has any oils from your skin so stick your hand inside the jar to complete the instructions. Be sure to put something over the top to prevent any rebel spray paint drops and don’t skip that sealant. The first jar that I frosted chipped badly when I put it under running water to clean it. I didn’t even use soap or scrub it. So invest the time and $4 dollars on a can of sealant.
Old Silk Hat:
Spray paint the lid black. I used three coats and a clear sealent to try to protect it from chipping.
I put a glitter overlay on one hat, which I have to admit was my favorite! I’m a little glitter crazy right now so I put the glitter away and stuck to the traditional flat black hat.
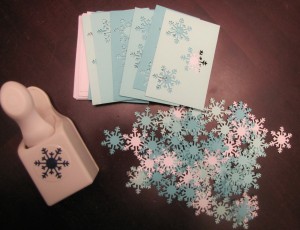
Make it Snow:
I believe this step is pretty self explanatory. However if not, dip a pointed paintbrush into the white paint and randomly dot it on the jar. Remember, no two snowflakes are the same (sorry couldn’t resist).
The snow serves two purposes. First, in my opinion it gives the jar dimension. Second and more importantly frosted spray paint has the flaw I mentioned previously. Adding “snowflakes” covers up any chips and also helps to protect the jar from future chips.
Scarf:
You have two choices. You can pick a festive ribbon that you love or find a ribbon/fabric that you want to paint. I recommend that you choose a wire edge ribbon as it clings to the glass and prevents slippage. (I used puffy paints because they were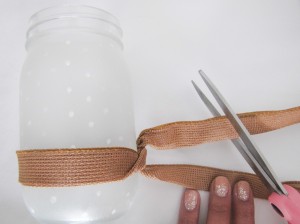 close at hand and dried really fast.) Once you’ve made your ribbon choice, wrap it around the jar as tight as you can and knot it about 2/3’s of the way down the jar. Cut the ends and slip it off. Untie the scarf and with a glue gun apply a thin layer of glue to the scarf and quickly retie it to the jar…this glue dries fast!
I choose to paint my ribbon because I liked the rustic country look. It also allowed me to make each snowman somewhat unique without buying 5 different ribbons. This step is really up to your discretion. I only did this to about 1/2 of my jars, because I kept changing my mind about wether or not it made sense. No matter how tight you retie the scarf it slips. However, once it’s glued it’s going to be a pain to rinse or wash the jar. Granted, the ear muffs aren’t exactly water proof – but still, it’s something to consider.
Earmuffs:
I got lucky with this, my jar had two seams down the sides so I knew where the exact middle was. The most important thing to remember about using superglue is that your decision is semi-permanent. If you pull the earmuffs off, you’ll also pull off a little bit of your snowman. I suggest starting small, if you glue a small part of the earmuffs to the glass and it’s uneven you have some room to manuever them by moving parts of the muffs around and gluing that edge down. If it’s a lost cause and your muffs are hopelessly crooked you can pull it off and cover a small glue spot with a slight shift.
I screwed the lid on as well to help me get an idea of where everything fit. I know it sounds like a small step, but this really helped me with placing the earmuffs evenly.
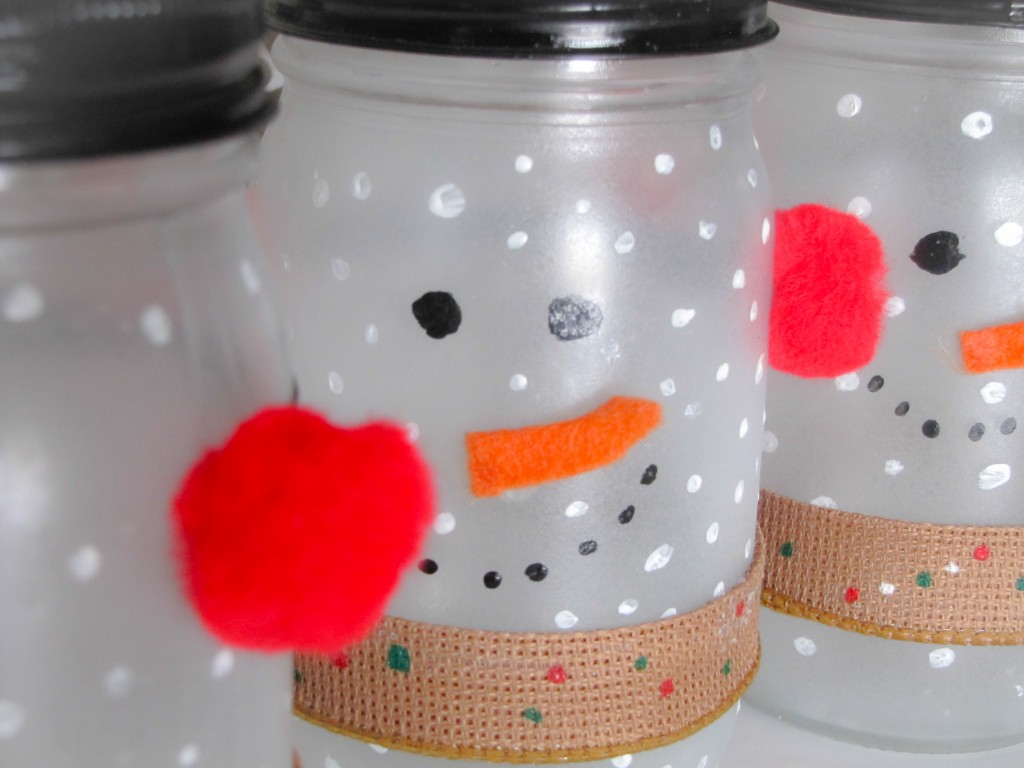
Face:
By now you will have narrowed the expanse of your snow jar greatly, so it’s time to create your face. The snowman has a classic smiley face. : ) I made the eyes pinprick small and then drew a smile with dots. The first time you do it I would suggest keeping the smile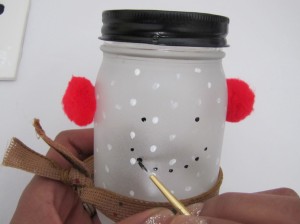 somewhat small as well until you think you are finished. You can add on, but it’s tricky to get rid of black dots. Next, I attached the nose (see nose instruction below). Once the nose was attached, I enlarged the eyes and filled in the smile.
It may seem like a strange method, but my first snowman looked like something out of a b-rated horror film. It’s very difficult to sweeten a killer snowman. By starting small and building the face slowly you give yourself room to “edit.” The small dab may start out as the center of your eyes but once you attach the nose you may discover that they are too close together – let that be the corner of the eye instead, etc. Another reason to start with small dots is if you make a mistake that can’t be fixed with creative maneuvering, you can cover it up with a white snowflake – just be sure that the black paint is completely dry first otherwise you will make dirty snow.
Nose:
The nose should resemble a triangle but also have a 3D look. Cut out a larger size triangle and glue the top two corners together. This will give it a sort of beakish look. To keep the 3D effect only place glue on the top half and affix it to the jar.
Surprisingly, at least to me the nose was the hardest part (as you can see from  the multiple cuts in the felt). I put it at a slightly upwards angle so that it doesn’t lay flat against the jar. Just remember be sure you are committed to the spot. If you pull the carrot off it will pull the frost off as well and you’ll have an ugly spot. My snowmen were going be a tribute to the classic holiday song “Frosty The Snowman”. In the song Frosty didn’t have a carrot nose. He had a button nose. While I waited for the spray paint to dry on the frosting jars I made a practice jar, and I’m so glad I did. The button nose was a fail. It turned my snowman into a snow bear and now I have a very strange cup holder. If you are following this post and making your own snow jar and had the same aspirations as me, I hope my fail will save you time and disappointment.
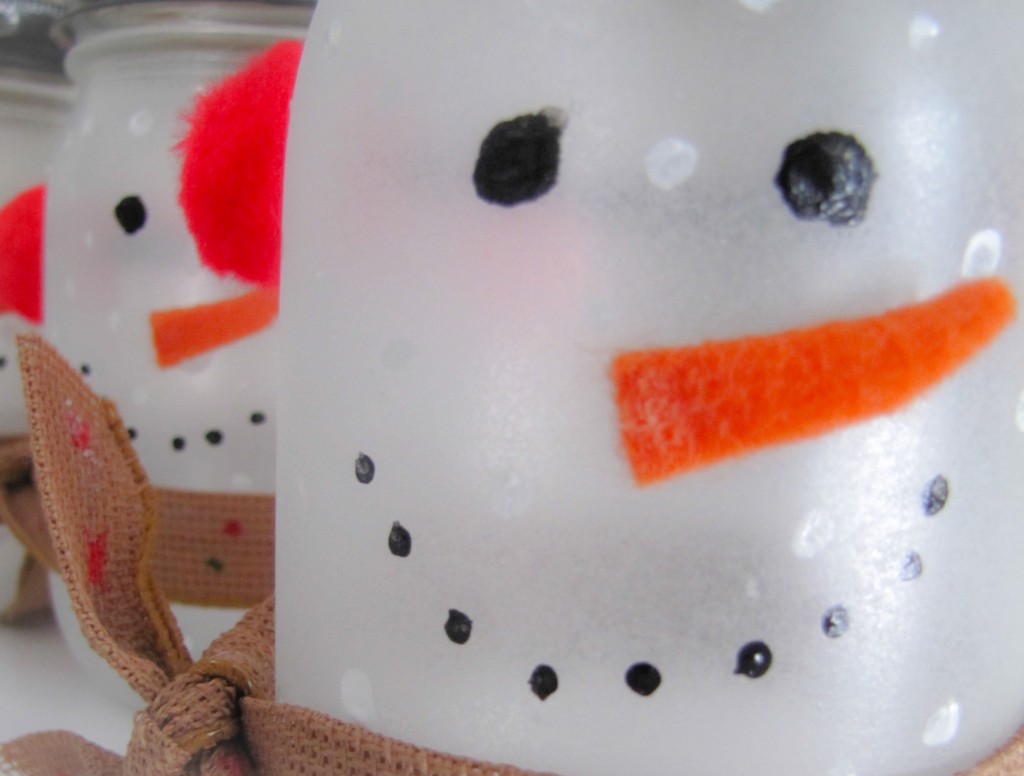
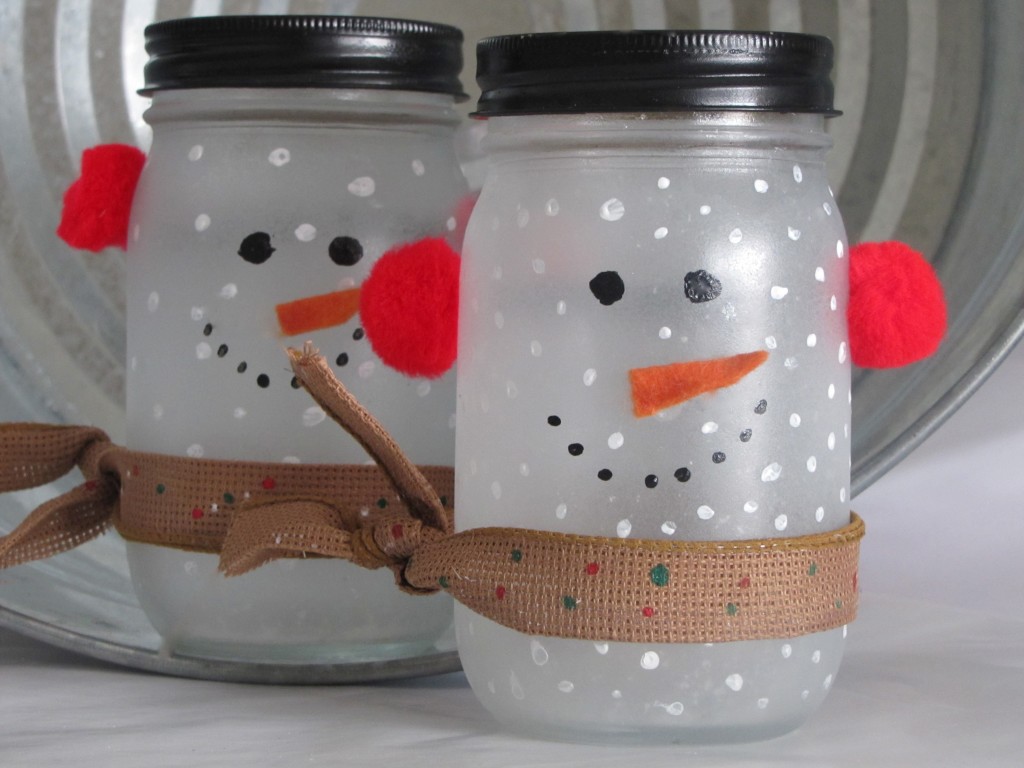
As you can see your snowman is complete! You can keep your snowman empty as decoration, or fill it with sugar cubes, cotton balls, q-tips, or even place a votive candle inside for a festive glow.

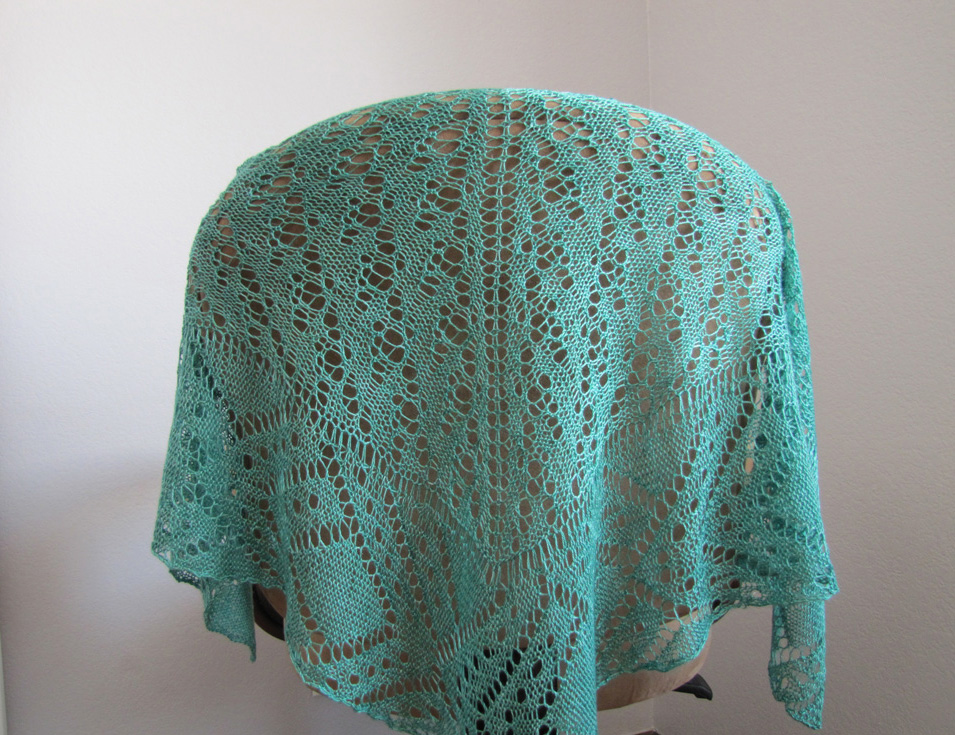
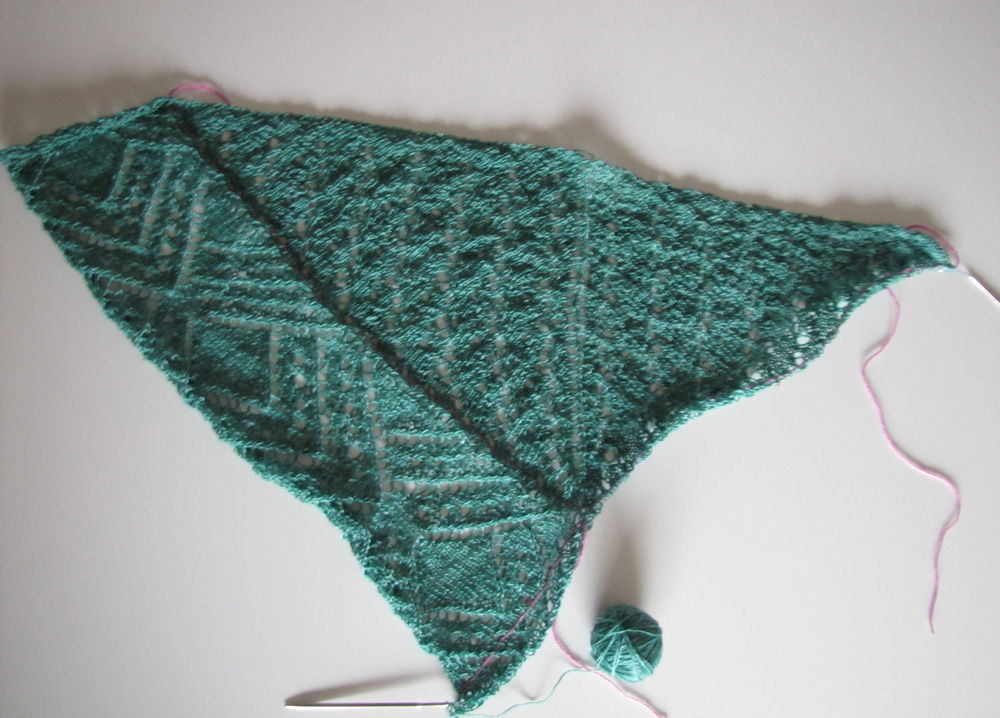
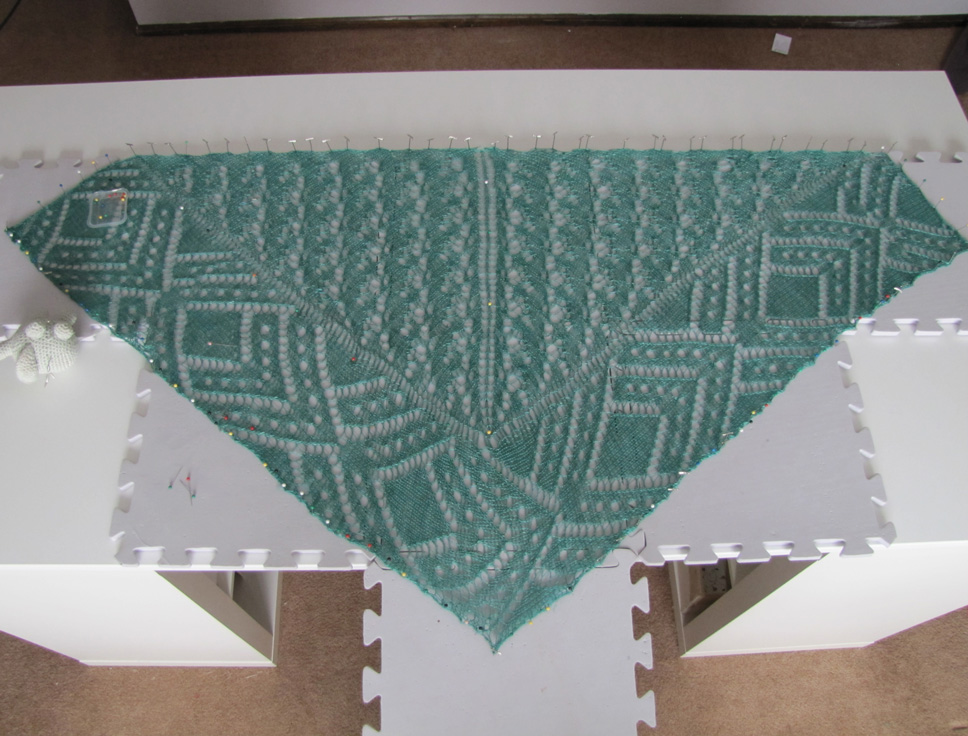
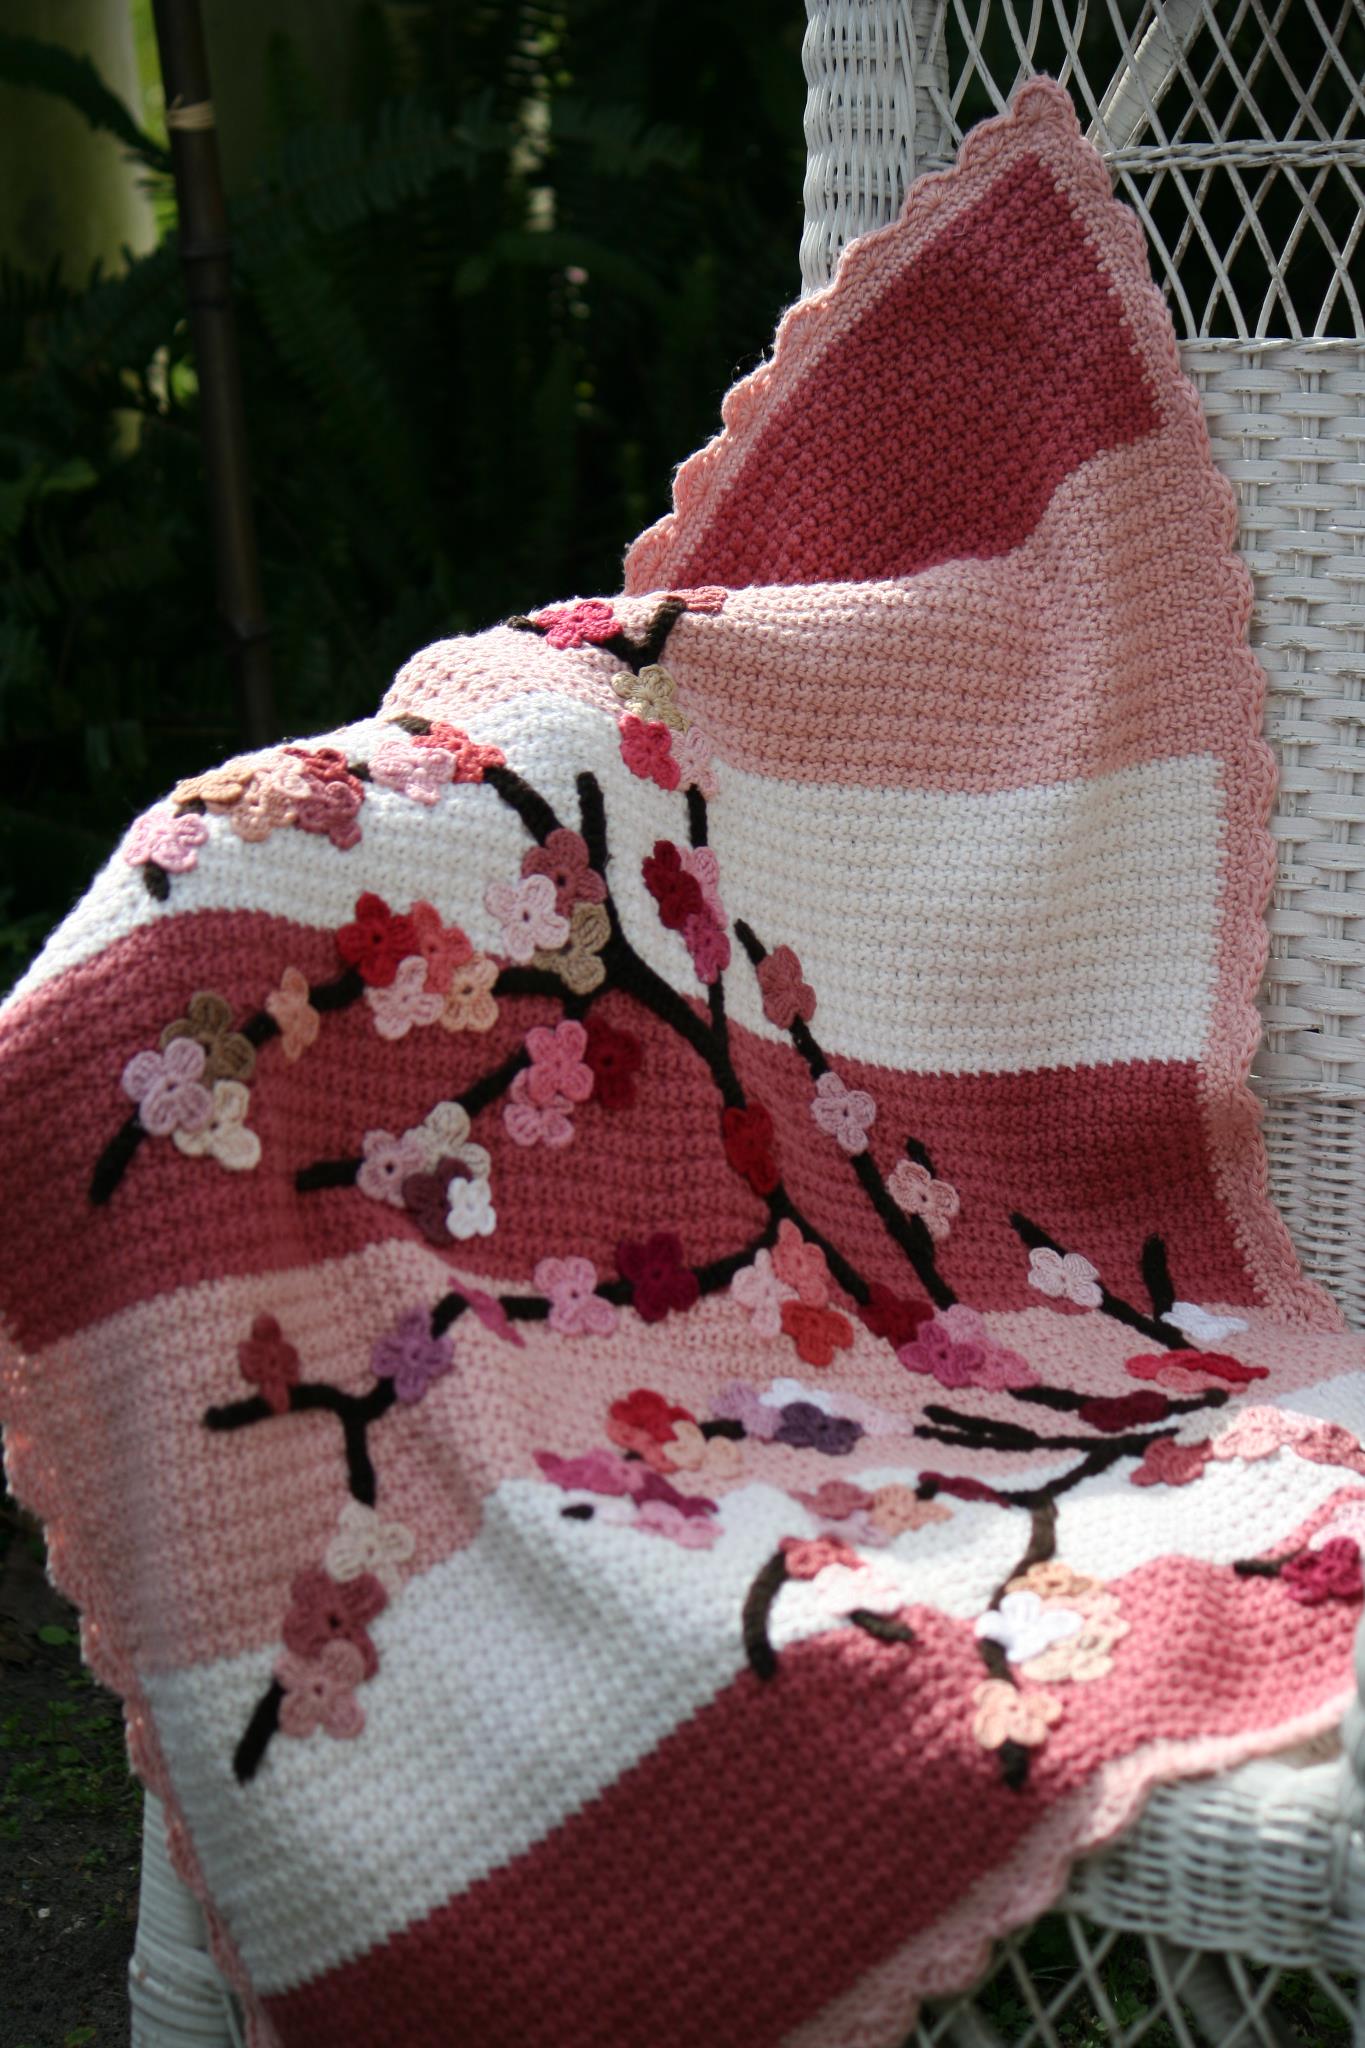
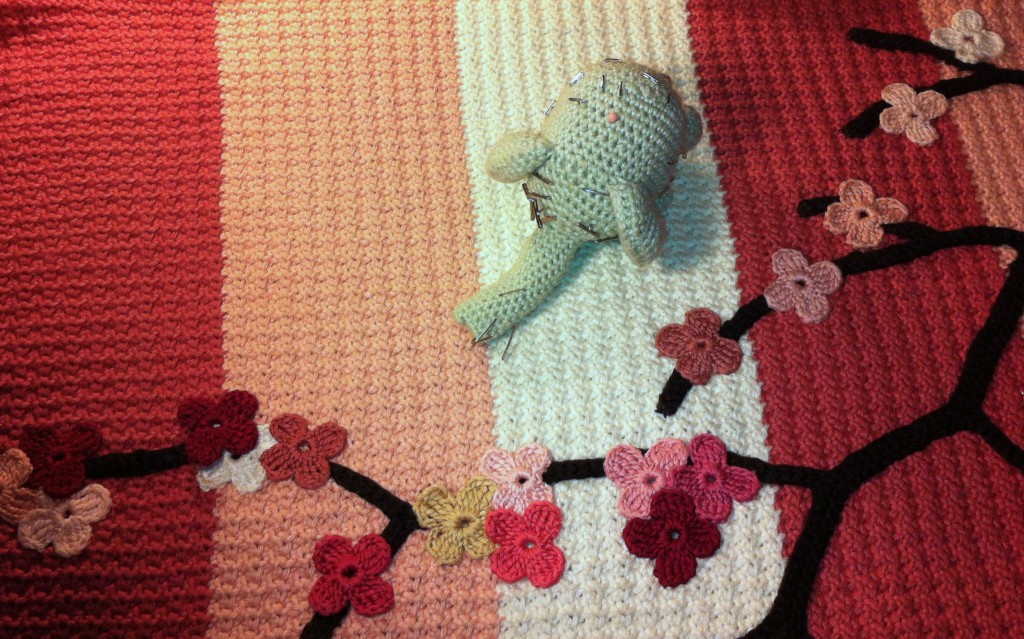
 My husband’s step-sister, Joella Sweet is getting married in October. Although I have never officially met her, I am very fond of her and I wanted to make her something special to wear during her wedding. I thought a lace shawl would be perfect.