 This hat was originally supposed to be for my niece. However, I wasn’t truly happy with it. Although I consider myself to be a pretty experienced knitter, Anything that includes sewing seems to defeat me, so I decided to pack it away and try again next year.
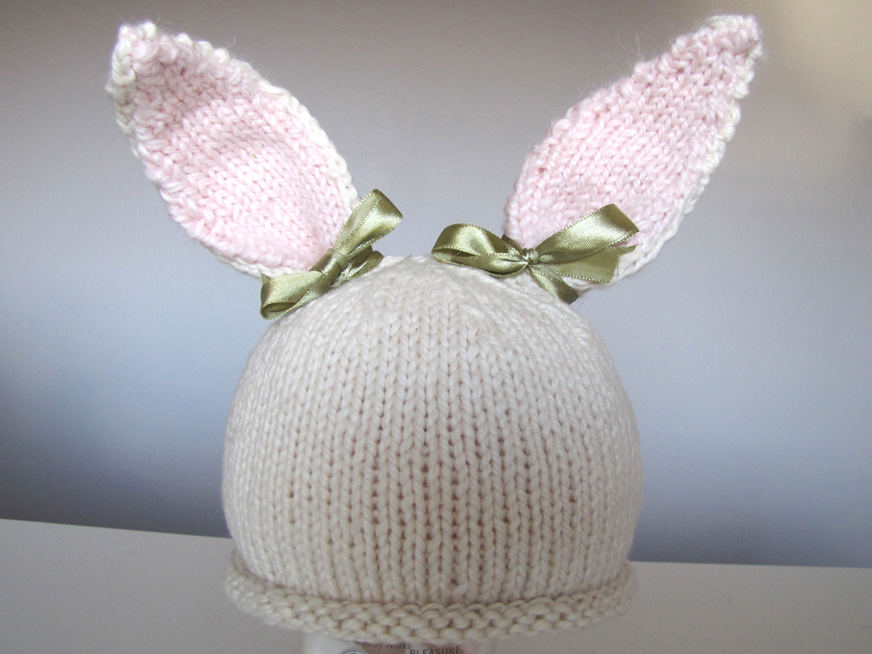
I followed a Baby Bunny Hat pattern I found on Ravelry. I did make some slight changes to the pattern but the basics were the same.
Modifications
Size
Although my niece is only three months old, I did make the 9-12 month size hat. I found that the 3-6 month size was very very tiny, I also used a smaller needle size (8us) than the pattern called for. My husband was very kind to model the small hat size. 
Yarn
I used Blue Sky Alpacas Organic Cotton in Bone for the hat, and Bernat Alpaca Natural Blends in Peony for the ears. I was really dispapointed by how breakable the Organic Cotton was. I’ve never had yarn break while weaving in the ends or just simply by pulling on the drawstring to close the hat. Blue Sky Alpacas is one of my favorite brands, and it looked really cute when the hat was finished, so I hope this was just a wonky skein.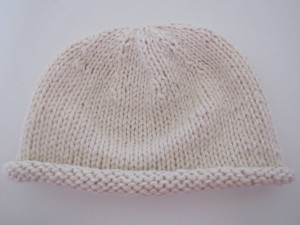
Decrease stitch
The pattern calls for the K2og decrease. I prefer the improved SSK decrease as it tends to be tighter and leaves almost no gaps. The improved SSK is as follows. Slip as if to knit. Slip as if to purl. Hold the yarn as if to purl and pull the two stitches over the yarn.
Ears
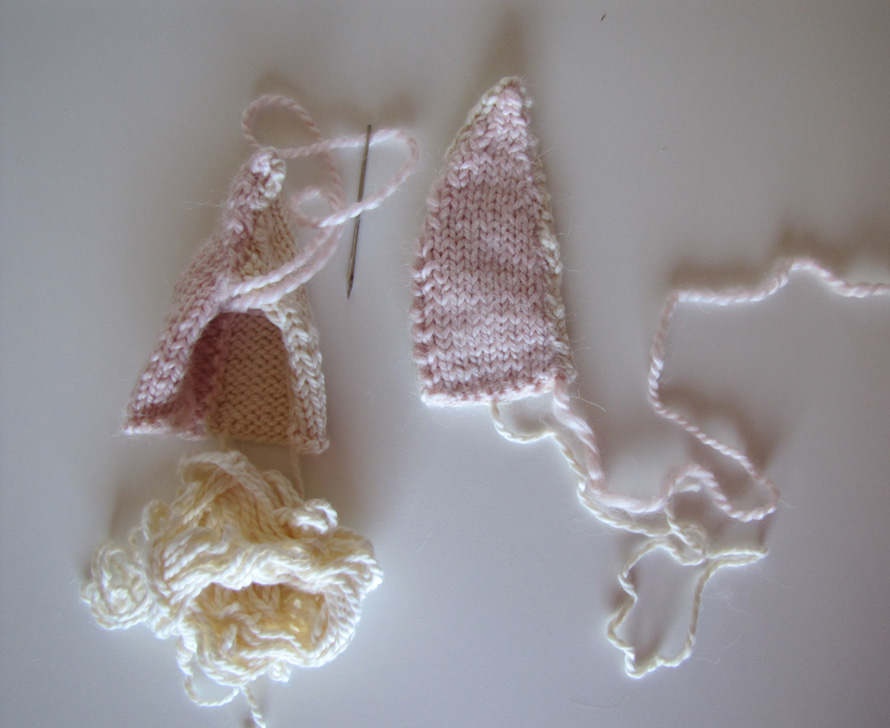
I wasted an entire night trying to figure out how to twist the two colors of yarn but managed to get the hang of it after a good nights sleep – only to waste the entire next day sewing the ears to the hat. I thought the pattern ears looked a little too cat like (after making them about fifty eleven times). So I made a few edits, which I wrote down in case anyone is interested.
Modified Ear Pattern
Cast on 12 stitches using the Organic Cotton Stone Yarn and 10 stitches using the Alpaca Natural Blends Peony Yarn. I continued the Knit/Purl repeats 3 more times until I had 16 rows. I changed the decrease row slightly.
Decrease row: With ModSSK, knit to last 2 sts of rabbit fur yarn, MODSSK, with inner ear fluff yarn
Purl
Knit
Purl
Continue to repeat this until you have 1 pink stitch and 2 cream stitches on your needle. Break Bone yarn and pull through both stitches. Use Peony yarn to sew through the ear pieces together.
Sewing…ugh
You’ll remember the ongoing theme of my blog…my wretched sewing skills. The cool thing about knitting with two colors is that you are essentially “seaming” one side of the ears together as you knit so you only have to sew one side closed. I just wish there was a pattern where the whole hat was all one piece because crooked ears has been a constant black cloud hovering over me since I started this project.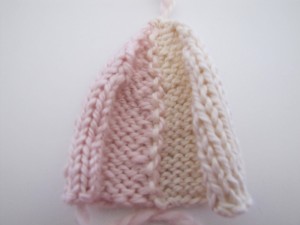
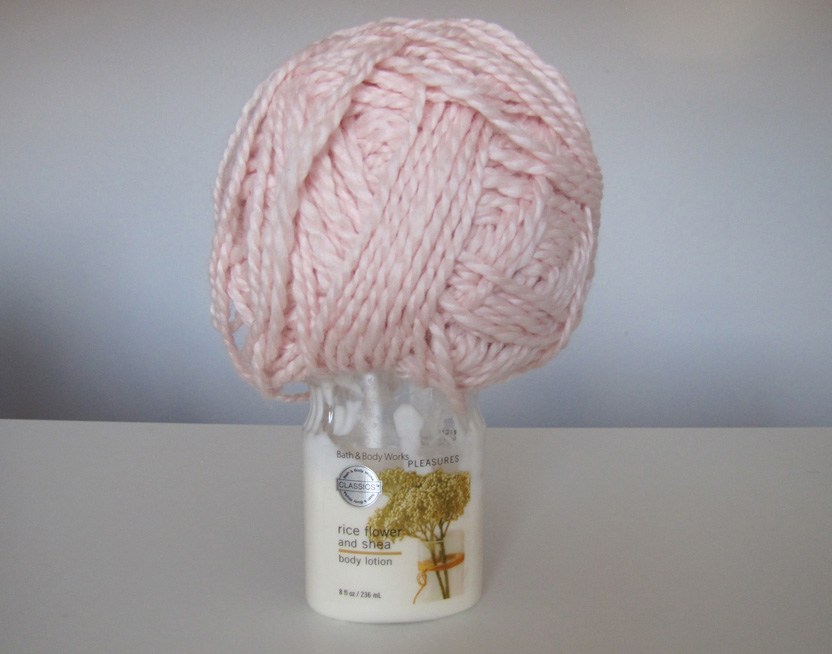
In case you are wondering my child size head manaquin was made with a lotion bottle and a ball of yarn.
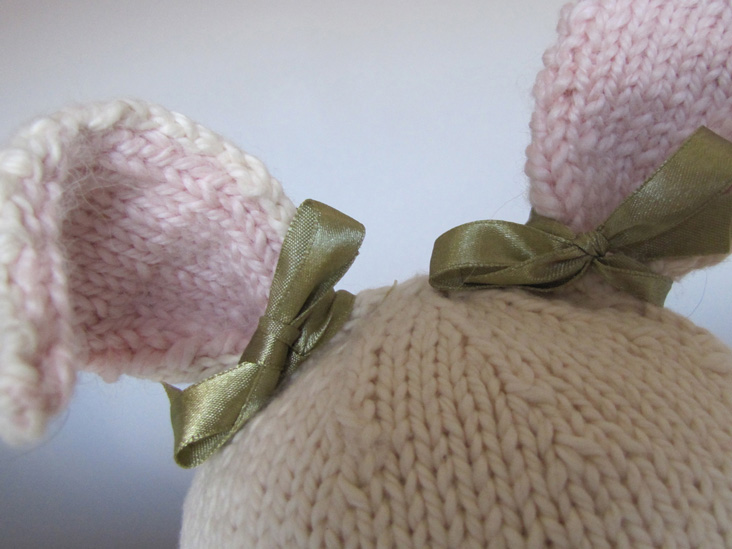
The pattern says sew the ear bottoms together… (no, this picture isn’t blurry, that’s just the illusion caused by my horrid sewing skills)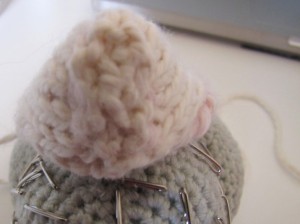
…and then sew them to the hat in a triangle. I tried that – at first. But then I had to sort of move them here and there to keep them even and then move them a little more to keep them erect on the hat. They say you are your own worst critic, meh.
I even tried to distract the eye with bows. But, I just didn’t have confidence in my sewing skills to send this out into the world. Some day little niece.

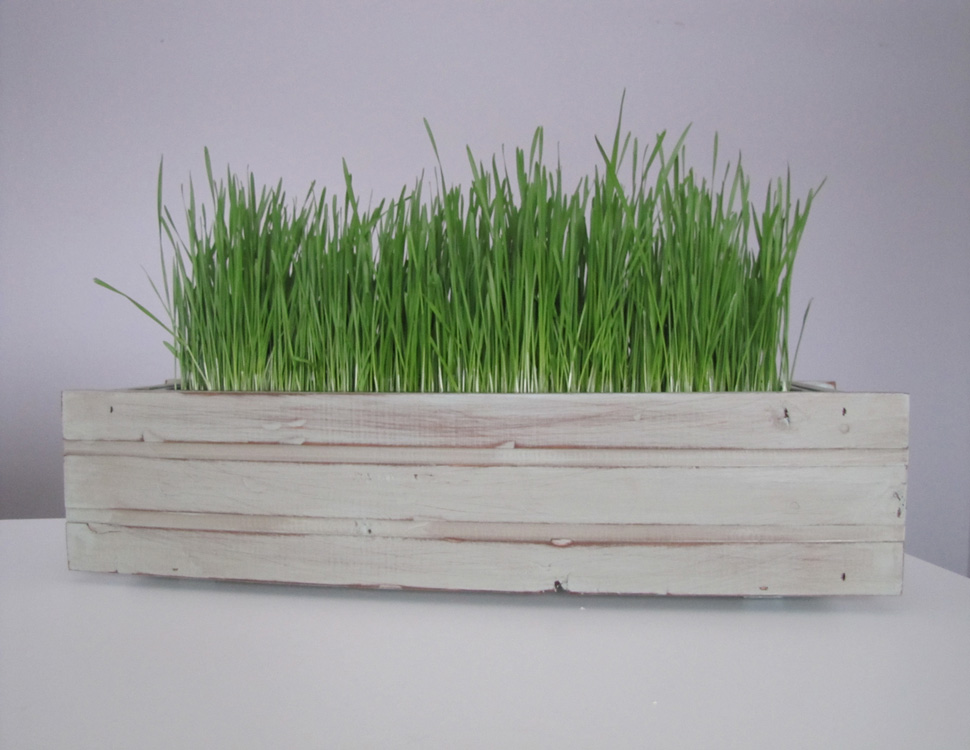
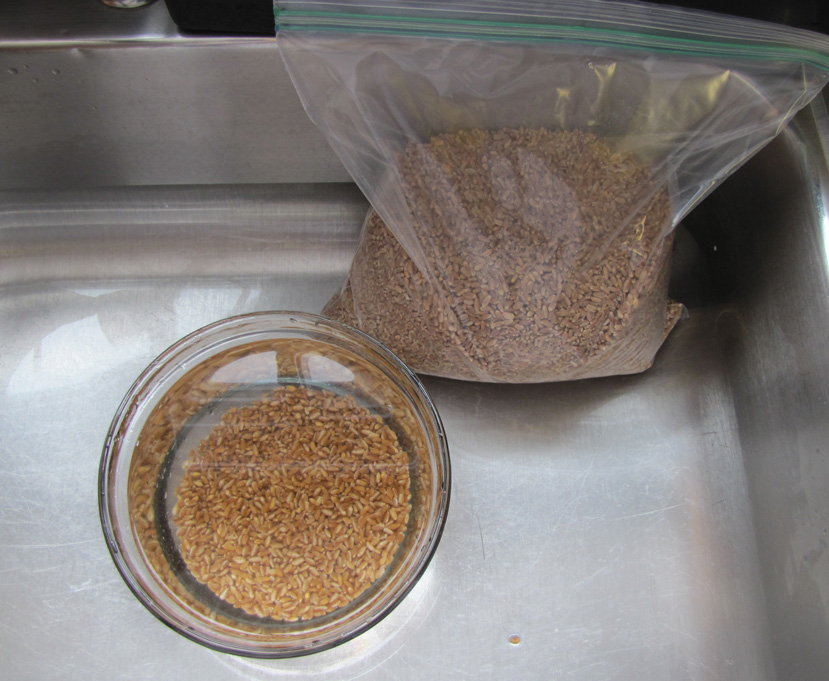
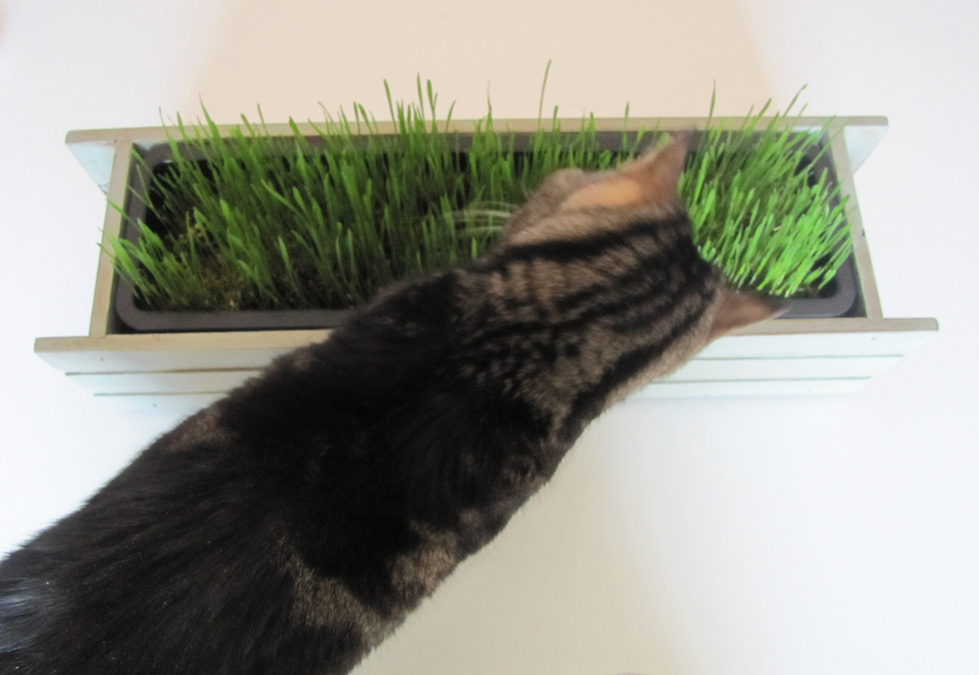
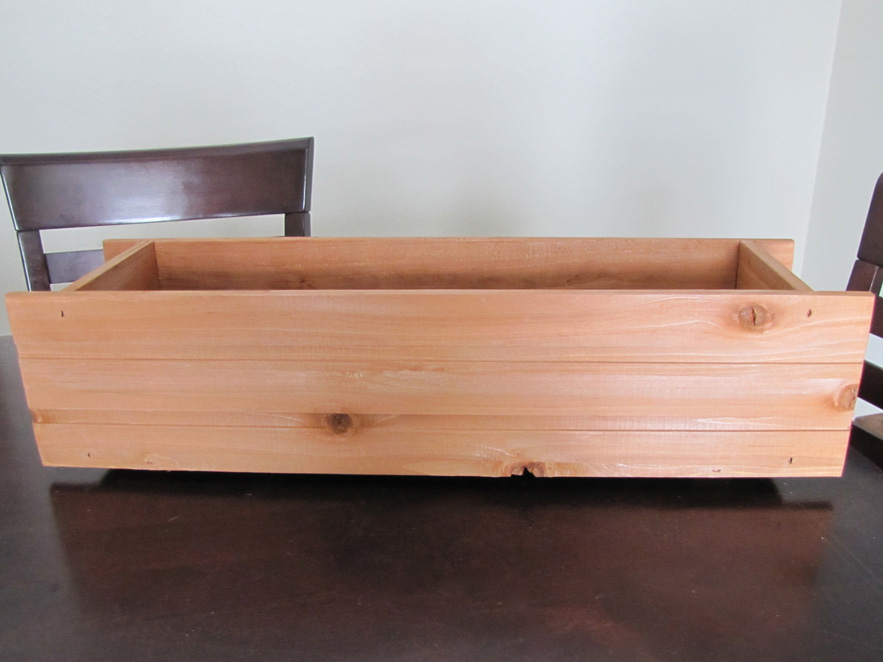
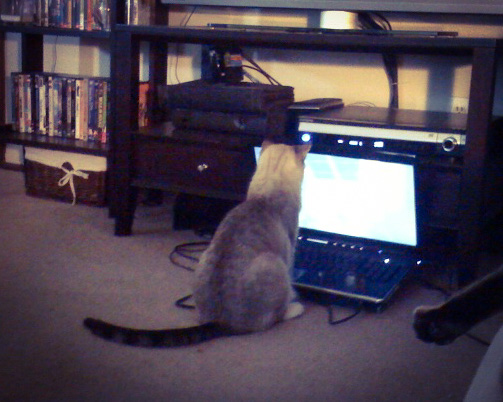
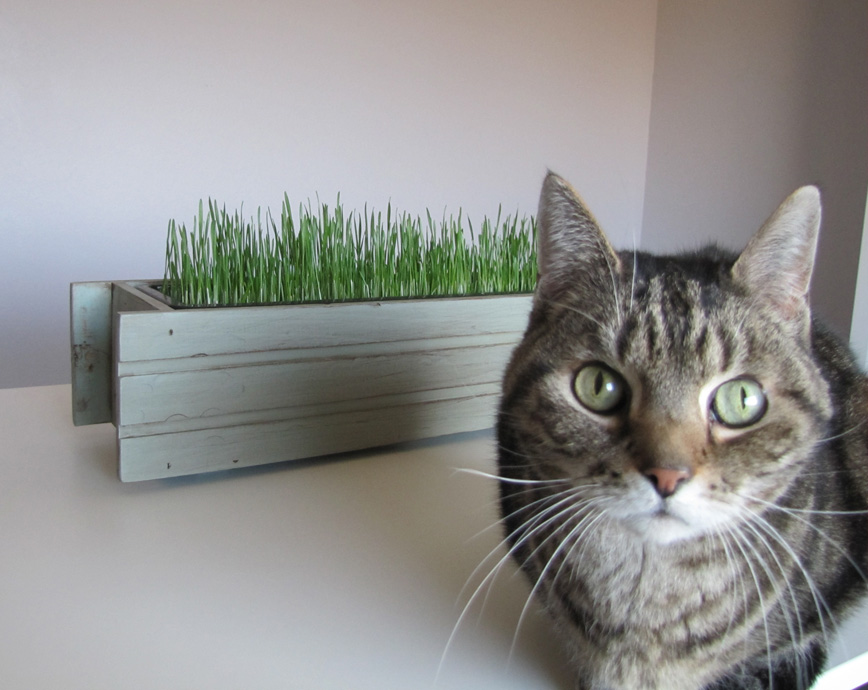 My cat Murphy eats every living plant that comes into the house and then promptly vomits it up. When I heard that it was possible to grow your own cat grass and that it’s easier to for a cat to digest, I knew this was just the project for a girl like me and a cat like Murphy. First I had to make the planter fancy. The entire process takes about a week.