Archive for February 12, 2013

Little Packages – Felt Envelopes (feltelopes?)

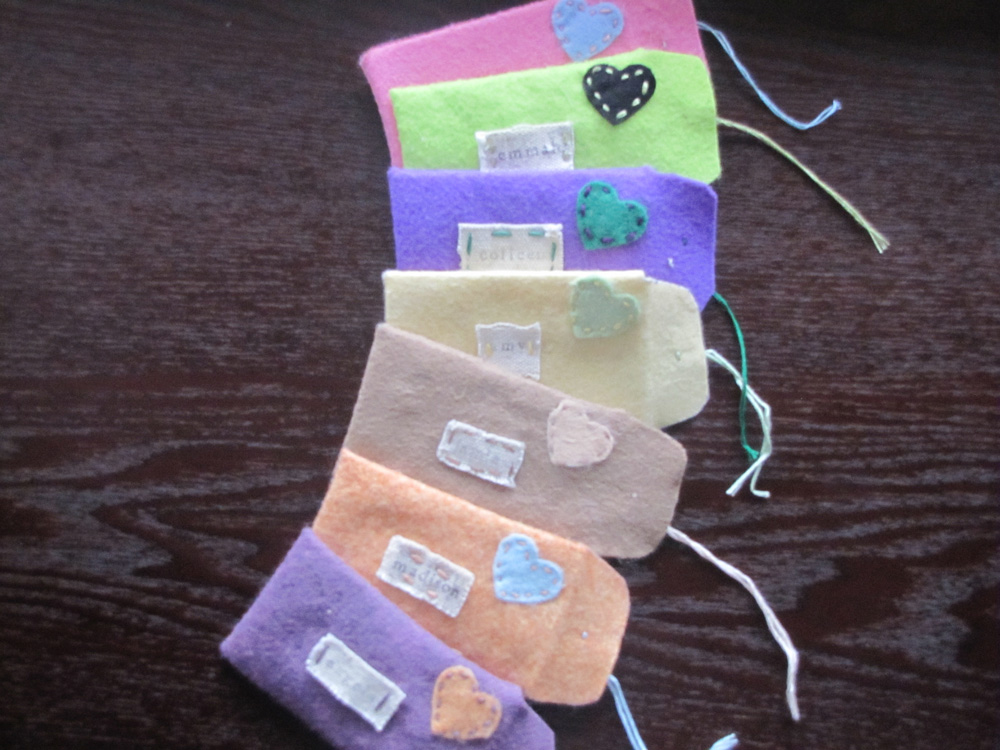
IMG_2148IMG_2150When I saw this project I knew I wanted to make about 450 of them! My finished project wasn’t as polished as Gail’s, the original creator, but I still love them and can’t wait to send them out to my friends and family…

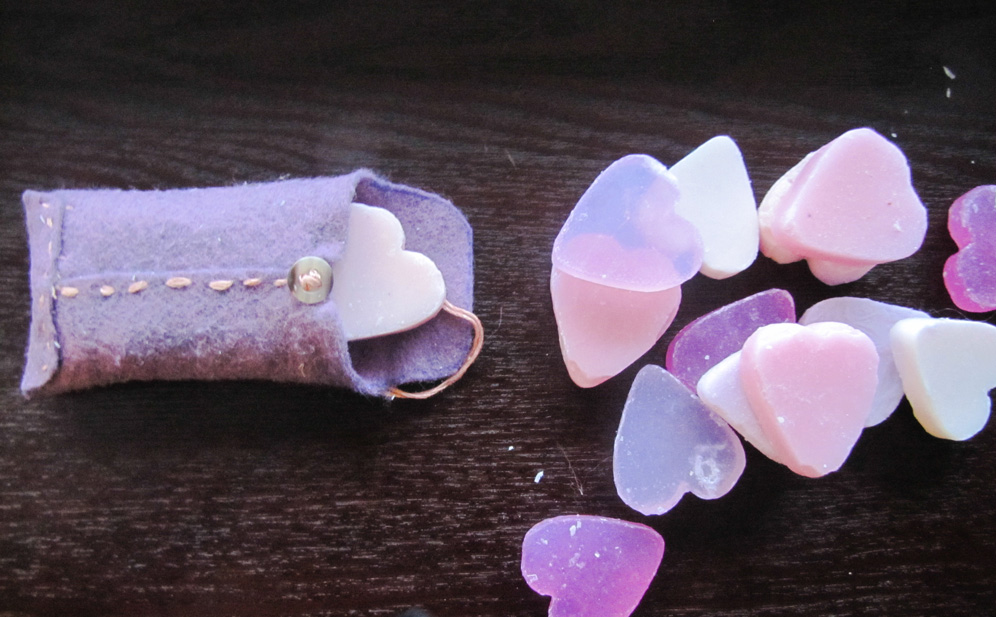
…especially with the little gift I put inside.IMG_2152-Edited
I used:
felt
embroidery thread
baby envelope template (purchase here)
canvas
Martha Stewart alphabet stamps
Martha Stewart heart craft punch
really big needle
scissors
iron

Felt
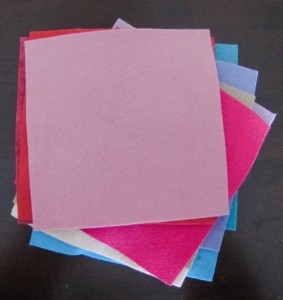
I learned a lot about felt making this project. The first thing you should know is that the felt you will find at Joann’s and Michaels is crap. You don’t want to use that felt for this project. It’s acryllic and almost transparent. You want wool felt or at least felt that has 20%-35% wool blend. Otherwise you will hate this project. I shopped online for my felt and from eBay. The price was great, the variety of colors was extensive and I got free shipping – which I couldn’t find at the other online felt stores.IMG_1983-Edited
Thread
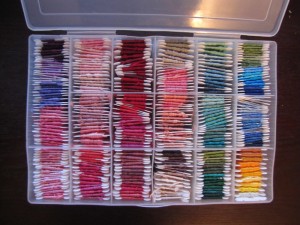
Gail recommended embroidery thread in contrasting colors. Thankfully, I had a plethora of DMC Mouliné Spécial 25 Six Strand Embroidery thread left over from my cherry blossom blanket.IMG_2153
Prep Work

Heart
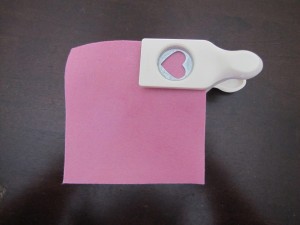
Once I got all of my supplies I spent about 5 hours deciding which color hearts to use with which flowers. Once I made the decision I started punching out the hearts. The Craft Punch is made for punching paper, the felt fits in but when you “punch”…you’re going to need to put your back into it!IMG_1986
Canvas Name Plate
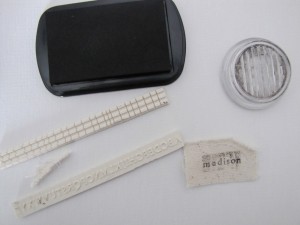
I bought some canvas at a craft store and the Martha Stewart Alphabet stamp set to make the name plates. I don’t know that much about canvas but the stuff that I bought had the consistency of string cheese and the stamp set was such a pain. I almost scrapped the whole name plate idea. I am definetely going to invest in a better alphabet stamp set soonIMG_2123-Edited
Baby Envelope Template
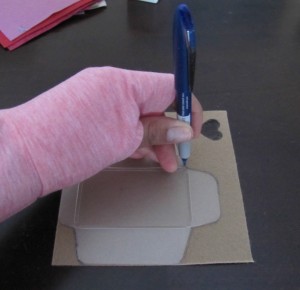
The Paper Source “baby” envelope template is made of thick plastic – measuring 2 1/8 inches by 3 1/2 inches. I traced the baby envelope onto the felt with a pen and then cut it out. My horrid cutting skills sure made each of these envelopes unique.IMG_1995-Edited
Seaming
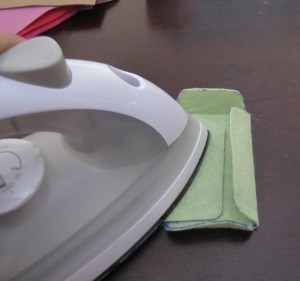
Gail recommended that before you sew the envelope together you use a iron to “seam” the folds. It helps with sewing your pieces together as well as the next step.IMG_1994-Edited
Sewing

Envelope Face
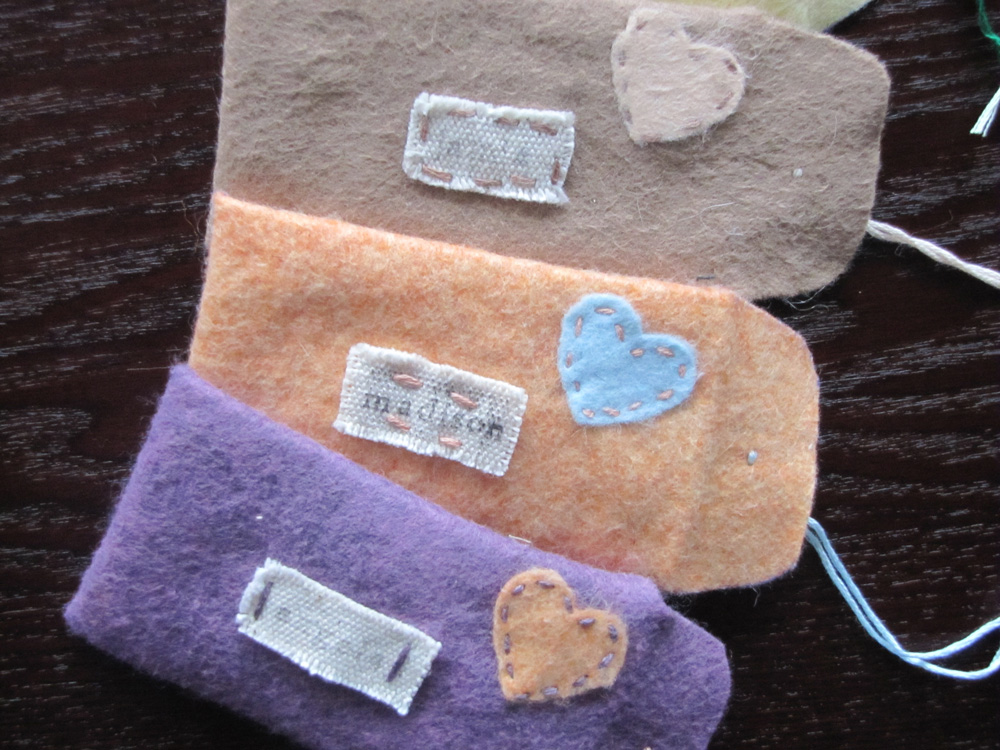
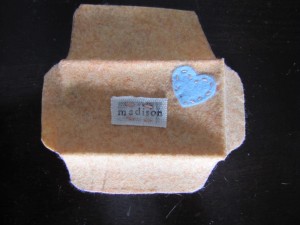
Next I sewed the heart and canvas name plates onto the face of the envelope. This was my favorite part of the process. I’m so glad I didn’t skip this step. The contrast stitching looks adorable.IMG_2130
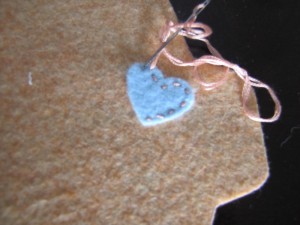
As I mentioned above it helps if you do this after you “seamed” your folds because you will have a better idea where the heart and name tag goes.IMG_2133
Flaps
I don’t really have any tips on this. I try to stay mum on area’s where I – well I suck. But it should look something like this;IMG_2136
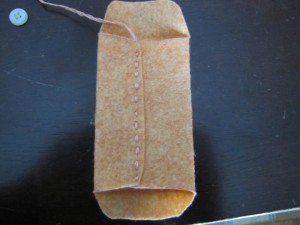
Button
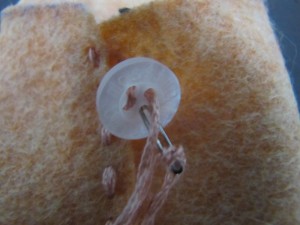
Any time my husband retires a dress shirt he cuts the buttons off, so I had plenty of extra buttons to use. Adds a little “fancy” right?? 🙂IMG_2138-2Tie-String
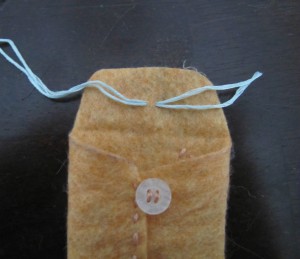
I folded the thread in half, slipped in through a needles and inserted it into the felt. then i drew the ends through the loop to make a slip knot thingy.IMG_2141-Edited
 

Add a Goodie
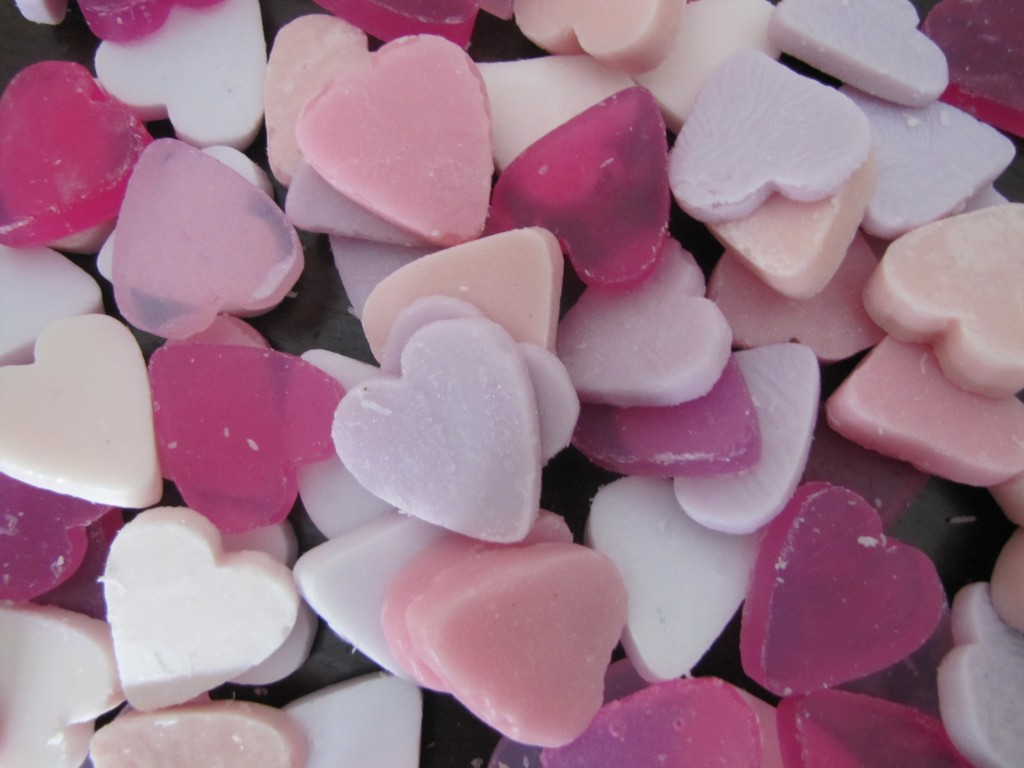
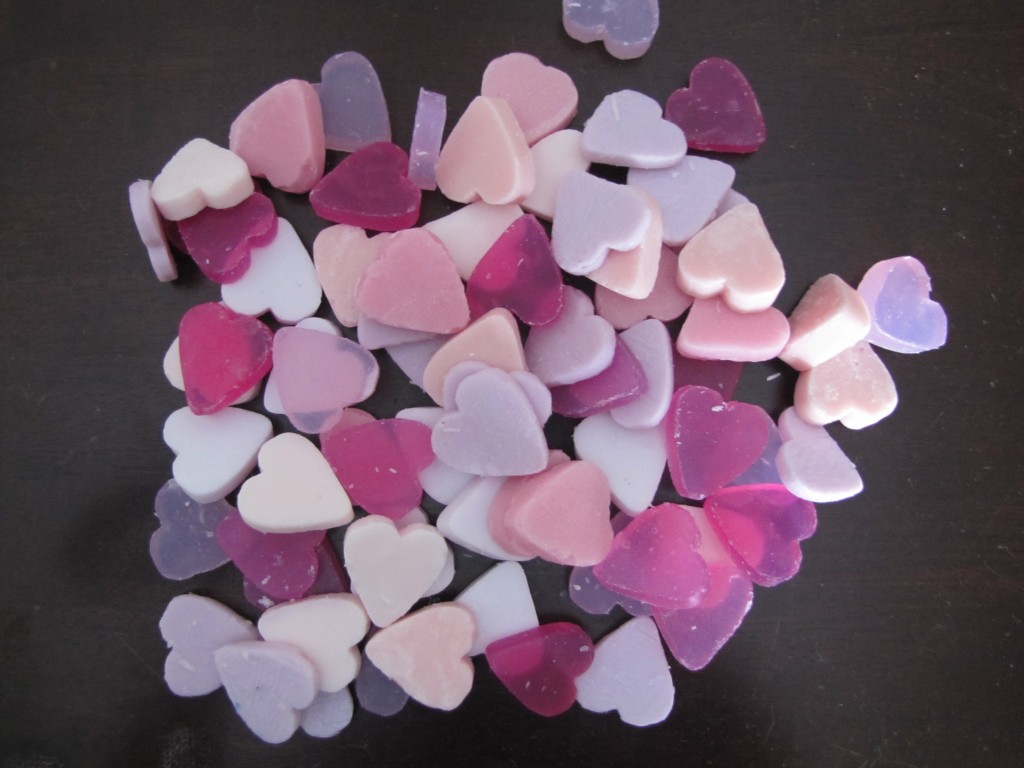
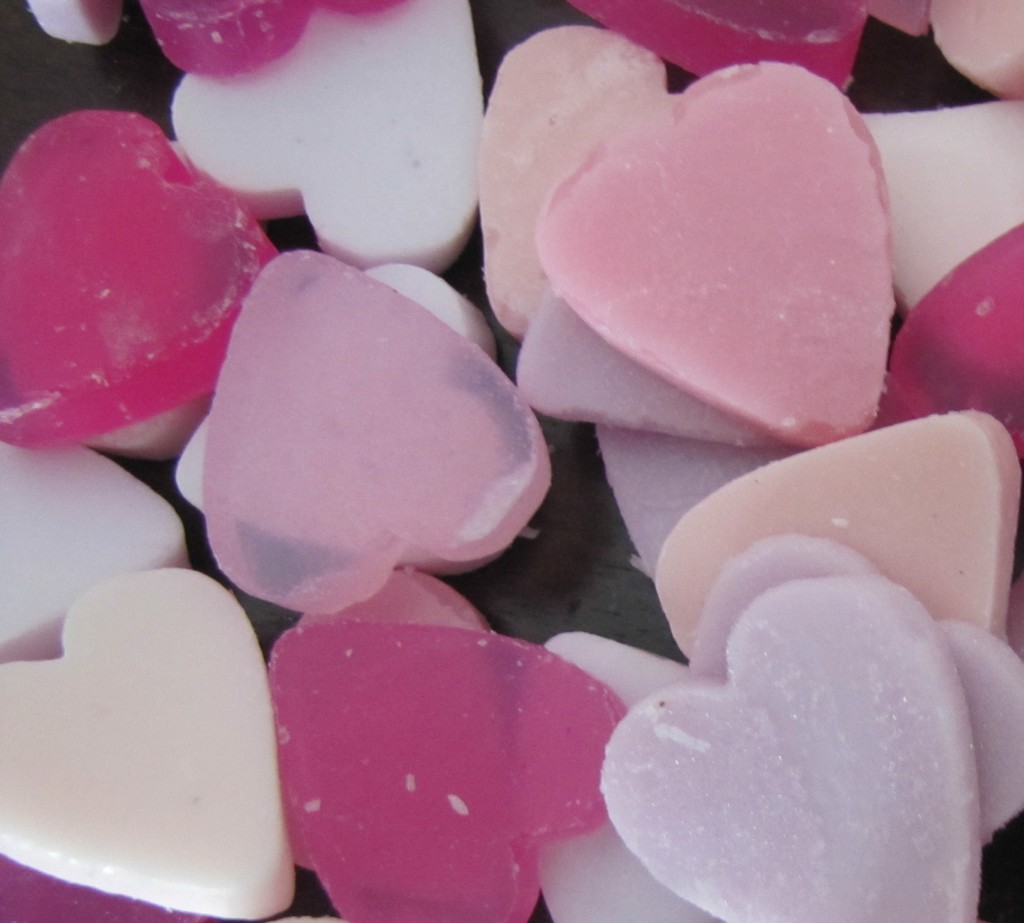
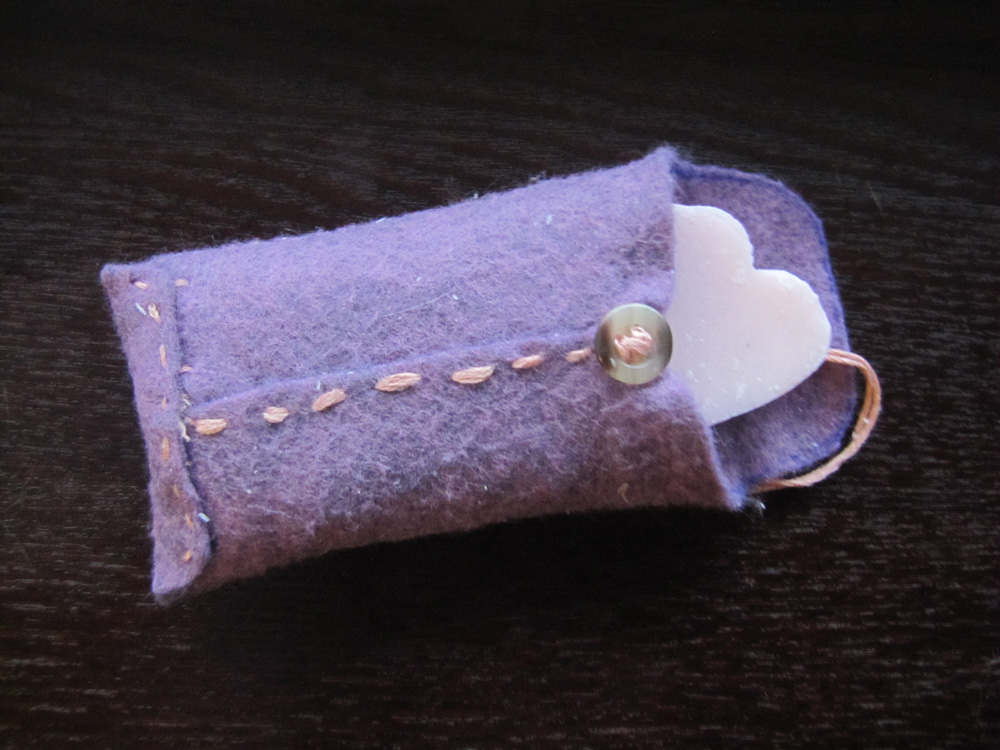
Gail put little cards inside, but I had my heart shaped soaps saved for this project. What did you fill your envelopes with?IMG_2151
Sweet Valentines Day Soap

IMG_2125 2DIY heart soapsIMG_2125 2 Edited

I wanted to make something special for my family and a few special friends to celebrate Valentines day. I saw lots of projects for felt hearts and heart soaps on Pinterest and I thought between the two, this seemed to fit my skill level.

So, before you read my post I should tell you that on my first try I did burn myself – badly and set a small fire. I will say that thanks to that fire, I learned that not only did my husband decide that the best place for the one fire extinguisher we own was in the basement, but that he actually moved it from that place and didn’t remember where it was. However, I didn’t even know we HAD a fire extinguisher. So, yay for important lessons learned during small fires!

I read several blogs with instructions on how to make soap. This is the way that worked best for me – excluding the fire and burns.

Sweet Valentine's Day SoapI used:
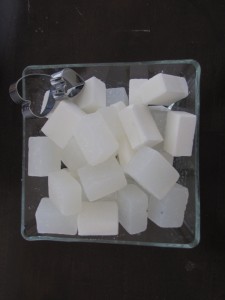
glycerin soap (clear and opaque)
soap dye or food coloring
Pot
glass measuring cup
non stick pan or silicone pan
heart shaped cookie cutter
rubbing alcohol (poured into a spray bottle)

Several blogs that I read suggest food dye. I tend to steer clear of food dye because I’ve had some bad skin discoloration experiences using food dye in sugar scrub recipes.

I wanted soaps in a several colors so I bought tiny cake pans. However, if you are going for just one color or larger quantities of soap just use a bigger pan.

Martha Stewarts blog said the best way to determine how much glycerin you will need is to fill the non-stick pan with water to the level/width you want your soap to be. Then pour that water into a measuring cup. This is the amount of liquid glycerin you need. I used 1 1/4 cup to fill my tiny pans.

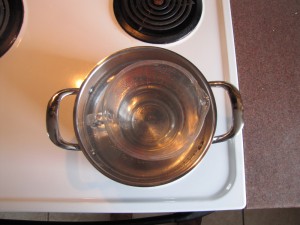
I created a double boiler to melt my glycerin by filling a pan about 1/2 full of water and then placing a measuring cup inside. I turned the water on low and then waited approximately 3 days, 6 hours for it to get hot.

Sweet Valentine's Day Soap

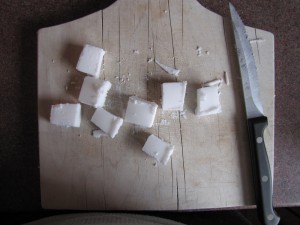
While I waited for the double boiler to heat, I started cutting the glycerin into chunks about 1/8 inch thick and 1/4 wide – Later I used a cheese grater to shave it into smaller pieces that melted faster (my knuckles are still healing).

Sweet Valentine's Day Soap

I can not began to tell you how horribly boring waiting for glycerin to melt is. I was determined to complete this process right, so I started out with the burner on super low. Nothing. Happened. Slowly, I increased the heat little by little until it bubbled over and burned me. Shortly thereafter it started a fire. I also noticed that it created a weird white froth that didn’t dissolve as the soap dried. Based on these findings, I never ever turned the burner up again while making soap. I also learned that it’s important to keep stirring your glycerin. It speeds up the melting process and it prevents a irritating skin layer from building up.

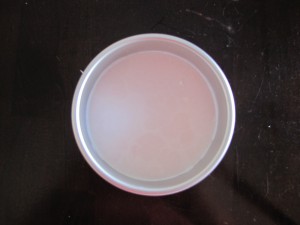
Once the glycerin is melted QUICKLY pour it into your pan. It begins to harden almost the second you take if off the stove. Here’s where you use the rubbing alcohol. A few quick sprays while dissolve bubbles that form on the top.

Sweet Valentine's Day Soap

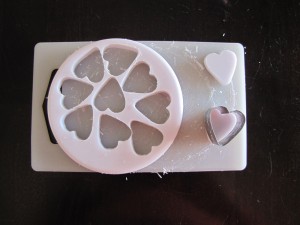
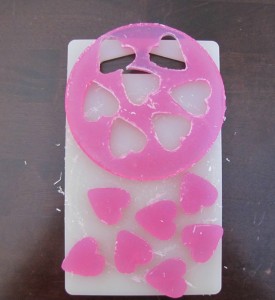
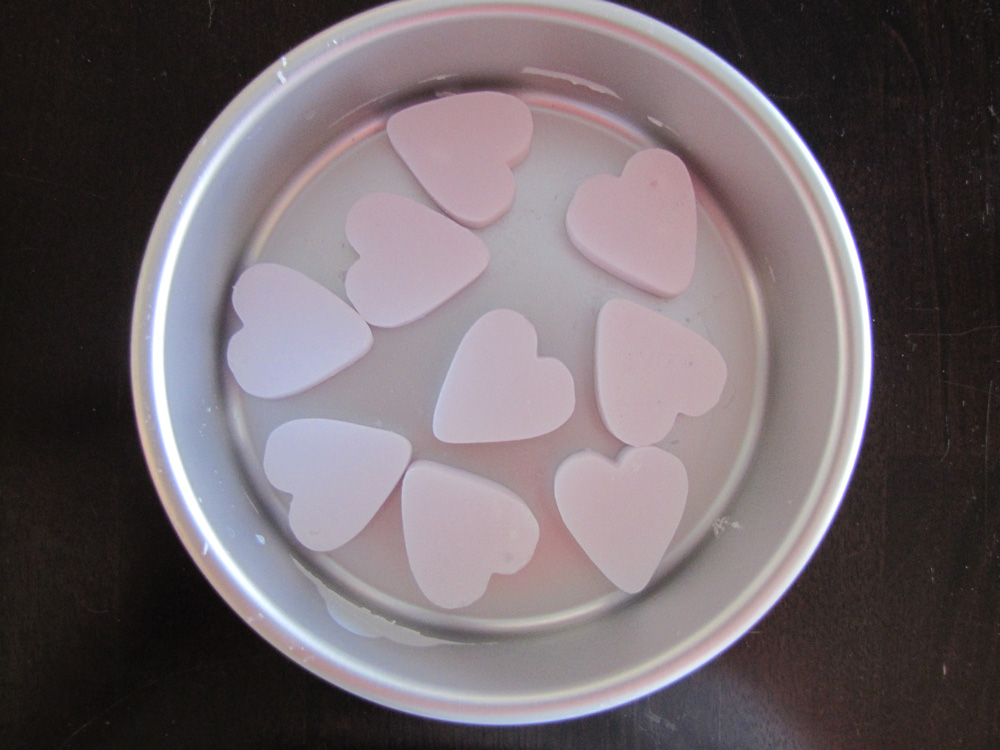
Once your soap has hardened, use your heart shaped cookie cutter to cut out your heart shaped soaps!

Sweet Valentine's Day Soap

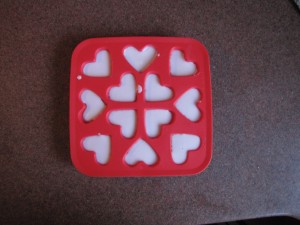
I also used some silicone heart shaped ice cube trays I’d gotten from Ikea for $.99. To be honest, I thought the silicone trays were easier, but I needed thinner hearts for the next step of my project (stay tuned).

Sweet Valentine's Day Soap

I cut the scraps up and threw them back into my double boiler. Then I just added more soap and dye until I got the desired amount and color for my next batch.

Sweet Valentine's Day Soap

This project was the least complicated in theory – well, aside from the fire obviously. But, it made the biggest mess. Nothing that I used seemed to really get the glycerin residue off the pots and sink. Tupperware that was in the dishwasher during the same cycle as the stuff I used to make the soap ended up with a soap residue that I couldn’t get clean and eventually had to throw away. But, I can’t help but smile when I see my little bag of heart shaped soaps. I hope the recipients enjoy them.

Soap Hearts

DIY canvas art….sorta

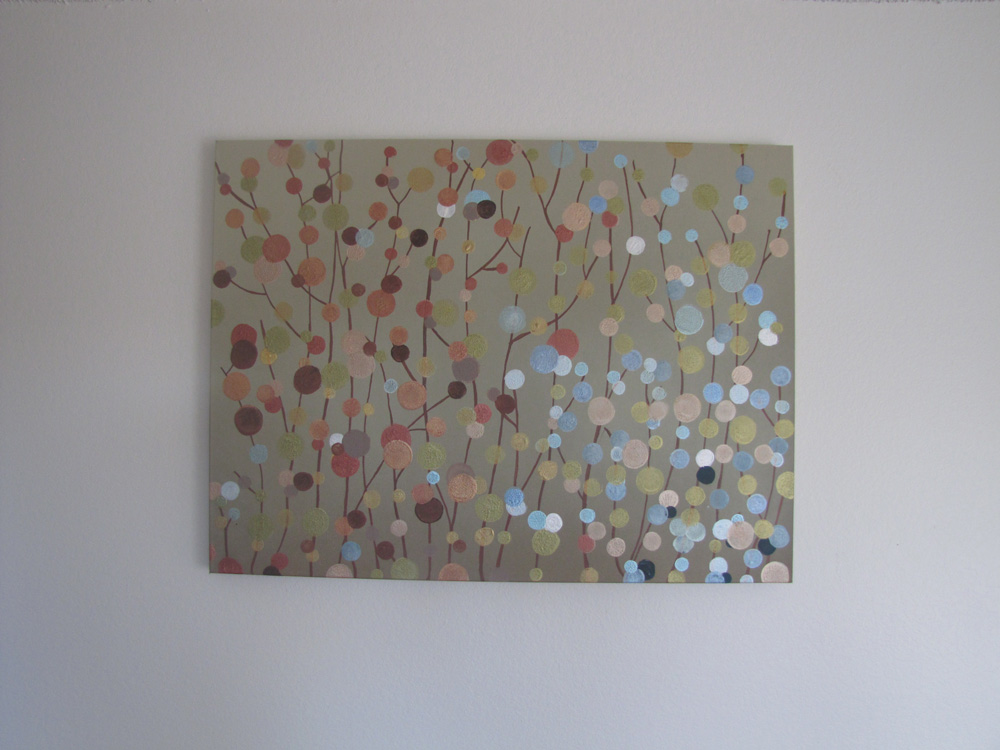
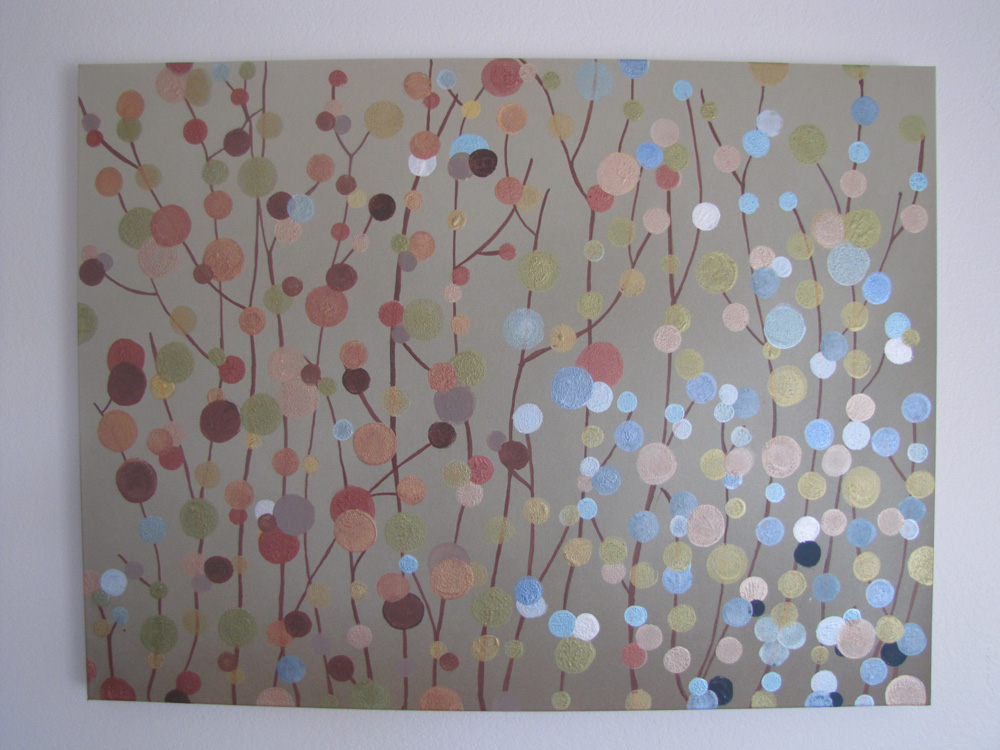
IMG_2211bigIMG_2209bigIMG_2063-Edited-2bigLately I’ve been staring at the walls in my house. I want to be one of those people who has interesting walls with fantastic art. But I have a budget and I am not really that good with decorating. My mother calls me “beige” and I suppose it’s true. When I saw this fantastic project on Pinterest I thought it was something even I, with my severely limited artistic ability could do and it seemed like something that would fit in with my tastes considering my love of neutral colors.

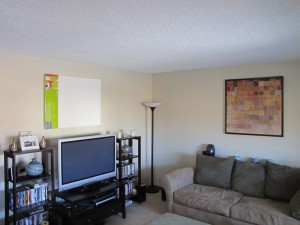
IMG_1668bigI love the piece above my couch but I haven’t been able to find something that I love just as much for the space above my TV, so it’s sat empty for over two years. I hoped this project would fill that space.

To make this be a tutorial it would be something like the blind, deaf, and dumb leading…someone who likely has more skill than me. So instead, I will just tell you what I did and hope it helps you not make the same mistakes.

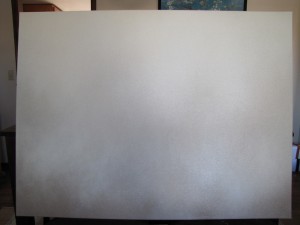
The first step was the base coat of the canvas. I wanted it to have a ombre effect so I used about four coats of Rustoleums’ Almond Spray Paint and two coats of Design Masters’ Copper Fusion Spray Paint to get this look:IMG_1734big

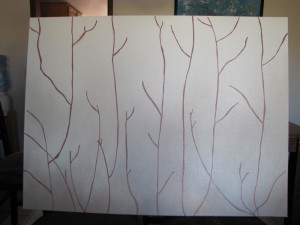
Next I needed to draw the branches. I did really well with this step.

Until…

I decided there was a space that could use a extra branch and for some reason instead of drawing another slightly flowing branch I drew a crazy straw branch. The more I tried to fix it the worse it got until the crazy straw branch looked like a thick crazy tree trunk dominating the left side of the canvas. I tried to ignore it but it was a wild and CRAZY branch! So I had to start the spray painting process over again.IMG_1736big

I tried to spray paint over my big mistake but I could see it underneath the spray paint like Poe’s tell-tale heart mocking my attempt to fill the gaping hole above my TV. Eventually, I had to admit defeat and buy another canvas which made me very cranky. It seems to be a recurring theme with these projects; they start out inexpensive and then slowly but steadily get more and more costly. I’ve convinced myself I will be able to use primer paint to save the canvas but that’s for another day. Anyway, new canvas, spray paint, and branches and finally it was time to start painting the dots. By now I was a nervous wreck so I went about the next step very very slowly.

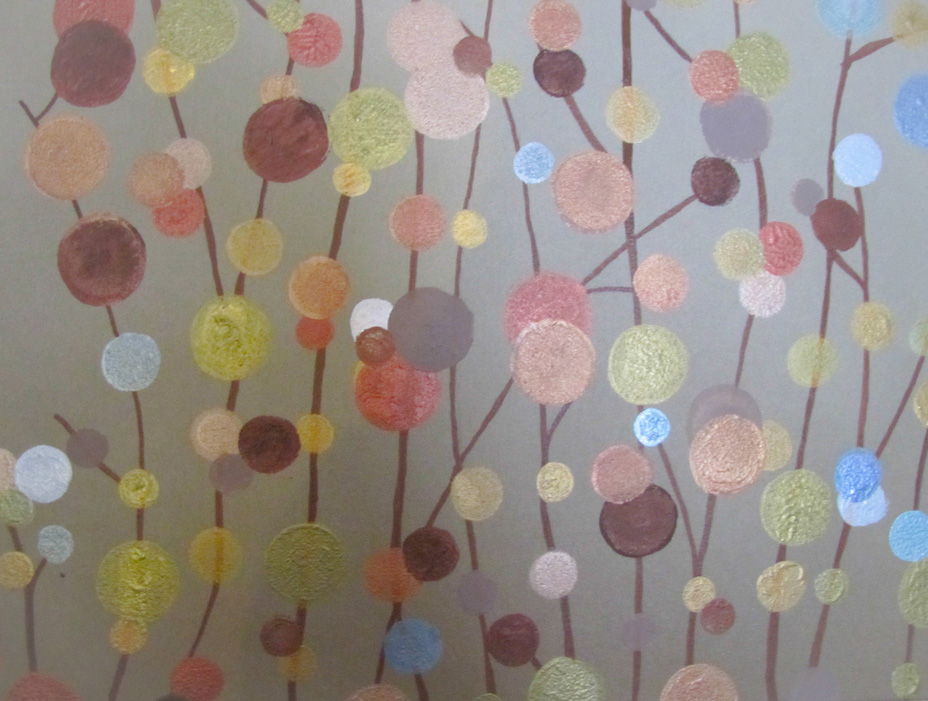
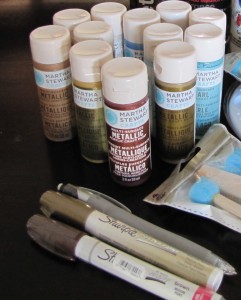
IMG_1681 EditedI used the Martha Stewart Acrylic Pearl and Metallic Paint Set which came with 10 colors – Mint Chip, Aquarium, Jet Stream, Eclipse, Pink Taffeta, Fruit Punch, Tiger Lily, Yellow Gold, Gold, and Sterling. I also bought a few extras – Gazing Ball, Cornflower, Citrine Gold, Mother of Pearl, Rose Gold, and Rust. I used the Sharpie oil based paint pen and a brown Crayola colored pencil to draw the branches and three packs of sponge brushes to make my dots – the sponge brushes come in three sizes. Even with the three packs, I had to constantly rinse out the sponge brushes, wait for them to dry and reuse them with different colors. This was very annoying. However the packs were $5 each and I was determined to stay within some semblance of a budget. I suppose in a way it did help me pace myself and not go too fast which helped me avoid getting sloppy or hurried, but nobody likes rinsing out sponge brushes, let alone 15 times a day over the course of a three day project. I suppose what I’m saying is that if a budget is not an issue for you, buy lots of brushes.

Anyway, I was a nervous wreck because I had an idea of what my dots were going to look like and it was not good. One thing I have not mentioned is that I made practice canvas’s along the way. When I say that I lack artistic ability I am not joking. These were smaller cheaper canvas’s that I used to practice spray painting, drawing branches and finally the painting. I would say that up until the painting step I had felt ok – no encouraged by the results of the practice canvas’s… but when I tried my painting skills on the practice canvas…It looked like something you found at an estate sale of somebody who stopped shopping in the early 70’s. It also didn’t help that when my husband came home from work and saw the practice canvas…. well, he didn’t dissuade me of that opinion.

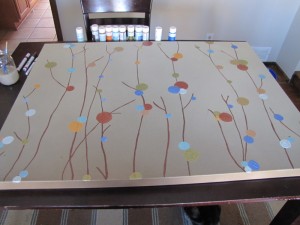
It took me about three days to paint the whole canvas. Originally I planned to just fill the canvas with random colors everywhere.IMG_1979big

After the first day I noticed that even if I painted dots all over the branches that I’d drawn, it would have big gaps. So I filled in the empty spaces with more branches. I also decided that it would look better If instead of random colors everywhere, I placed the colors in a more balanced setting – Browns and golds on the left side and teals and blues on the right side. I also experimented with mixing some of the colors together so I would have more variety.DIY Canvas Sponge Art

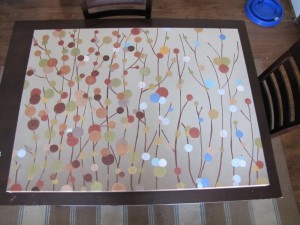
Finally I used the green as the main color through the whole canvas to draw the whole picture together. Again I stress that I am not an artist so this may look like crazy sauce but I like it and really, who gets to say what is art…right?

So that’s it… I think it looks pretty good. Oh and in case 70’s estate art is your thing…IMG_2081big