Usually I’m the one in the house working on crafting and Do-It-Yourself projects. But when I saw my husband, Lee getting his beer brewing supplies ready for the next batch I begged him to write a special blog for my site.
I’m a complete beginner to brewing beer at home. There are a lot of different brewing techniques and virtually endless number of beer and ingredient combinations. Beer supply stores both local and online sell kits that include everything you need to get started. These can range from around $75 dollars all the way up to $300-$400 for an all grain starter kit. For myself, I bought just a cheap kit with the plan to build on as my interest grew. This has been a really fun new hobby and I have pretty much dove in head first.
Today, I’m brewing a Black IPA. A Black IPA is hopped like an IPA but with a rich dark malt rather than pale malt. As you might expect, brewing different types of beer, there are different processes for each. As compared to other kits this is a pretty intense with 2 malt additions, 6 hop additions (plus dry hopping), and a corn sugar addition.
As we go through the process I’ll try to keep the process relatively general. This will just barely scratch the surface of home beer brewing…there’s lots to learn.
Getting Started:
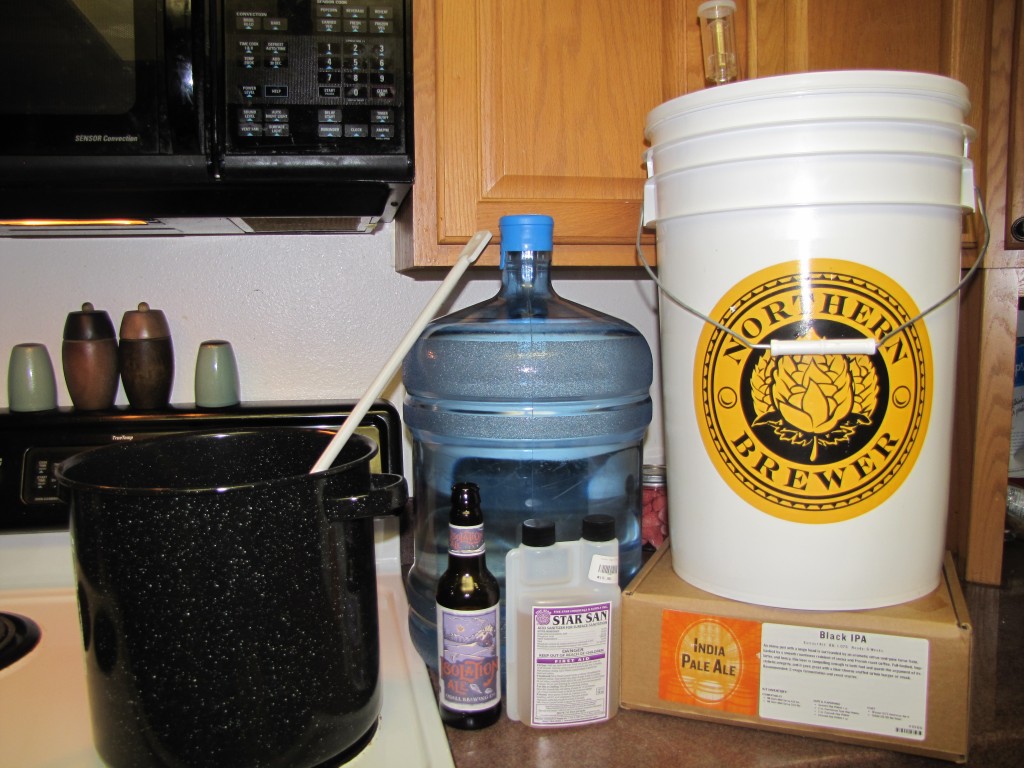
First things first, take an inventory and make sure you have everything you need. Your beer kit will come with all the ingredients you need, but also make sure you have sanitizer, ice, good quality water, etc. You won’t be able leave during the boil so it is absolutely necessary to have everything.
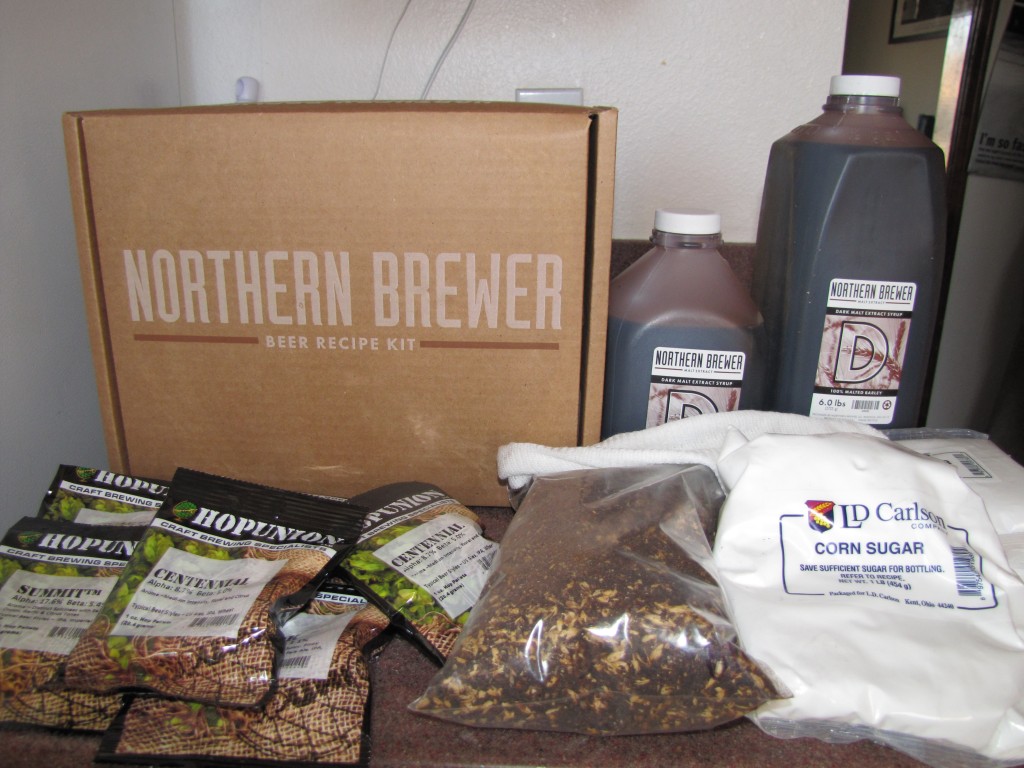
Ingredients:
Specialty Grain
3.15 lbs of dark malt syrup
6 lbs of dark malt syrup
1 lb corn sugar
1 oz Summit hops
1 oz Chinook hops
1 oz Centinnial hops
1 oz Cascade hops
1 oz Centennial hops
1 oz Cascade hops (dry hop)
Safale US-05 Ale Yeast
Other Stuff:
Kettle at least 3.5 gallons
Mesh Grain Bag
Star San Sanitizer
Timer
Ice
Beer to Drink
If you have everything you need now’s the time to crack a beer and let’s get started.
Make the Wort:
These steps apply if you’re making beer with an extract kit. If you’re going all grain you’ll have to extract the sugar from your malted grains first.
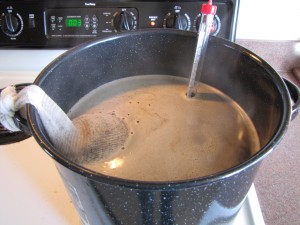
Start by measuring out about 2.5 gallons of water. I use bottled spring water. Tap water will also work fine as long as you have good tasting water. Start heating the water in your boiling kettle. If you have specialty grains in your kit, now is the time to add them. Place them in the mesh grain bag and hang them off the side to steep just like tea. After about 20 minutes or once the pot reaches 170 degrees remove the grains. Bring the pot to boil.
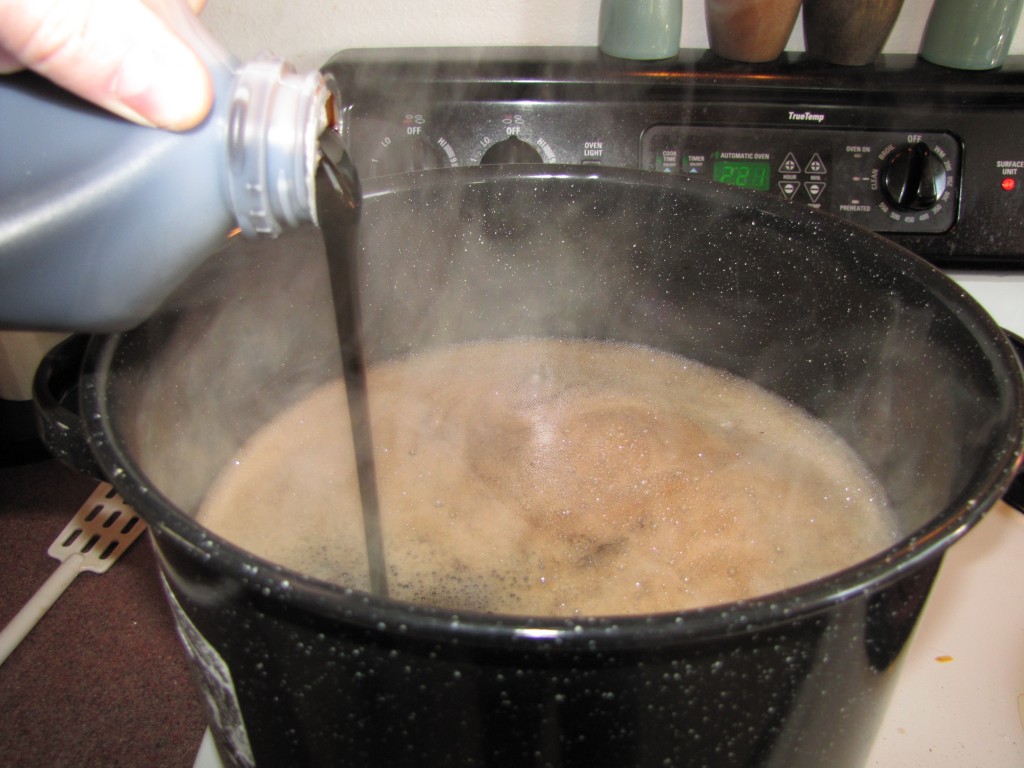
Once it reaches boiling it is time to add your first round of malt extract. First remove from heat. This prevents any of the malt extract that might reach the bottom of the pot stick down there and burning. Pour the malt extract in slowly slowly and stir to combine. Once it’s fully mixed return to heat and to boiling.
Congratulations, you now have what’s called the “wort” – a brewers term for unfermented beer.
The Boil:
Once you get the pot to boil again you’ll usually be instructed to add hops. You will add hops throughout the boil to allow the beer to take on the unique characteristics of each type of hop and blend with your malt. Follow the instructions on your kit for hop addition times. For this Black IPA, add the Summit hops and set the timer to 60 minutes.
Watch out for boil overs! While this won’t ruin your beer it will leave a sticky nasty mess for you to clean up. If you think the pot is about to boil over reduce heat and stir the wort.
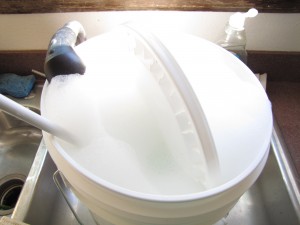 While you’re boiling it’s a good time to start sanitizing your primary fermenter and anything else that might touch the beer after boil. I usually just fill the fermenting bucket with water and Star San and throw everything else that needs to be sanitized in the bucket.
With 15 minutes left it is now time to add more hops and malt extract. I quickly stirred in the malt extract and added the recommended hops through to the end of the boil. There is also a late addition Corn Sugar added, my first experience with Corn Sugar.
Cooling the Wort:
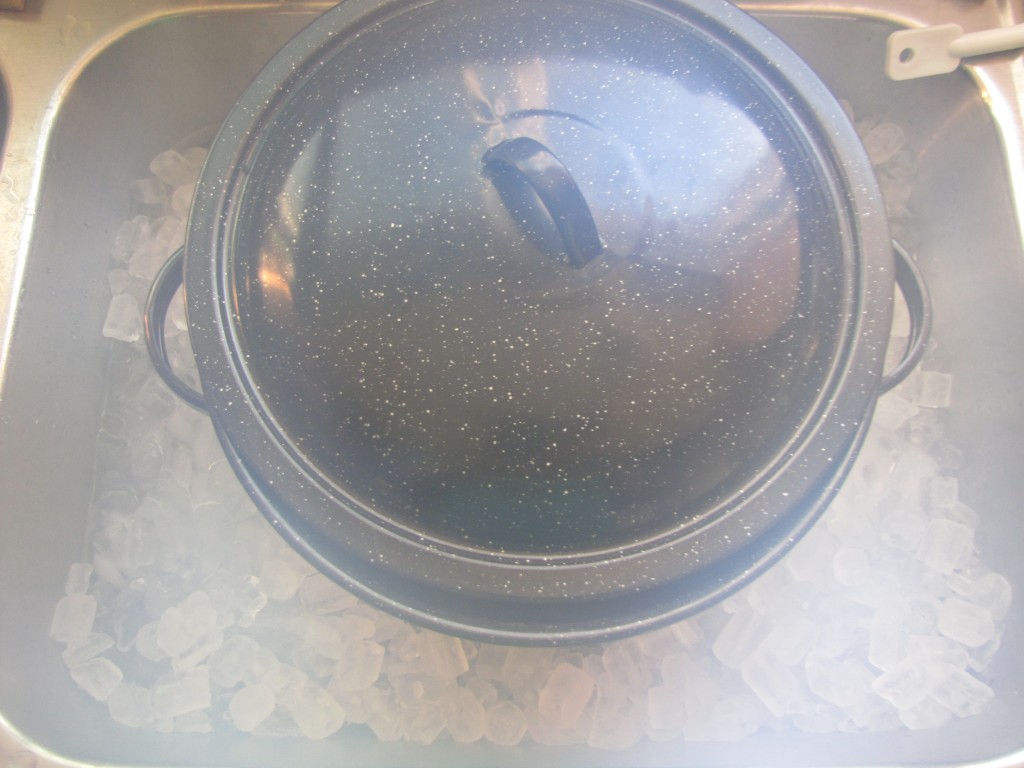
Next step is to cool your finished wort as quickly as possible. The most convenient cheapest way to do this is a simple ice bath. I put the boiling pot in the sink and fill it with ice and a bit of water.
We need to get the temperature down to 100 degrees as fast as possible. Since the wort is no longer boiling it’s fully open to contamination by anything that might find its way into it. Leave the pot covered and open just a crack to allow steam to escape. This normally takes around 45 minutes.
Move Wort to Fermenter:
Next step is to move the beer to the primary fermenter. Empty out your sanitized fermenting bucket and fill with 2 gallons of water. Pour in your cooled wort, and then fill with water to reach 5 gallons. Agitate the wort to oxygenate it by rocking the bucket back and forth.
Pitching Yeast:
Time to add your yeast. Depending on what kind of yeast you are using, you may have had to activate the yeast prior to brewing. With the Black IPA kit I used dry yeast. Many kits will recommend you pitch it directly into the wort. In the book “How to Brew” by John Palmer, he recommends rehydrating the dry yeast before pitching it. I tried this out for the first time with this batch, and we’ll see how it works out. I would highly recommend this book for anyone that wants to expand their knowledge beyond the standard brew kit instructions.
 Fermentation:
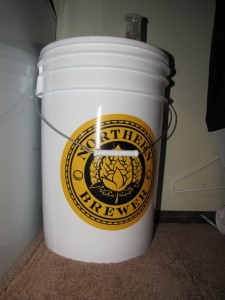
Place the top on your fermenting bucket and seal all the way around. Add some water to your airlock and place into the whole in the lid. Move the bucket to a dark, undisturbed location with temperatures that are regularly between 60-70 degrees. Depending on the type of beer you’ll need to let it ferment at least 2 weeks in the primary fermentation bucket. Most recipes also require secondary fermentation. If you don’t have a secondary fermenter you can sometimes leave it in the primary for an additional week or two to finish fermentation. This Black IPA will require secondary fermentation in a separate fermenter where it will be dry hopped.
Bottling:
Bottling or kegging your beer is the last step. I won’t cover much on this here, but I can tell you the key is to be very clean. Clean and sanitize everything extensively to eliminate any contamination. After 1-2 weeks of bottle conditioning you’ll be ready to enjoy the fruits of your labor.

