
What you need:
½ Cup Sugar
2 teaspoons of water
silicone ice cube tray or mini candy mold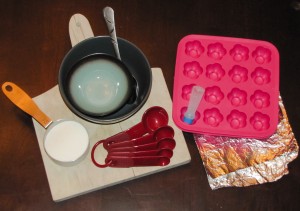
What I used:
(in addition to items listed above)
1 Bowl (more if you are making several batches)
1 spoon
1 teaspoon
Aluminum foil
Cutting board
Empty food coloring bottle purchased from King Soopers (Trust me you will want this!)
Airtight jar to store your sugar cubes
Airtight jars I used:
Ikea “slom” Jar
16oz Golden Harvest Jars
Upcycled Mason Jar from Tokyo Joe’s restaurant (which I turned into Snowmen.)
It’s important to complete this process quickly. The sugar water mixture dries quickly and it’s best to get it pressed into your molds before that happens. I recommend reading through this first before you start!
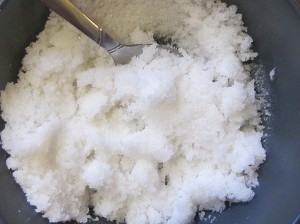 Combine ½ cup sugar and 2 TEASPOONS of water in a bowl and stir. Be sure to scrape the sides.
The first blog I read just said to make a “sugar paste.” Trust me, 2 teaspoons comes from countless experiments. It might not seem like a lot of water but do not add more or you might not end up with sugar cubes, you’ll have chewy candy goo that never dries. If you get stuck or stop for any reason just stir your mixture a bit to moisten up any sugar that may get dry.
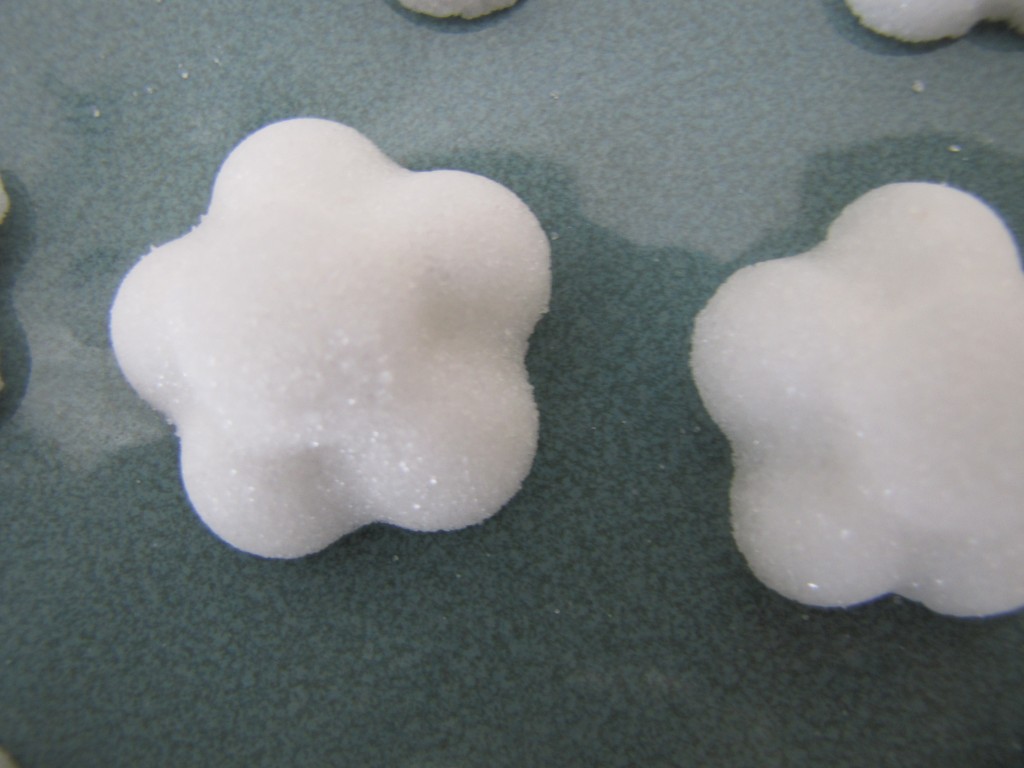
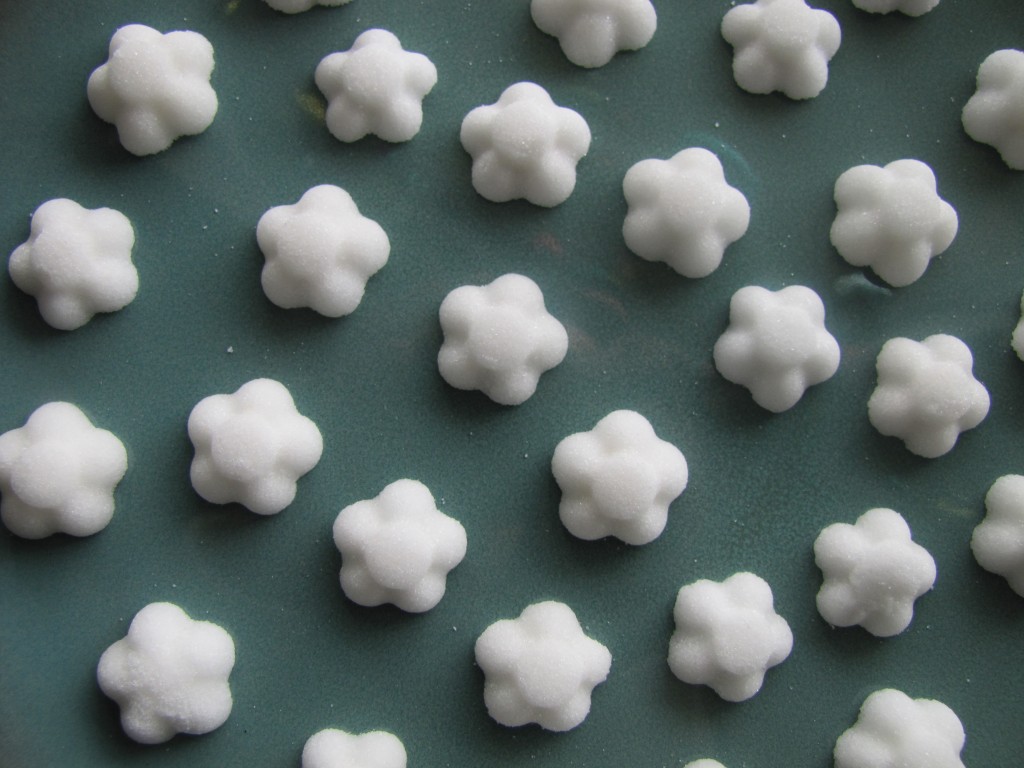
Using the measuring spoon, fill each mold with a 1 teaspoon sized scoop of the sugar mixture. Tightly press the mixture down into the the mold. 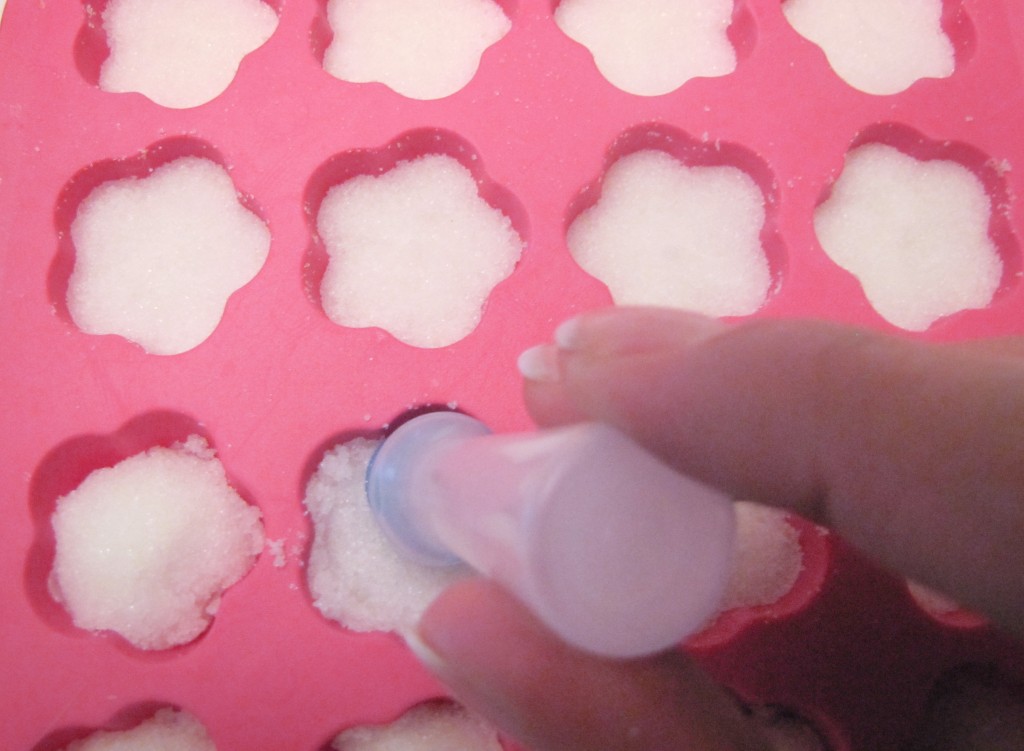
I spent a lot of time looking for something that would fit into the molds (and was sanitary). I had a lot of sugar cubes that dried and fell apart because I couldn’t get the sugar packed tightly enough. If you have a King Soopers near by, I strongly recommend that you buy their store brand of food coloring bottles for this project. They may save you a lot of time and frustration. The top of the bottles fit into the corners of each one of the silicone molds that I have used.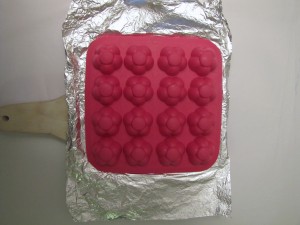
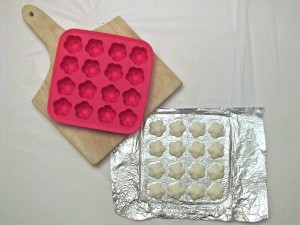
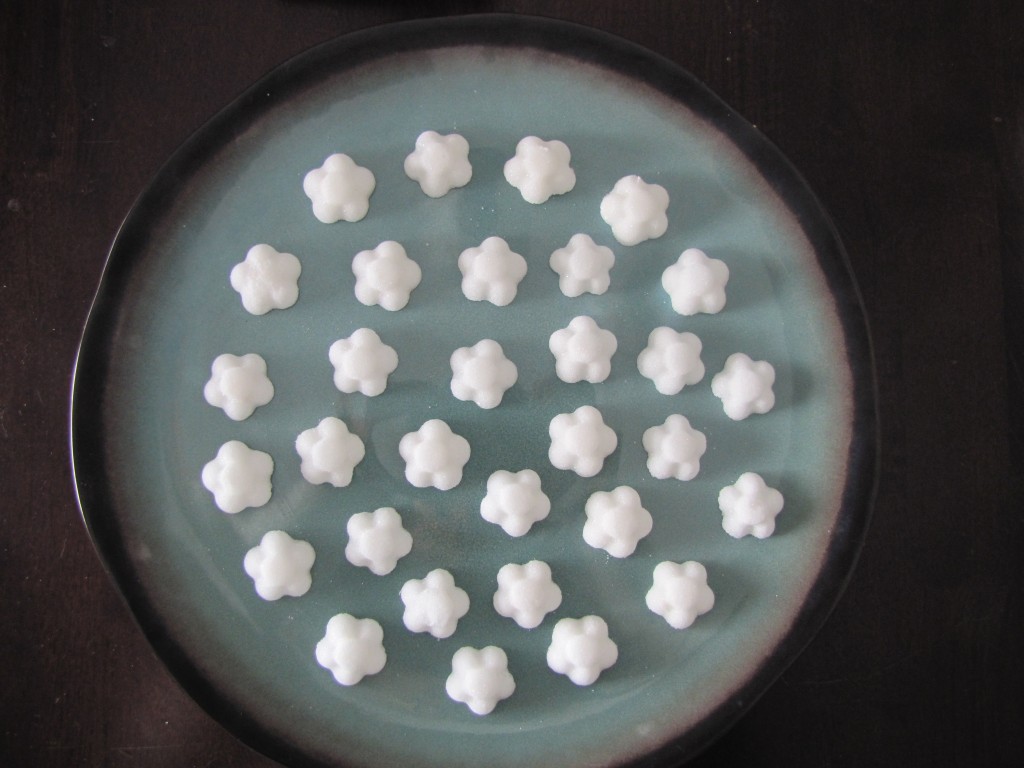
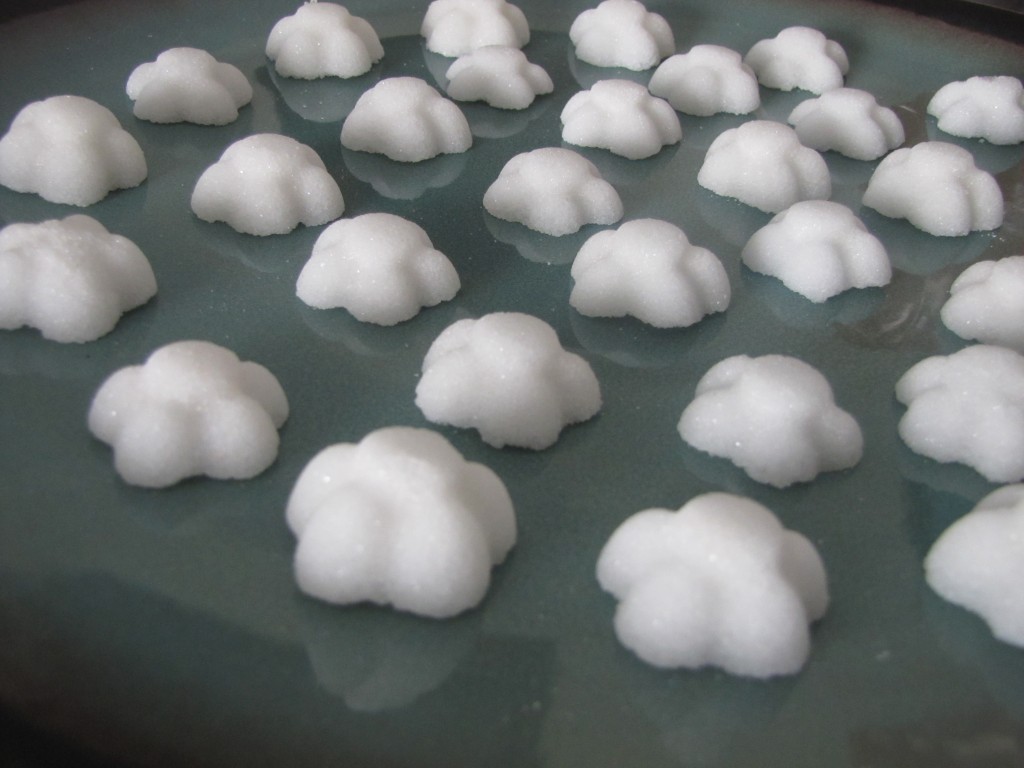
Once you have all of your sugar cubes packed tightly into their molds, you want to flip them out. Place aluminum foil and the cutting board over the top and flip the mold over. Lift the mold and cover with aluminum foil . Let the sugar cubes sit until dry (usually overnight).
The first 10 or so times I didn’t think to add the cutting board. I broke about 15% of the sugar cubes. However, once I incorporated the cutting board into the process, I never broke a cube again. (Ali, dumb) Unless you have lightening fast flipping skills, I recommend that you don’t skip this tool.
I usually check on them about 12-24 hours later. I just push on a sugar cube, if it breaks they aren’t done. If it holds firm… Congratulations! You made sugar cubes!
Try this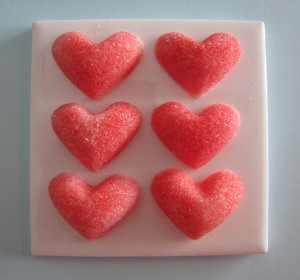
- add food coloring to make colorful sugar cubes
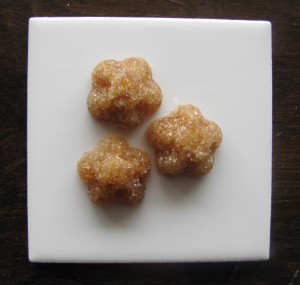
- Substitute raw sugar or other types of sugar.
[…] the idea for the mason jar snowmen while I was working on my holiday gifts. I needed a jar for the sugar cubes I made for friends and family for Christmas. I love gifts that can be practical and […]
These sugar cubes are awesome and perfect measurement!!
These are the most beautiful sugar cubes I have ever seen!!!
I will make you some baby blue ones!
I still love these!!!
Where did you find your mold? I’ve been looking for one with those flowers without success.
Thanks