
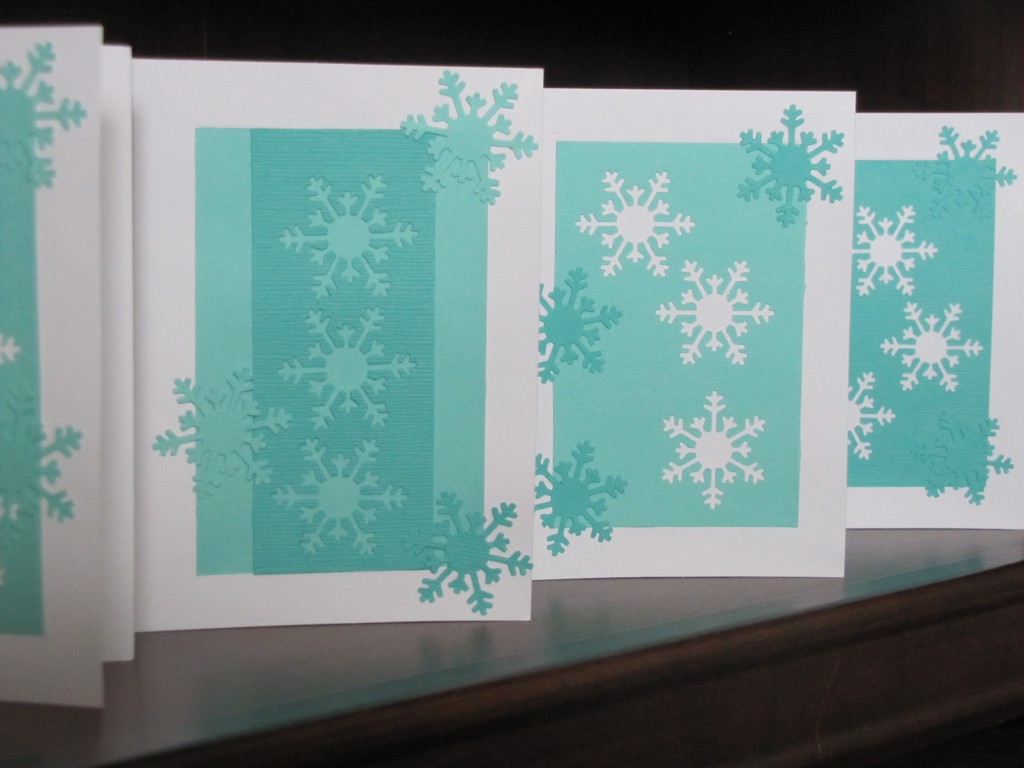
 I decided to send out handmade thank you cards for the gifts that we received this year. I am still new to paper crafts so I wanted to try something that would be pretty but not so challenging that they wouldn’t be received until sometime this spring.
What I used: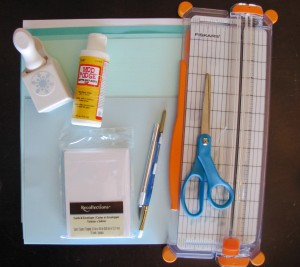
Martha Stewart Craft Punch – Arctic Snowflake
Martha Stewart Craft Punch – Alphabet
3.5in x 4.8in White Cards
Card Stock Colors: Navajo, Patina, Turquoise Mist, Avalanche, Ocean Breeze
Mod Podge
Tools:
Paint Brush
Scissors
Exacto Knife
Friskars Super Cut Paper Trimmer
Paper Trimmer:
The first step is to determine the size for the border. To determine the border, measure the width and height of your card. I went with .5 inch 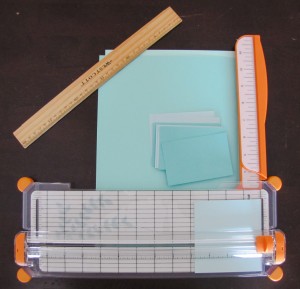 border. The cards I used are 3.5in x 4.8in so the card stock should be cut to 2.5in x 3.8in. Using the Paper Trimmer, cut the card stock to the dimensions you picked.
When I originally bought the supplies I asked the Michaels associate what would be the best cutting tool to use. She suggested the exacto knife. I specifically asked her about the cutting board because they were on sale but she said that I wouldn’t need it for this project. I wasted two sheets of card stock and way too much time cutting crazy crooked not so exacto lines before I went back to Michael’s and bought the paper trimmer. I just wish I’d started the project when the sale was still going. GRRRR! But hey, you might be someone who can use the exacto knife and make straight lines with no problem. I cut all of my card stock in the three colors first because I wanted to mix the different color snowflakes between cards.
Craft Punch:
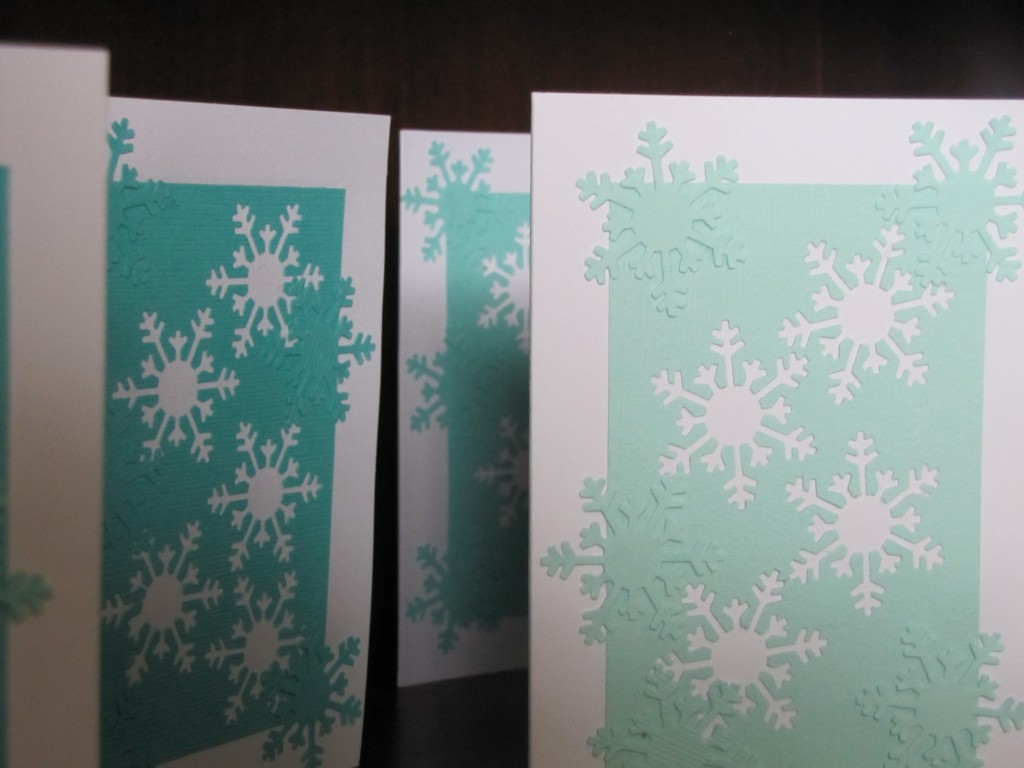
Use the Martha Stwewart Craft Punch to cut out the snowflakes. Remember this is the card stock you will be gluing to the thank you cards 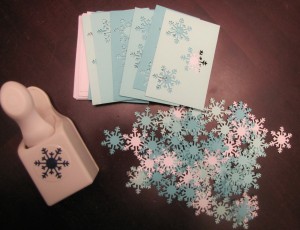 so be creative with your punching. Also be careful that you don’t punch too close to the previous punch or to the edges of the card stock.
I recommend that you punch all of your card stock before you start the next step. This serves two purposes. When I planned out these cards in my head I didn’t plan to glue the snowflakes back onto the cards. If you like the way the cards look as is, then go with it, but you also have the option to glue the snowflakes back onto the cards. I mixed the colors of the snowflakes on a few of the cards. I was really surprised by how great they looked. I almost decided to save these for christmas cards for next year. But I convinced myself that by next year my card making skills will be so advanced that they will almost be 3D holograms.
Mod Podge:
Use the paint brush and Mod Podge to glue the card stock to the card. This can be tricky because the card has snowflakes cut out of it. I found that applying the Mod Podge directly to the card, not the card stock got the best results. I also find it helps if you use a paint brush with a tiny pointy edge to dap glue into the tiny edges to get a firm fit.
Next, Glue the snowflakes down. In this case, I applied the mod podge directly to the snowflakes and then once I applied the snowflakes to the card I wiped the excess mod podge away.
In my opinion Mod Podge dries cleaner then a glue stick or elmers glue will and you can wipe the excess away without it leaving a sticky residue or any weird splotches on the card.
Fill in the Blank: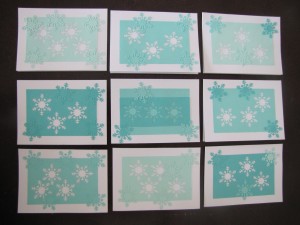
Make sure you write something personal inside. Nothing is lamer then a handmade card with nothing but “Love, Your Name” inside. : )
M Colleen Hodson liked this on Facebook.
MaDonna LaTour liked this on Facebook.
Lee Graves liked this on Facebook.