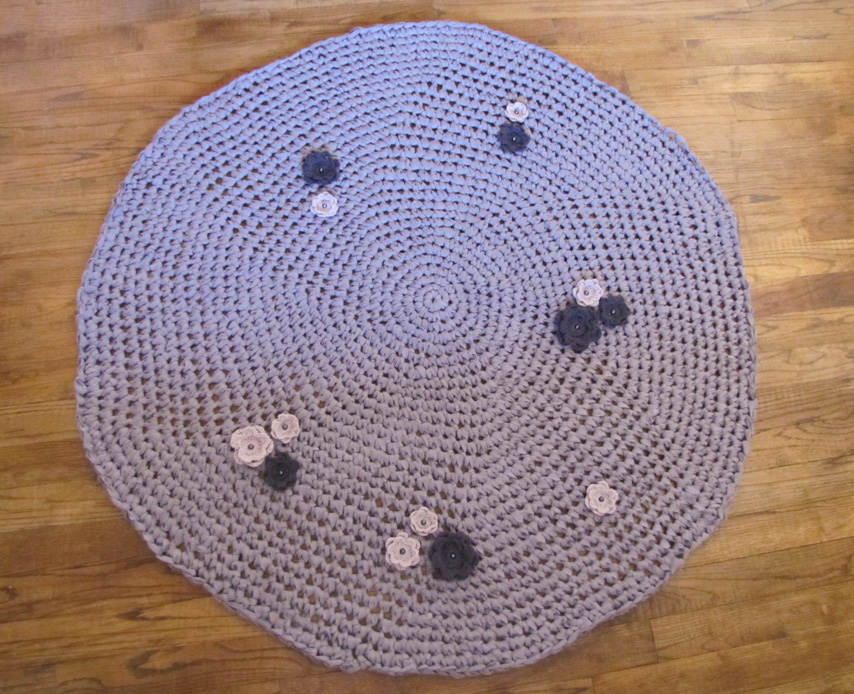
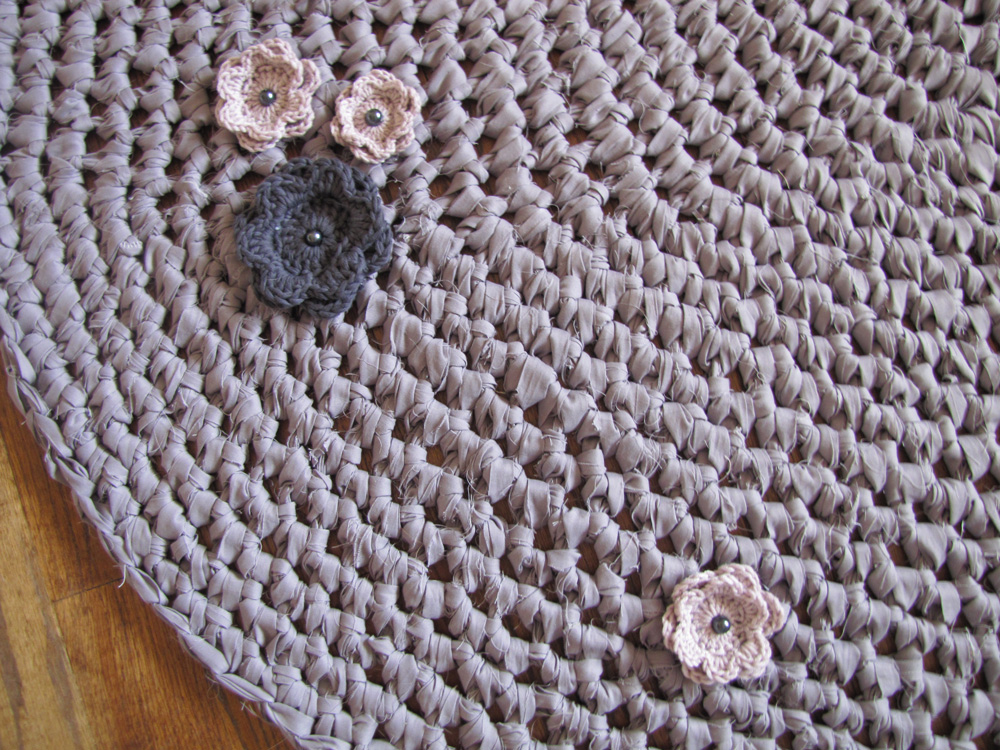
 This rug was one of the first projects I found on Pinterest. It is a relatively simple project. The only skills you really need are basic crochet skills and a lot of patience. Preparing your fabric can take twice as much time as crocheting the rug.
Make “yarn” out of fabric:
There are two ways to do this. The tortuous way (the slip knot method) and the preferred way (the t-shirt yarn method). Previously, I would use the t-shirt method for pillow cases or duvets and the slip stitch method for sheets, curtains, and other fabrics. I do not like the slip stitch method. It can leave lumps and “tags” in your finished projects which can become loose over time and more importantly, it is the BIGGEST pain knotting them together. This is the process that prompted me to ask for a sewing machine for Christmas.
I considered including a tutorial for the torturous way, but A. I hate it and B. Gillian at Ecletic Me, explains it way better in her fantastic blog post (and with pictures).
My favorite way is also used to make t-shirt yarn. So if you decide to make your rug out of stocked up t-shirts you only need to modify this pattern slightly by incorporating the tube theory by cutting off the upper half of the shirt (underneath the armpits).
I used 30 yards of fabric/48 inches wide to make the rug. Assuming you are starting with the same measurements, the first thing you want to do is cut your fabric into 10 yard lengths. The best way to do this is to ask the craft store to cut it this way for you as they have a long table and sharp scissors. However, if you order it online as I did you can use a yard stick, fold it in thirds, or if you have a really long house lay it out and cut it. I did not do this. I am so anti slip knot that I tried to make my fabric one long 30 yard loop. DO NOT DO THIS. YOU WILL BE SORRY.
If you do not have a sewing machine, do not have a friend who has a sewing machine, or are not (cringe) sewing by hand and have opted to use the slip knot method skip to “Crochet your Rug”
Once you have your 10 yard piece you need to make the fabric into a loop. To do this take the end pieces of the fabric and sew it together. I went back over my fabric twice with the sewing machine to reinforce the stitches.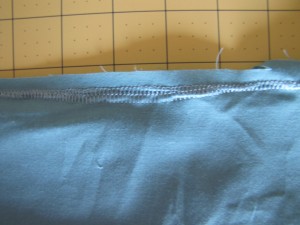
All you really need are scissors and a ruler to cut your fabric. I am the sloppiest cutter ever. I use a rotary cutter, rotary mat and a shape cut to keep me from going crazy with the rotary cutter. Even when I try and use this wide variation of tools which basically amounts to crafting training wheels, I still somehow manage to get a snake after a meal look to my fabric strips every once in awhile.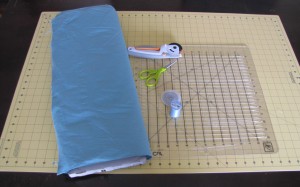
What’s most important in this process is that when you get to the top of your fabric you leave a inch to 1.5 inch area margin uncut. (see picture) It is important that you do not cut through the end of the fabric. If you do, visit the split knot blog for instructions on how to tie your strips together.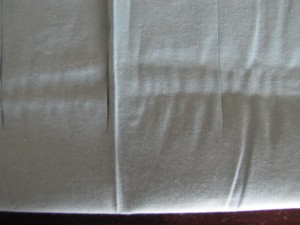
Once you’ve finished cutting your fabric, slid your arm, husband’s arm or some handy PVC pipe inside the fabric. Cut diagonally from the first strip to second strip on the other side.
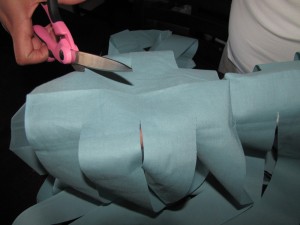
Continue cutting diagonally across the strips until you get to the end of the fabric.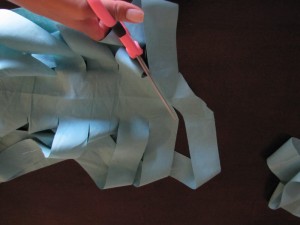
This step took me a really long time to figure out, I had to stare at the fabric forever and read the instructions over and over again before I made the first cut, IF you did this right you will have a really long 2 inch wide length of fabric yarn. Roll up your basket ball sized skein of fabric yarn and start on your next 10 yards of fabric (or you can crochet what you have and then slice up your next batch later).
Crochet the Rug:
There are two forms that I have tried for the crotchet rug, the basic circle and the octagon. I found that making a “perfect circle” is – at least for me – challenging. My circle always seems to resemble mans’ first wheel invention. I have searched the web looking for blogs or info that may shed some light on what I’m doing wrong but I can’t find what it is. My stitch count is perfect (I know this because I have counted it after every row). It may be my issues with tension. I tend to knit/crochet very tightly so I will make an effort in the beginning to be loose and fluid but inevitably I’m always back to my old habits. I think I may be a bi-polar knitter/crotchet and unfortunately it’s reflected in my circles. Whereas the octagon which is almost the exact same pattern comes out without any curious angles or sides. You may not experience the same frustration as I did. However, I have noticed from some of the pictures of circular rugs that other people have posted online, that they are experiencing the same challenges making circles, so you may feel more comfortable starting with the octagon shape as well. Who knows?
As I mentioned this is a very easy pattern, the only challenge that I had was keeping track of the stitches and repeats. Regardless of which pattern you choose, I recommend that you use stitch markers. I use a key chain to mark the beginning of the round stitch and bobby pins to mark the beginning of each stitch increase.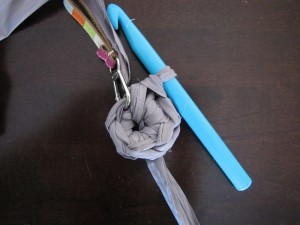
I used the circle rug pattern for this rug. The pattern can be found here. This rug took me about 15 hours to finish. I was able to complete 27 rounds before I ran out of fabric which made the rug a little over 5 feet in diameter. I felt that at this size the rug was too big and looks a bit ridiculous. (picture below is 4 foot rug size).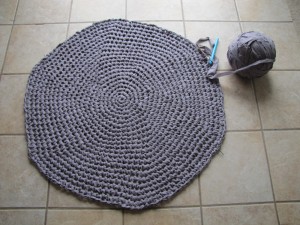
I was curious to see how much I could get out of 30 yards. I think that a rug with crochet flowers should be a accent piece. However, at this size, at least in the three rooms I tried to photograph it in, it looked big and cumbersome. I suppose it would be cute in a nursery or child’s room.
I know that 20 rounds will make a rug that is approximately 4 feet in diameter. 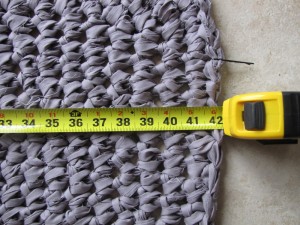
I’m just not sure how much fabric is needed for 20 rounds. You might think it would be 10 yards less, but keep in mind each round is increasing and you are using more and more fabric as well so I really don’t know. I am currently making a rug with measured strips to see how much fabric I need to get a rug with the shortened length so I know exactly how much fabric to buy in the future.
Embellish the Rug:
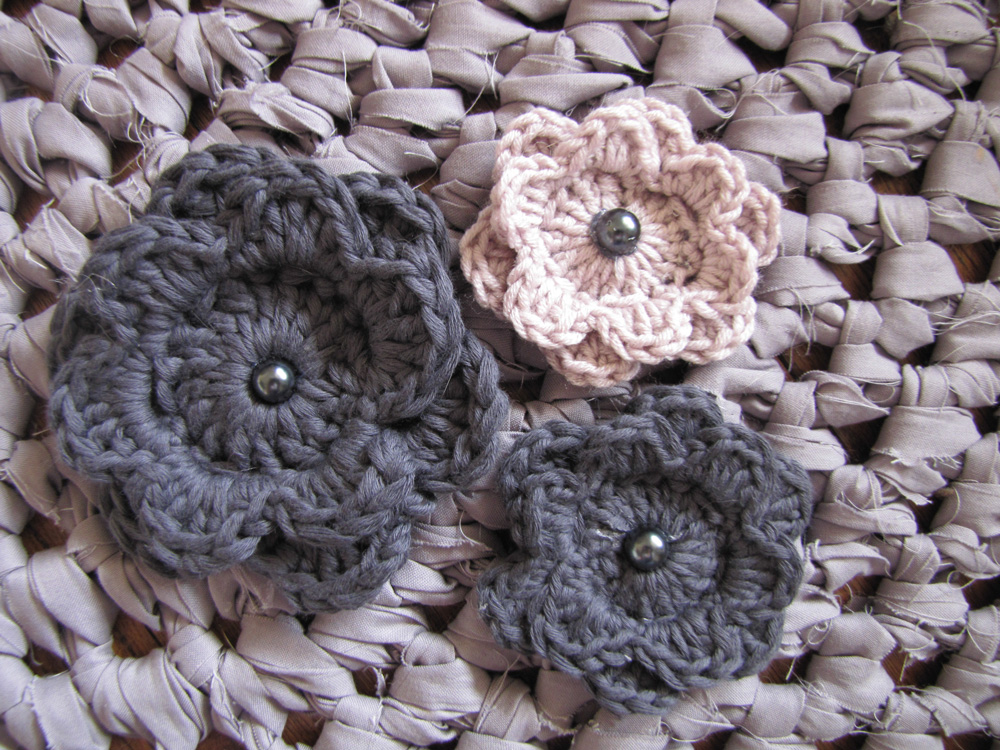
I experimented with about 10 different crochet flowers before I chose the 3D crochet flower pattern.
I acknowledge that it may not be the most practical looking but I loved how it looked once it was finished. The only change I made was that I bound off after row 6 so the flowers weren’t quite so high. I used varying size hooks between D and K for the flowers, for the larger ones I doubled the yarn.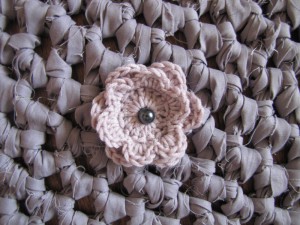
I used glass jewelry beads for the embellishments. I liked these because they had holes for wire or string and I used the holes to sew the pearls into the flowers and then sewed the flowers to the rug. I also used a glue gun for added reinforcement since these will be stepped on and the threads might break over time.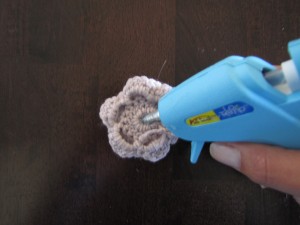
It wasn’t until after I was looking at the rug that I considered what glass pearls might feel like underneath bare feet (as this was a giant rug that would most likely monopolize a room). Not quite like stepping on a thumb tack, but definitely not the best feeling. Unfortunately the glue gun really worked cause those pearls are sure stuck in there! Sorry Mom 🙁
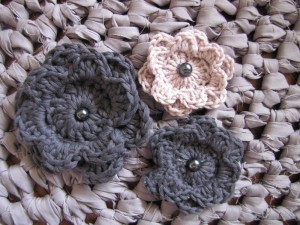
Originally my mother asked for a purple and green rug. Although the fabric that I ordered appeared to be a very deep vibrant purple, you can clearly see that it is not what I received. 95% of the time I think it’s grey. Thankfully, she responded positively to the photos I sent to her of the fabric. She did however, ask for black flowers. I tried. I really did. I tried very hard to give her black flowers but they looked like dead baby crows or dehydrated dog poo that everybody had stepped over pretending they hadn’t seen it, hoping that someone else would pick it up until it became hard black dried crochet flowers.
I even sent her a picture and asked her “do you like this?” I did not receive a reply so I made an emergency veto and went with blue and purple flowers. Hopefully she will find a place for a custom oversized not so purple rug with dark blue and lilac flowers.

RT @craftyadalaide: Crochet Flower Fabric Rug For Mom: http://t.co/Ufi0YvjL
Amy Janovicz Pulido liked this on Facebook.
MaDonna LaTour liked this on Facebook.
so like i remember at 17 sitting in the public library in Elmira New York when only I knew i was going to need a name for this baby and I picked Adalaide, or more properly spelled Adelaide so that it would go with the most beautiful name i could find, Alicia. Who knew 20++ yrs later this girl baby would be a more complete version of what I could have been. Love you AAG