Archive for Uncategorized

The Parker House – part one

When we bought our home a year ago I imagined living in it forever. I believed everything we could ever want could be added, updated and bedazzled in this house. Sadly, life intervened. The mister got a great new job on the other side of Denver and so, we are leaving our first home.

Almost every room has a Pinterest project or two so I thought I’d share my home with you – with links to the tutorials.

Exterior

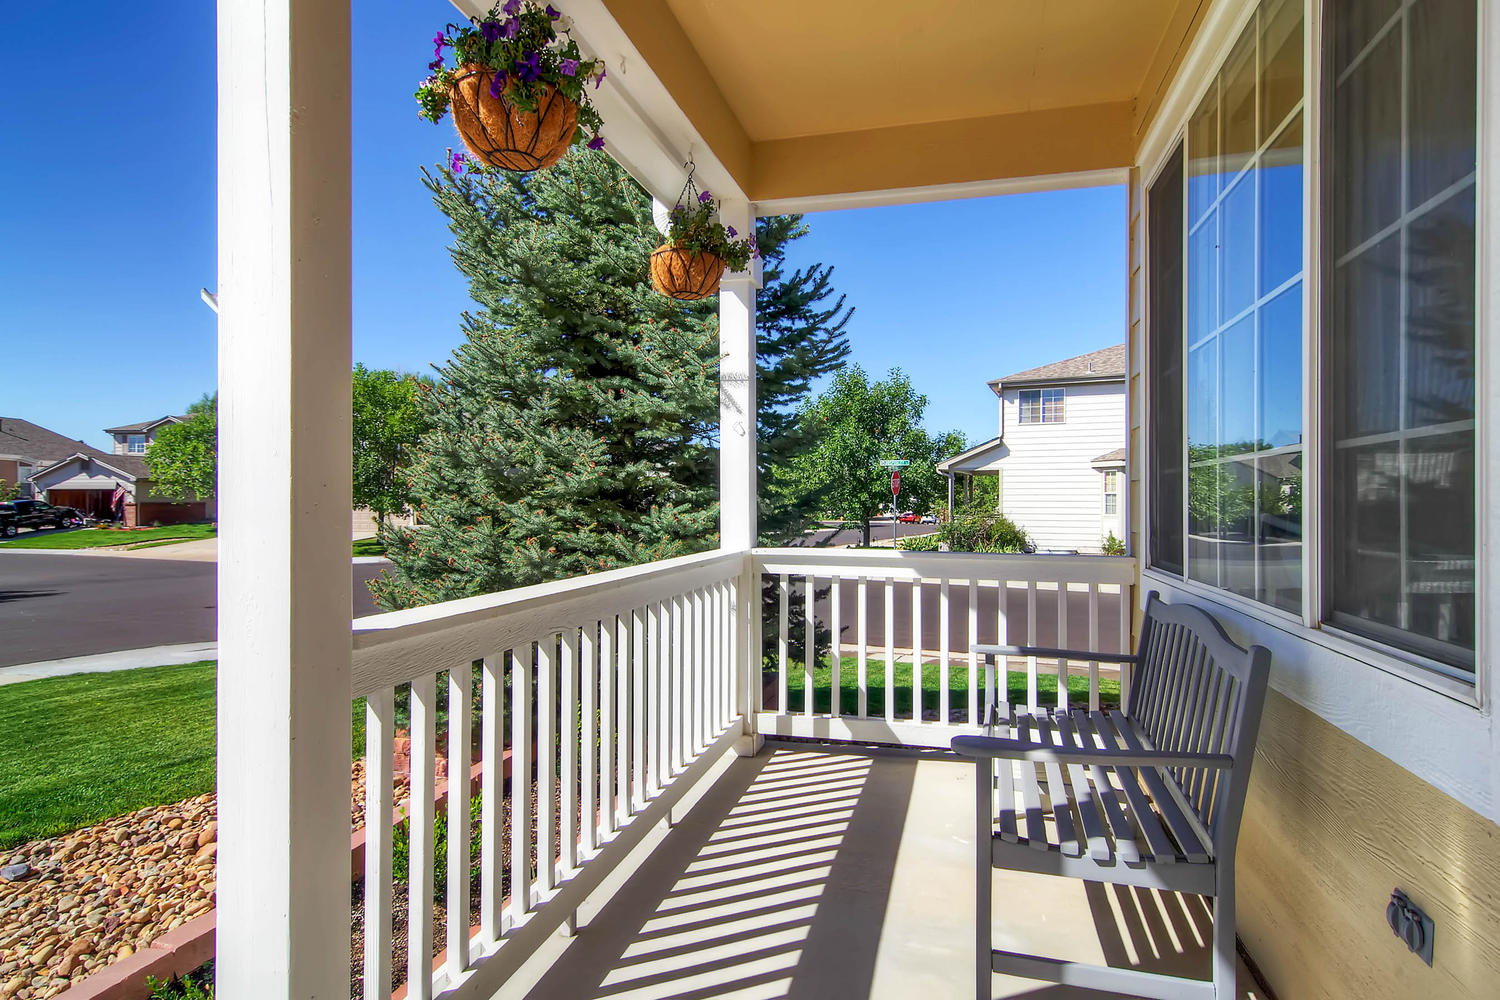
6277 Old Divide Trail Parker-large-001-1-Exterior Front-1500x999-72dpiThe trim on our house was originally an awful shade of brown. One of our neighbors called it the poop and pee house. The new color is BM Baby Seal Black – it’s actually an odd blue-purple on our south facing house.

6277 Old Divide Trail Parker-large-003-10-Exterior Front Entry-1500x1000-72dpiWe pulled up the fancy weeds in the planters and replaced them with bluebell flowers and dogwood bushes. The wreath was a ladies night project. It’s looks pretty good considering the two big bottles of moscato we shared while crafting.

6277 Old Divide Trail Parker-large-004-3-Front Patio-1500x1000-72dpiI found this bench in pretty bad condition (ok, it was in the trash). It took me over a year to remove the avocado paint – mostly because I was lazy. I replaced the slats on the seat and used my boyfriend, the Graco paint sprayer. The paint is a 75/25 combination of BEHR classic silver and the BM Baby Seal Black.

Just inside is our front room. It’s a HUGE impractical space but one of my favorite rooms.

It’s a long and narrow layout. I read somewhere that rooms need clear definition; so, I divided it into two spaces – a study and a sitting room.

6277 Old Divide Trail Parker-large-006-5-Living Room-1500x1000-72dpi

The planter on the table is from Home Depot. I can’t remember the name of the paint but it’s BM. I love them! They are a cheap and easy way to update your decor. I have three of them in different colors throughout the house. The mirrors are from Target. I got them on clearance for like $5.

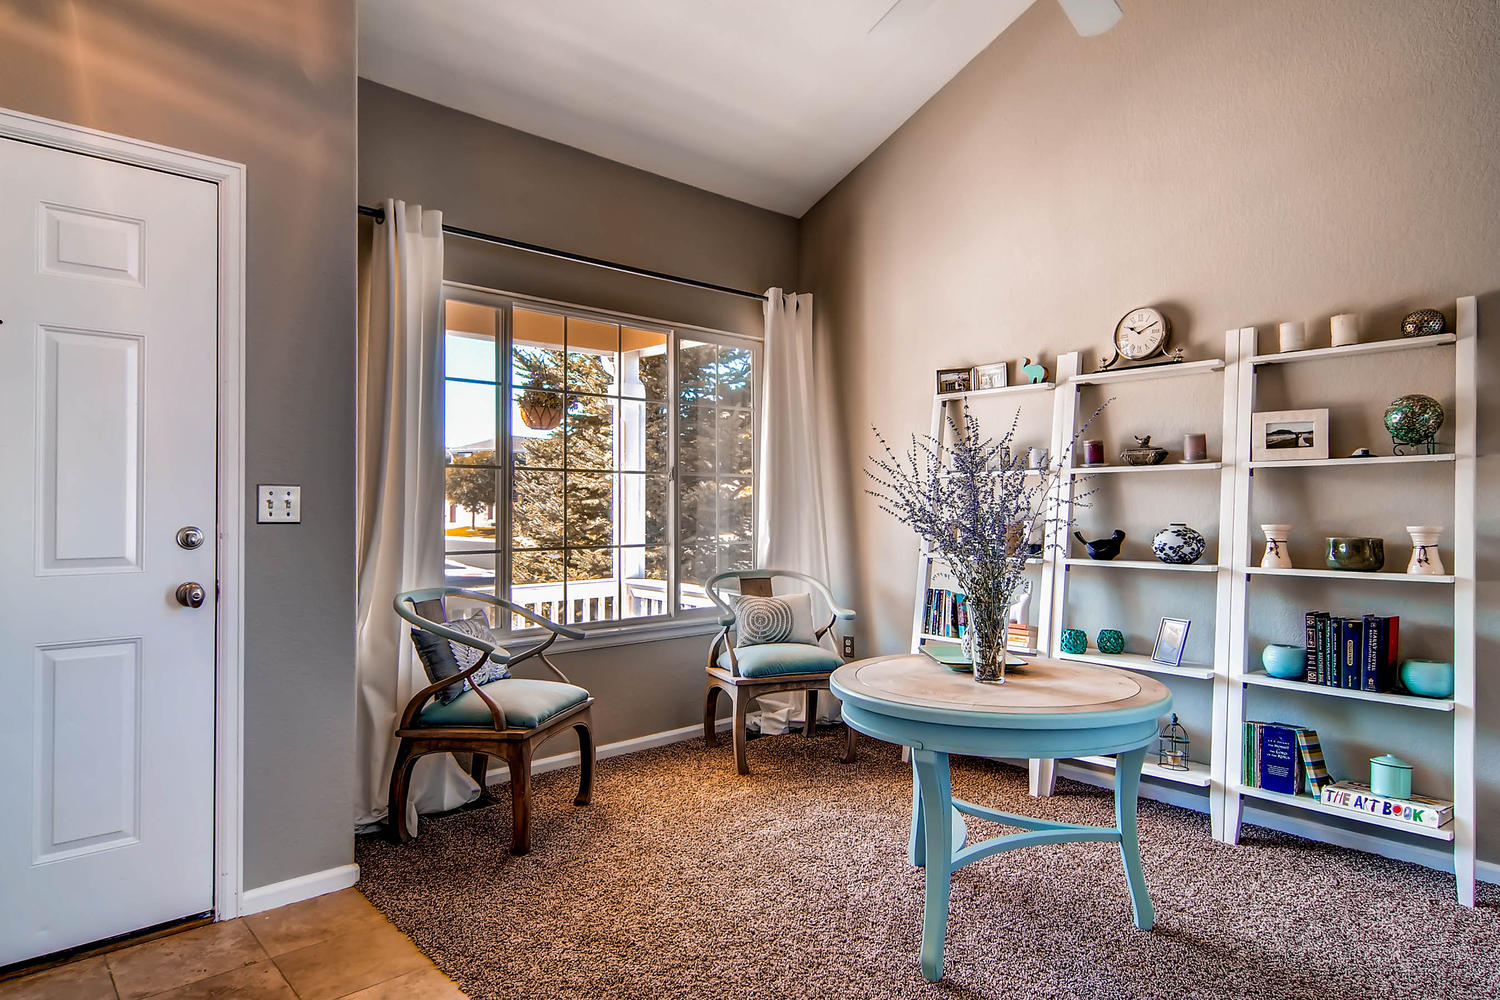
I painted the leaning bookshelves and entry table with a custom BM color. It was color matched to our coffee table (in another room) and it’s used throughout the house. It’s truly the best white ever. If you are interested in the formula let me know

6277 Old Divide Trail Parker-large-005-24-Living Room-1500x1000-72dpi

The stain is Minwax Weathered Oak and the paint color is a mix of about 6 colors. Primarily, BEHR Smokey Slate. I would paint everything in my house this color if I could. The chairs were another Varage Sale purchase. I reupholstered the chairs with fabric I found on clearance at Joanns and used the same paint and stain as the round table. The pillows are from Etsy – They are pretty but did not hold up very well. Both have since been retired.

I even searched pinterest for tips on how to arrange stuff on a bookshelf.

6277 Old Divide Trail Parker-large-008-28-Dining Room-1500x999-72dpi

According to the floor plan this nook is our dining room. But I made it into a sitting room. The curtains are from Ikea. I searched for tips on hanging them. Sitting in the window is a family established sign. Inspired by this tutorial (with a few changes).

6277 Old Divide Trail Parker-large-007-9-Dining Room-1500x1000-72dpi

The ottoman was from a old living room set – I reupholstered it with tips from this tutorial and fabric from Hobby Lobby. The couch and chairs are from Ikea. (Yes, I got them on craigslist). The photography art (purchased from Etsy) is a extreme close up of the sun reflecting off the ocean.

Before Pics

The poop and pee house

The poop and pee house

11665577_10205723745007310_312073941846803286_n

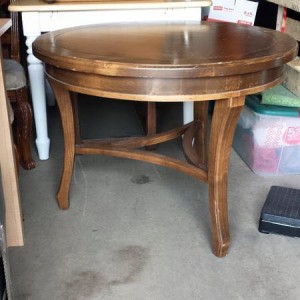
I also bought the round table from VarageSale for $20.

11540857_10205753283505754_388504637430906726_o

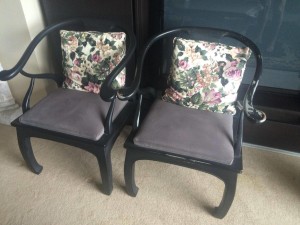
Both chairs were a $40 Varage Sale purchase.

Front Room

Study. The light, in addition to all of the brass in the house, was spray painted silver.

Front Room 1

Sitting room/dining room. We removed the hideous brass light.

Something Fishy Baby Blanket


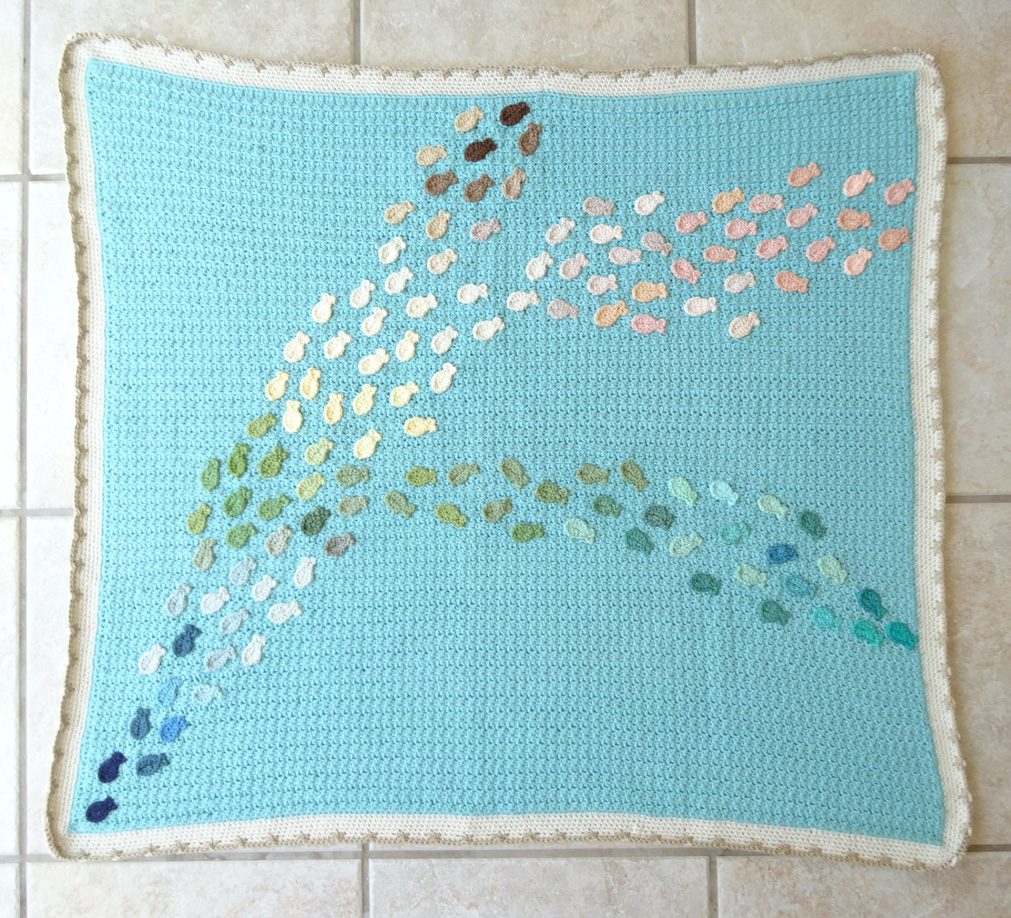
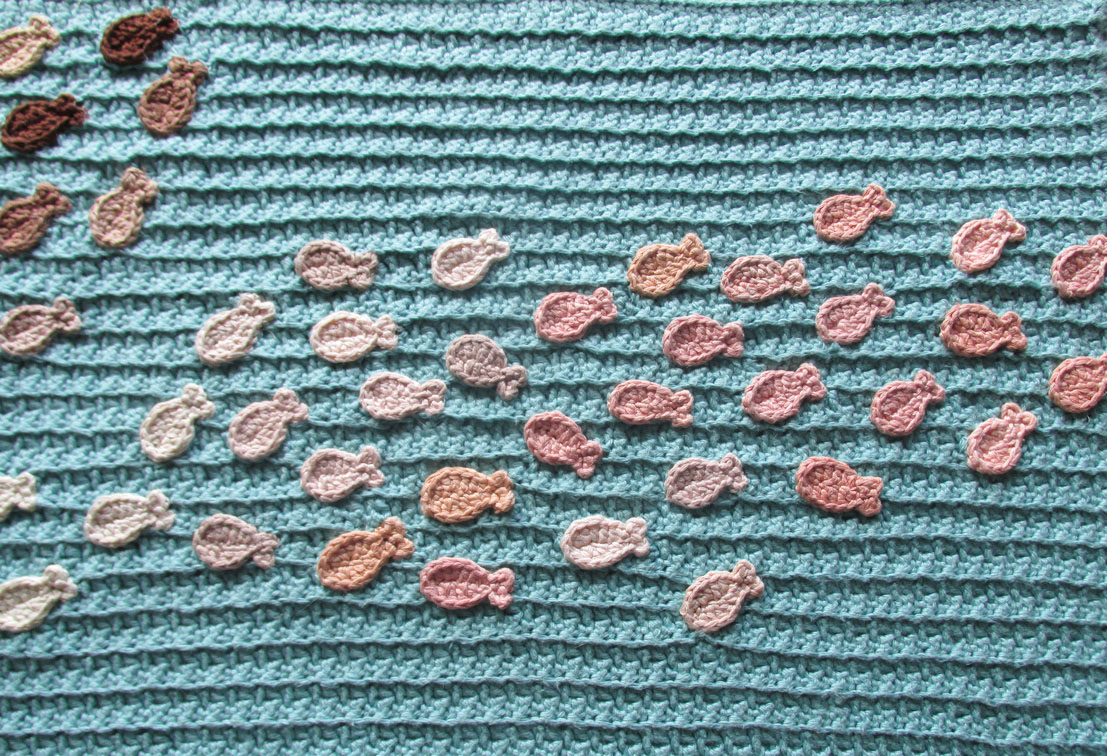
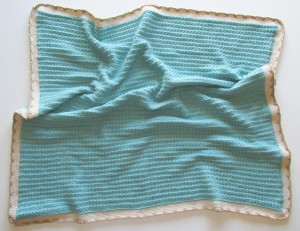
School of Fish Baby Blanket DSC00028IMG_0326This baby blanket was made for Tara and her new son. I wanted to make something artistic like the cherry blossom blanket I had made last year. The first thing I needed was a blanket “base”. I decided to use a pattern, so I searched for several months (and tried several patterns) until I found this pattern on Ravelry. Next I searched for colors and a theme. Although the name of the pattern is “sprinkled flowers”, it looked more like sea shells to me. I think that’s what directed me to a nautical theme and I thought fish swimming on the blanket would be fun and different.


Blanket

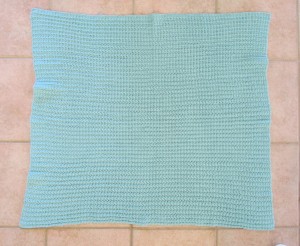
This is not a free pattern, so I won’t go to far into detail but I did make some changes. I used 10 skeins (1090 yards) of Knit Picks Comfy Worsted yarn in Seafoam instead of the DK weight yarn called for in the pattern and I chained 175 to get a significantly larger blanket. I used a G size hook to keep the stitches tight. I also crocheted into the back stitch which is what gives the line across each row. The pattern does not provide this instruction, but the pattern author suggested this tip via email and I really liked how it looked.School of Fish Baby Blanket Trim
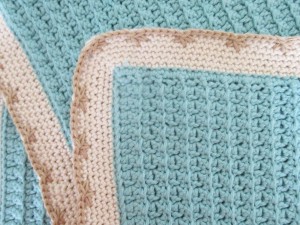
I think this is one of the best parts of the blanket. I love how it looks and think it makes the blanket unique. I used 1 skein of Knit Picks Comfy Worsted in Ivory and about 1/2 of a skein of Knit Picks Shine Sport in Willow.School of Fish Baby Blanket I did find the spike clusters a little tricky to make. There was only one video tutorial on YouTube, but it was not the same type of cluster, so I just practiced for a few hours until I managed to get the tension right and poof! kick ass spike clusters all around!

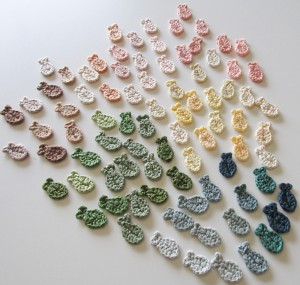
School of Fish Baby Blanket Fish
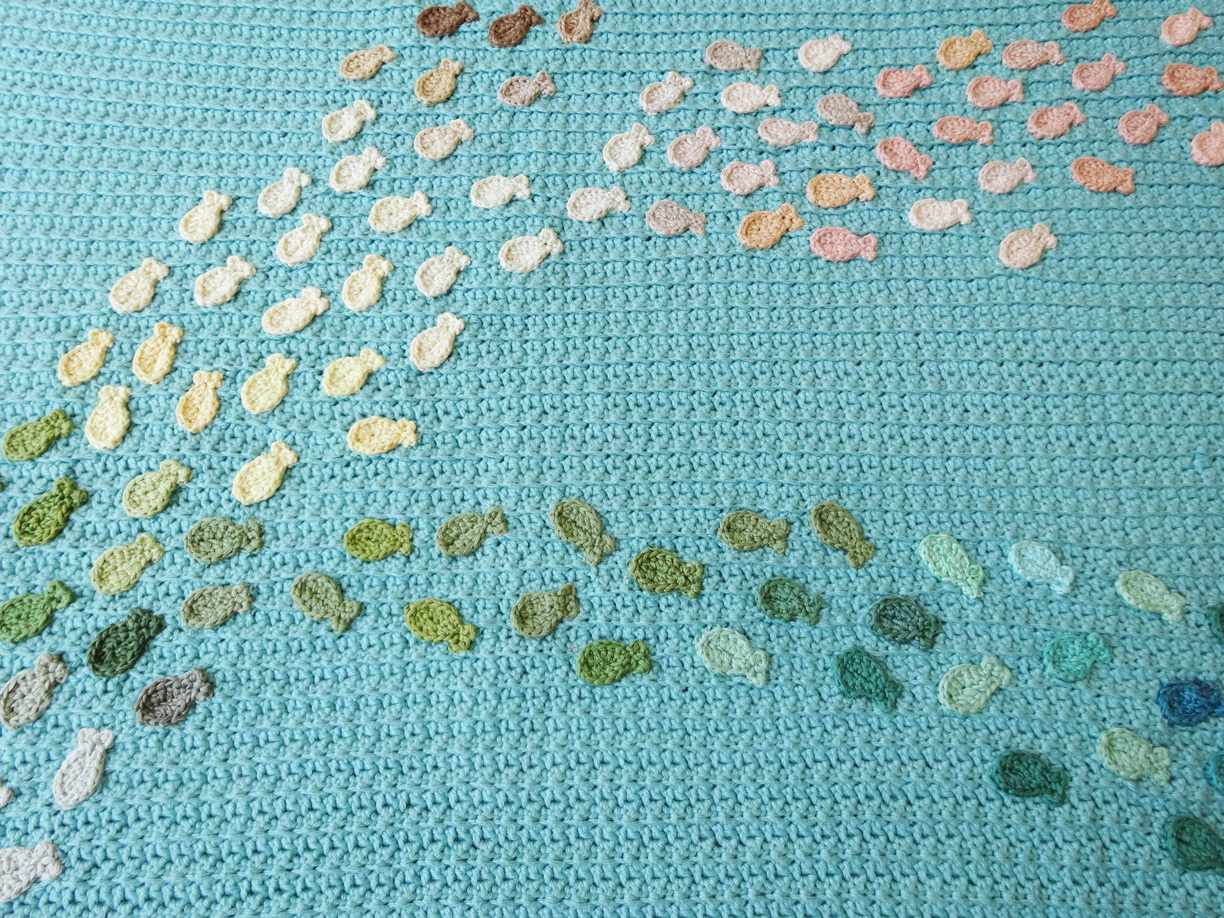
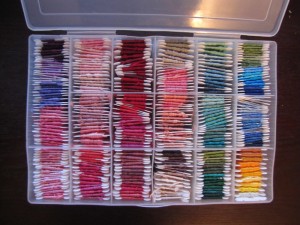
I made a bunch of fish. I used this pattern and my old favorite DMC embroidery thread because it comes in 500,000 colors (only a slight exaggeration). I folded the thread in thirds and made a ton of fish in a ton of colors.

School of Fish Baby Blanket

Arranging the Fish
They say that you are your own worst critic and I am almost abusive. I doubt everything I make. I take apart completed projects because I missed one stitch. I second guess colors I’ve chosen and when I make something that isn’t from a pattern I become convinced that it’s wrong and ugly.

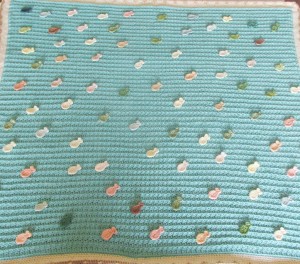
Too random?School of Fish Baby Blanket

So I asked for advice when I started arranging the fish and I got a different opinion from everyone I asked.

Too uniform?School of Fish Baby Blanket

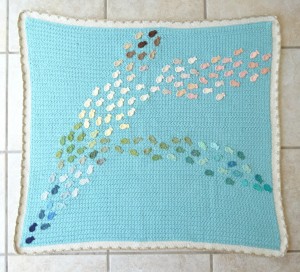
Finally, I went to one person in my knitting group and through a series of emails and pictures we managed to come up with something that I was pleased with long enough to start sewing it down. Unfortunately, it required more fish and more pinning.

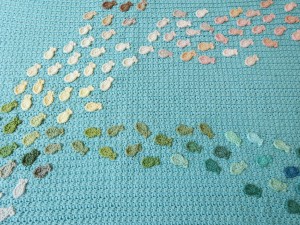
Just right!School of Fish Baby Blanket


Sewing
Sewing the flowers onto the Cherry Blossom Blanket took 8 weeks of 10 hour days, so I was prepared for a repeat of that. In preparation for this project, I even considered moving the dining room table into the living room so I could watch TV while working on it. However, It only took me three days to finish this. I still can’t quite believe how fast I finished it. I’m definetely motivated to make another one, just have to pick a theme!

Sweet Wedding Shawl

IMG_2468
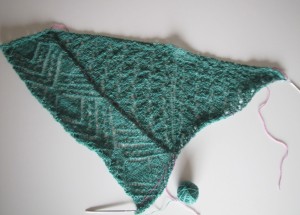
IMG_2472My husband’s step-sister, Joella Sweet is getting married in October. Although I have never officially met her, I am very fond of her and I wanted to make her something special to wear during her wedding. I thought a lace shawl would be perfect.

This is my first lace shawl pattern. Although I am happy with the finished product, I did find this pattern difficult to understand and very frustrating. If you decide to knit this and aren’t an experienced lace/shawl knitter, be prepared for some challenges. It took me a long time to get into the rhythm of it. If it wasn’t for the tips offered by my super-fantastic knitting group I don’t know if I would have finished it.IMG_2431

If you are new to lace knitting, I recommend that you learn how to use a lifeline. If you use ADDI click needles, they sell a lifeline tool. However, if you want a free and handy substitute you can just use a different color yarn and big needle to thread it through your stitches. There are videos on youtube that will show how to do this if you don’t have a helpful knitting group. I STRONGLY recommend that you use a lifeline when knitting shawls. All those YO’s and K2TOG are impossible to save if you drop a stitch.

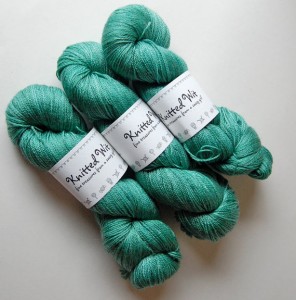
That yarn is from KnittedWit, an Etsy seller. I am a big fan of Etsy and handmade products. I was excited to buy this yarn from a “real person”. I loved this yarn and I recommend that you check out her shop. She takes custom orders and is very easy to work with.
il_570xN.404692880_ttp1

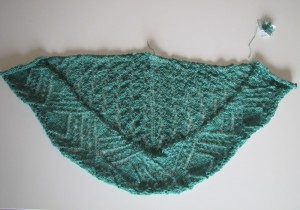
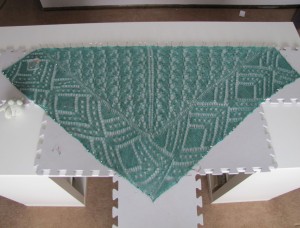
This wasn’t a free pattern so I won’t go too far into detail about the knitting. It’s knit top down and then the border is knit left to right with a tiny bit of short rows. When it’s finished it should look like this…IMG_2438

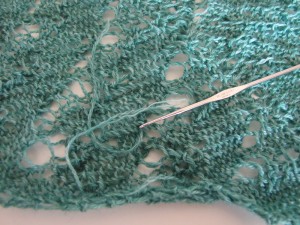
Weave in the loose ends. In theory you shouldn’t have many because this shawl can be knit with one skein of yarn, but I had a few mishaps including a time when I almost vacuumed the half finished shawl and snapped the yarn. I use a tiny crochet hook and a big yarn needle for weaving ends.IMG_2439

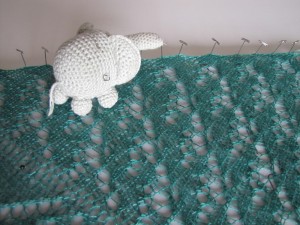
Give the shawl a soak rinse and block the shawl. This step amazes me. The shawl instantly grew to about three times its size. I used a ruler to make sure I wasn’t stretching one side too far and I gave the bottom a bit of a point but other than that I didn’t get too fancy. IMG_2458

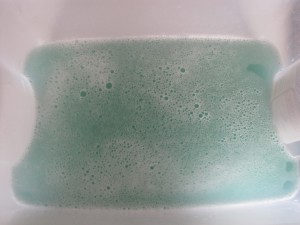
I was a little alarmed by how green the water turned from the yarn. I believe it’s because the yarn was hand dyed. I rinsed the shawl twice until the water ran clear. Hopefully, this will ensure the shawl doesn’t bleed on the wedding dress. Also the shawl color didn’t fade at all. If anything the bath seemed to make the color pop more. I really love how beautiful this yarn knits up!IMG_2443

I am excited to mail this out to Joella. Even if she decides not to wear it down the aisle, I think she will get plenty of use out of it.IMG_2453

Kitty Grass

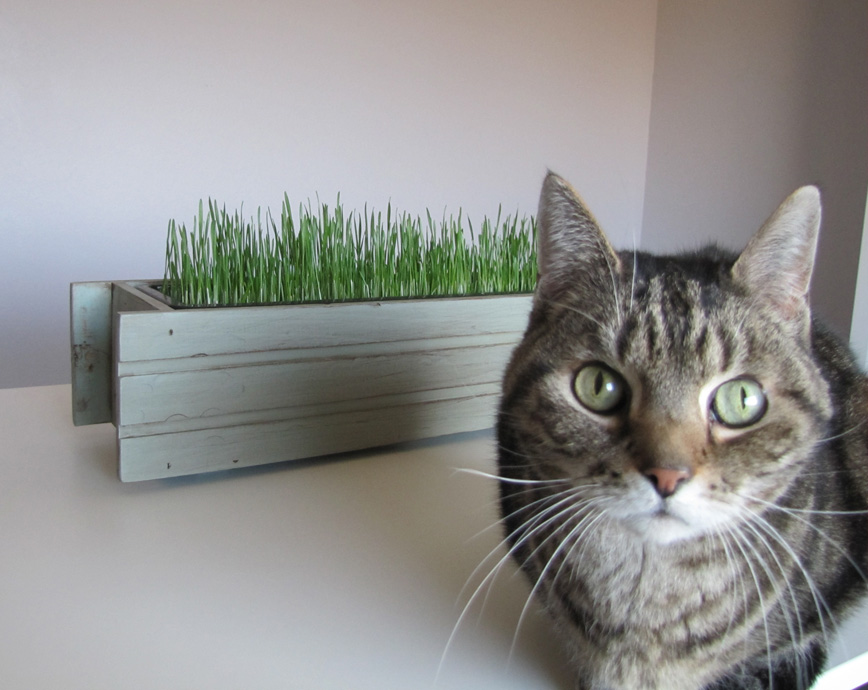
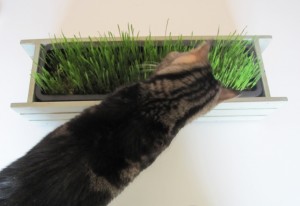
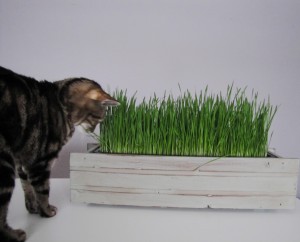
DIY Cat GrassDIY Cat GrassMy cat Murphy eats every living plant that comes into the house and then promptly vomits it up. When I heard that it was possible to grow your own cat grass and that it’s easier to for a cat to digest, I knew this was just the project for a girl like me and a cat like Murphy. First I had to make the planter fancy. The entire process takes about a week.

Cat grass is made from hard organic wheat seeds, I purchased mine from Amazon.com. The smallest quantity available was 5 pounds but it was only 12 dollars. I only used about 1 1/2 cups of pre sprouted seads for this project so it’s going to last forever (you need enough seeds to cover the planter).DIY Cat Grass

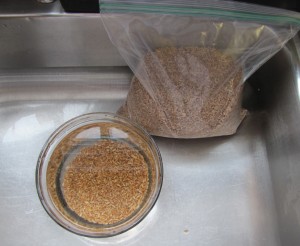
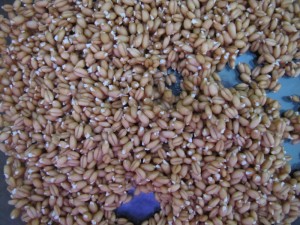
First, you need to pre-sprout the seeds. To do this you need to rinse the seeds in cool water. Drain and repeat every 12 hours until the seeds sprout. You know they have sprouted when they start to look a bit maggoty (read – disgusting). DIY Cat Grass

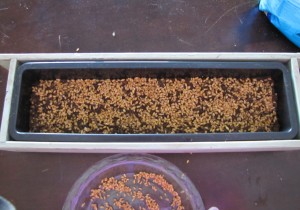
Plant the seeds. DIY Cat Grass

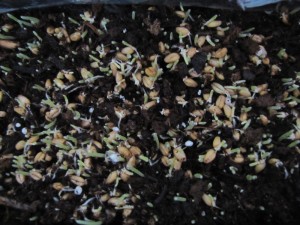
Watch seeds grow. DIY Cat Grass

Cat sniffs grass. (day three)DIY Cat Grass

Cat eats grass. (end of week 1)DIY Cat Grass

Easter Bunny Hat

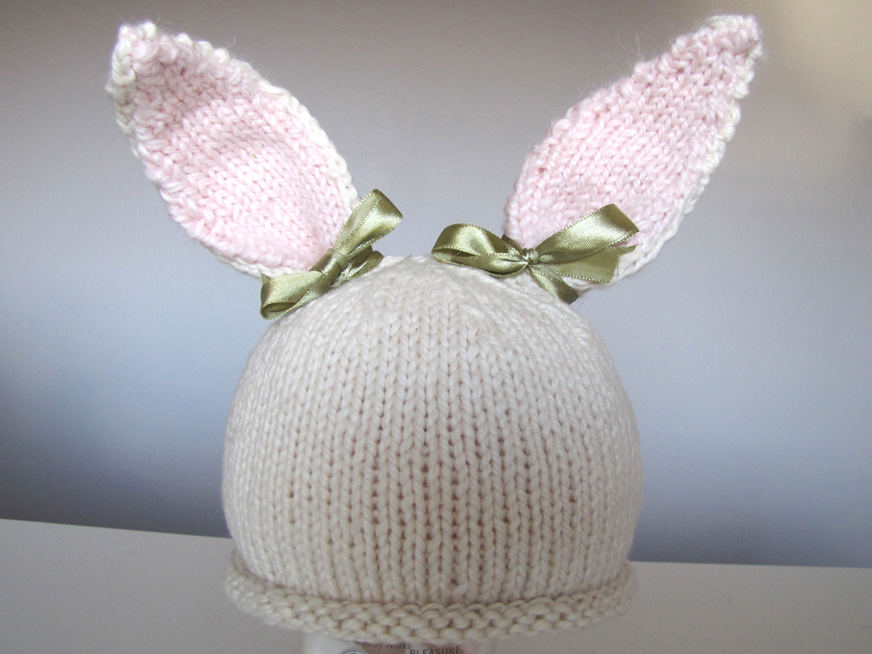
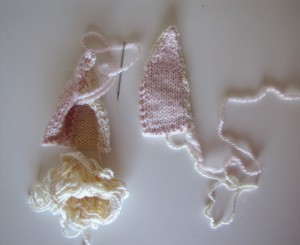
IMG_2312FinalThis hat was originally supposed to be for my niece. However, I wasn’t truly happy with it. Although I consider myself to be a pretty experienced knitter, Anything that includes sewing seems to defeat me, so I decided to pack it away and try again next year.

I followed a Baby Bunny Hat pattern I found on Ravelry. I did make some slight changes to the pattern but the basics were the same.

Modifications

Size
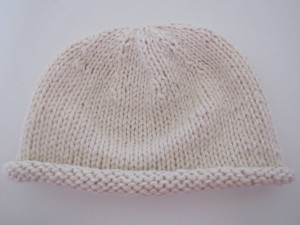
Although my niece is only three months old, I did make the 9-12 month size hat. I found that the 3-6 month size was very very tiny, I also used a smaller needle size (8us) than the pattern called for. My husband was very kind to model the small hat size. IMG_2295

Yarn
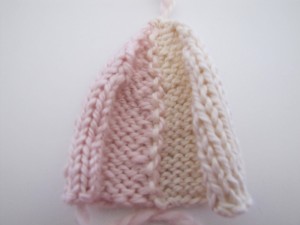
I used Blue Sky Alpacas Organic Cotton in Bone for the hat, and Bernat Alpaca Natural Blends in Peony for the ears. I was really dispapointed by how breakable the Organic Cotton was. I’ve never had yarn break while weaving in the ends or just simply by pulling on the drawstring to close the hat. Blue Sky Alpacas is one of my favorite brands, and it looked really cute when the hat was finished, so I hope this was just a wonky skein.IMG_2296_med

Decrease stitch
The pattern calls for the K2og decrease. I prefer the improved SSK decrease as it tends to be tighter and leaves almost no gaps. The improved SSK is as follows. Slip as if to knit. Slip as if to purl. Hold the yarn as if to purl and pull the two stitches over the yarn.

Ears
I wasted an entire night trying to figure out how to twist the two colors of yarn but managed to get the hang of it after a good nights sleep – only to waste the entire next day sewing the ears to the hat. I thought the pattern ears looked a little too cat like (after making them about fifty eleven times). So I made a few edits, which I wrote down in case anyone is interested.IMG_2302

Modified Ear Pattern
Cast on 12 stitches using the Organic Cotton Stone Yarn and 10 stitches using the Alpaca Natural Blends Peony Yarn. I continued the Knit/Purl repeats 3 more times until I had 16 rows. I changed the decrease row slightly.
Decrease row: With ModSSK, knit to last 2 sts of rabbit fur yarn, MODSSK, with inner ear fluff yarn
Purl
Knit
Purl
Continue to repeat this until you have 1 pink stitch and 2 cream stitches on your needle. Break Bone yarn and pull through both stitches. Use Peony yarn to sew through the ear pieces together.

Sewing…ugh
You’ll remember the ongoing theme of my blog…my wretched sewing skills. The cool thing about knitting with two colors is that you are essentially “seaming” one side of the ears together as you knit so you only have to sew one side closed. I just wish there was a pattern where the whole hat was all one piece because crooked ears has been a constant black cloud hovering over me since I started this project.IMG_2300

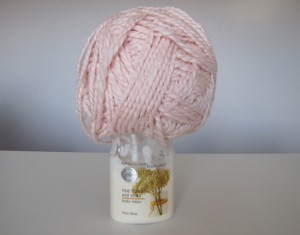
In case you are wondering my child size head manaquin was made with a lotion bottle and a ball of yarn.IMG_2315

The pattern says sew the ear bottoms together… (no, this picture isn’t blurry, that’s just the illusion caused by my horrid sewing skills)IMG_2308

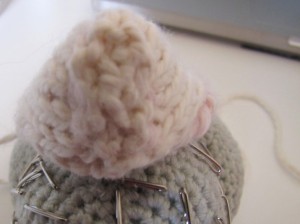
…and then sew them to the hat in a triangle. I tried that – at first. But then I had to sort of move them here and there to keep them even and then move them a little more to keep them erect on the hat. They say you are your own worst critic, meh.

I even tried to distract the eye with bows. But, I just didn’t have confidence in my sewing skills to send this out into the world. Some day little niece.

Murphy’s Planter

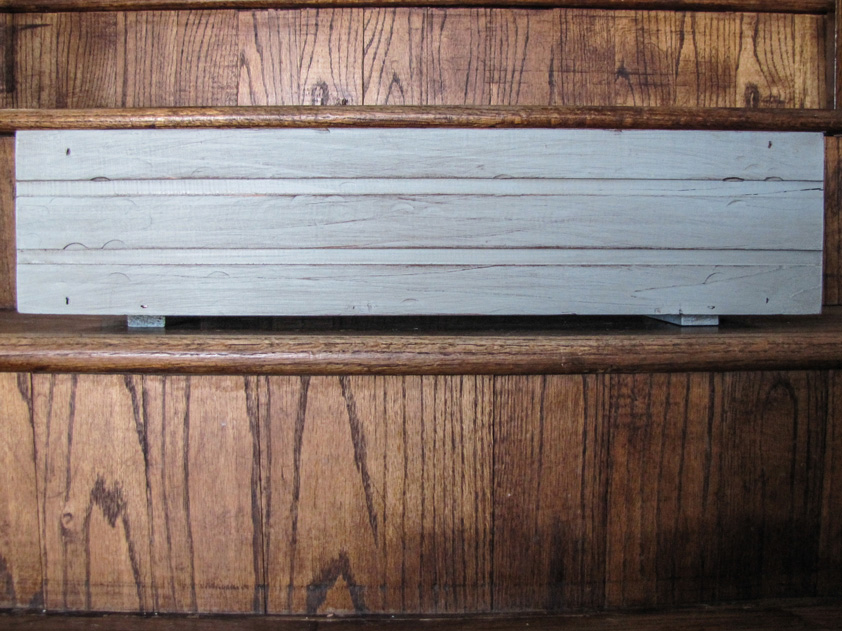
Murphy's Planter BoxMurphy's PlanterThis planter is part one of a two part project. I am making Murphy, my cat, wheat grass otherwise known as cat grass, in hopes that it will save my plants. So of course an ordinary planter simply would not do. (Inspiration for this project can be found here.) I wanted it to have a weathered vintage sort of look, I hesitate to use the word “shabby chic” because that’s not at all what I wanted but that’s pretty much filled up my head and absorbed all thought so there it is.

I hoped my husband would make the box but he rambled off a long list of wood cutting tools he would need, and that was the the end of that dream. Boo.

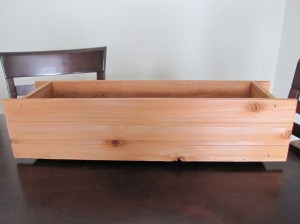
We found a sufficient enough 24 inch box at Home Depot and I set about destroying it in the name of DIY.Murphy's Planter

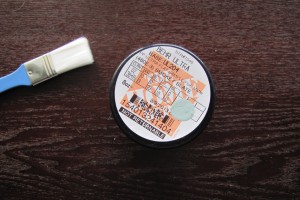
Home Depot sells 8oz sample sized Behr paint cans for $2.94, which is perfect for this project. I fell in love with this color, much to my husbands horror. I want to paint every room in my house Smokey Slate. I used about half of it on the planter.Murphy's Planter

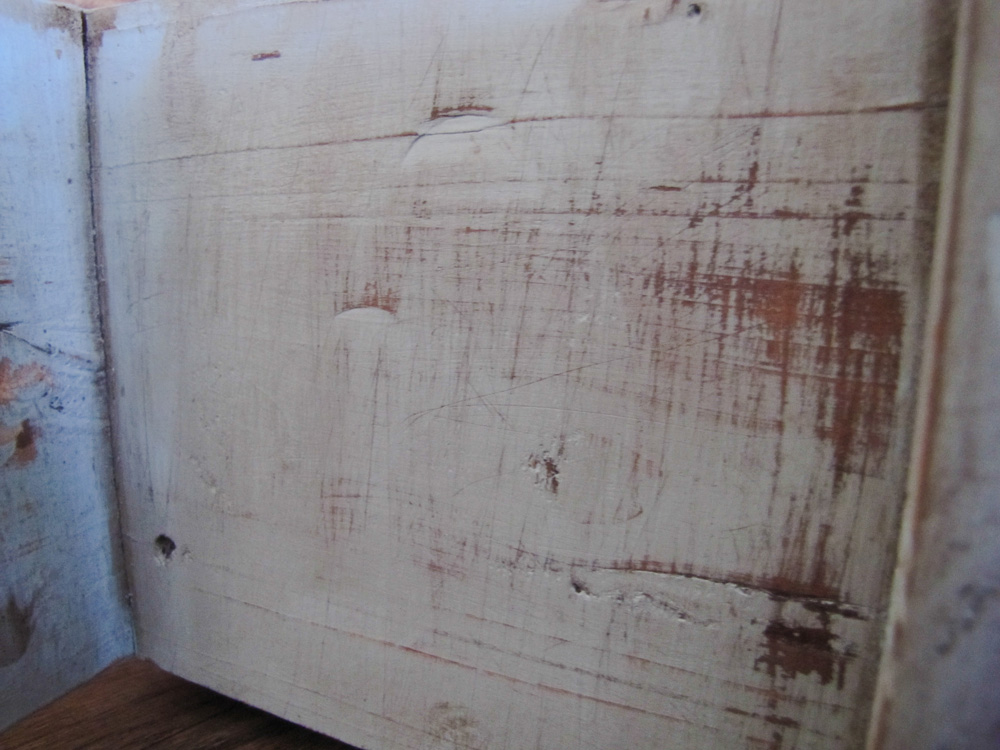
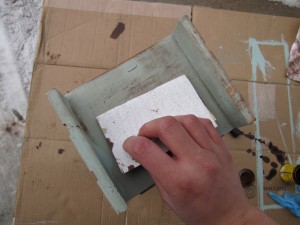
Once it dried, I used sand paper and a hammer to destroy it. I wish I didn’t use the hammer – other then knocking a big chunk out of the right side of my planter, it pretty much made quarter size dents that look really odd. Anyway, with that regret in mind, once I’d destroyed my beautiful paint job well enough, I moved on to the next step.Murphy's Planter

Side note: I don’t know the grade of the sand paper. I found it lying on the floor in the garage but I imagine it was the roughest possible as the first swipe almost tore all of the paint off the planter.

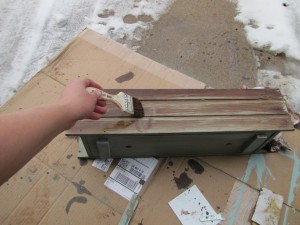
I used a paint brush to apply the stain…Murphy's Planter

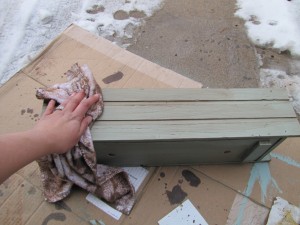
…and then with an old towel I “borrowed” from the gym, I rubbed it in and wiped it away.Murphy's Planter

At first I was HORRIFIED. The smokey slate was ruined and it didn’t look that great. However, I was determined to make this a successful project, so I pushed on. Apply stain. Wipe away. Repeat. So on and so forth. After about 3 or 4 cycles, it started to look passible! Thankfully, I can say I really like it. I am looking forward to making a few wood signs.

Stay tuned for the cat grass!
IMG_0026 Edited

Birthday Card

DIY Birthday CardDIY Birthday CardWhen Lee mentioned that he needed a card for his grandfather’s birthday my first thought was ‘yay! new birthday craft punch’. I quickly offered to make it.

Lee’s grandfather holds a special place in my memories. Lee and I were engaged the first time I met his grandparents. During our visit he told me that Lee got his ummm… “appreciation” for girls like me from him. He told me that I looked just like a “colored girl” that he dated overseas during the war. He seemed so proud of Lee, it was hard to take offense.

Since this card was last minute, it turned out a bit barren but I like it and it wasn’t super hard to make.

I used the Martha Stewart Balloon craft punch and the Martha Stewart Alphabet craft punch, several shades of scrapbook paper, and a brown paper bag colored card.

I punched a ton of balloons and alphabets in various colors.DIY Birthday Card

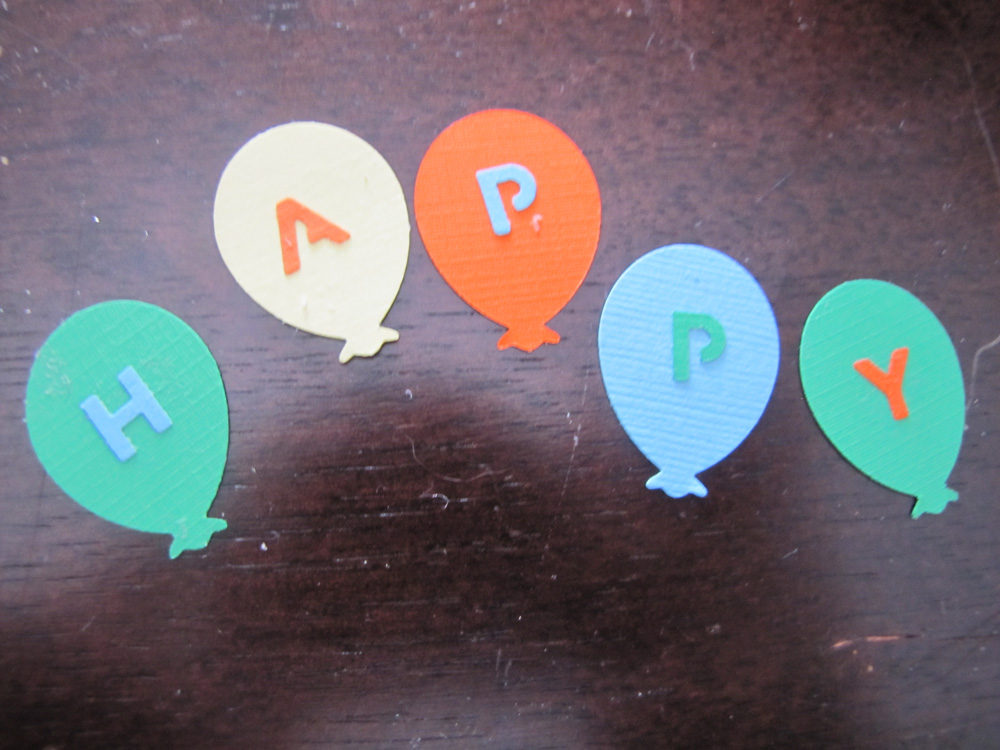
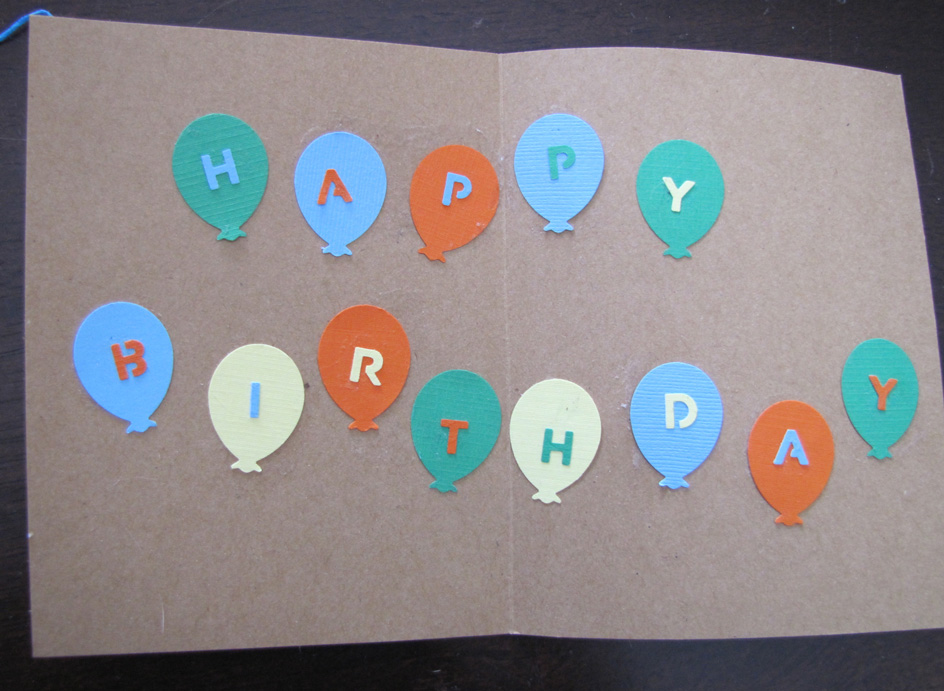
I glued HAPPY BIRTHDAY letters to the balloons in contrasting colors and glued them to the inside of the card.DIY Birthday Card

Next, I glued embroidery thread to the back of the balloons. This was trickier than I thought it would be. I couldn’t seem to get the string to stick. I tried super glue, mod podge, and finally a glue stick which oddly enough did the trick. However, I hate hate hate glue sticks, they are so messy! I tried to take pictures of this step but my fingers were so sticky that I decided to preserve my camera (and dignity). Once it dried I glued the balloons to the front of the card. Note: I only glued string to about half of the balloons so that I didn’t add to much bulk to the card but mostly because I hate glue sticks.

So that’s it, my first handmade birthday card… Lee was thrilled that the “HAPPY BIRTHDAY” balloons took up so much space because that left little room for writing. Men!IMG_2236

Little Packages – Felt Envelopes (feltelopes?)

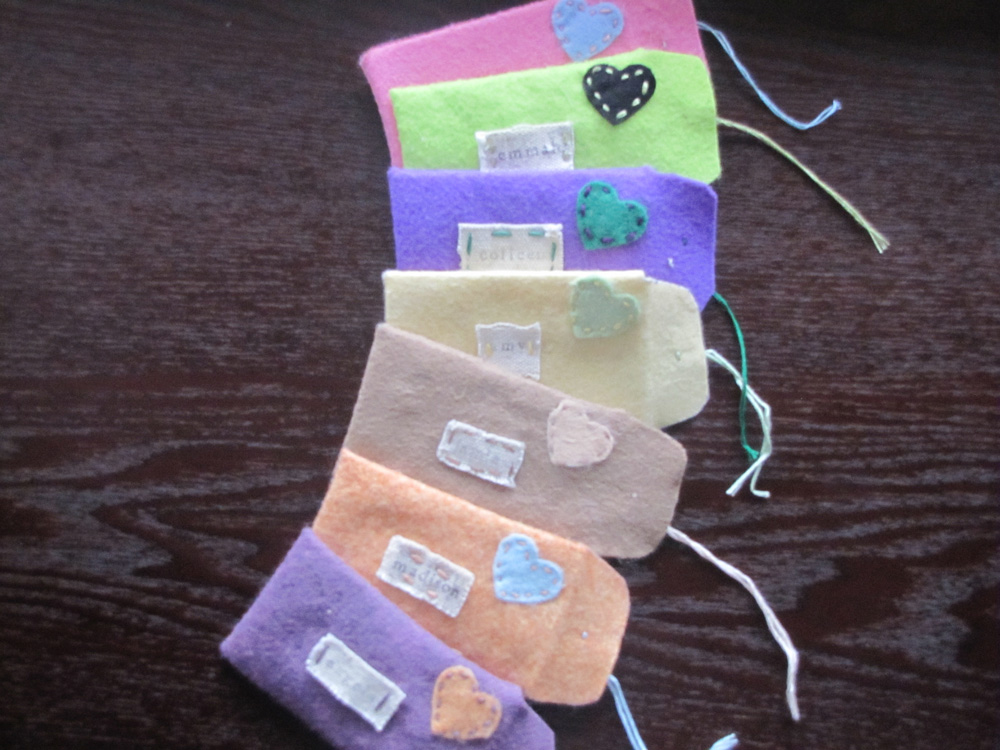
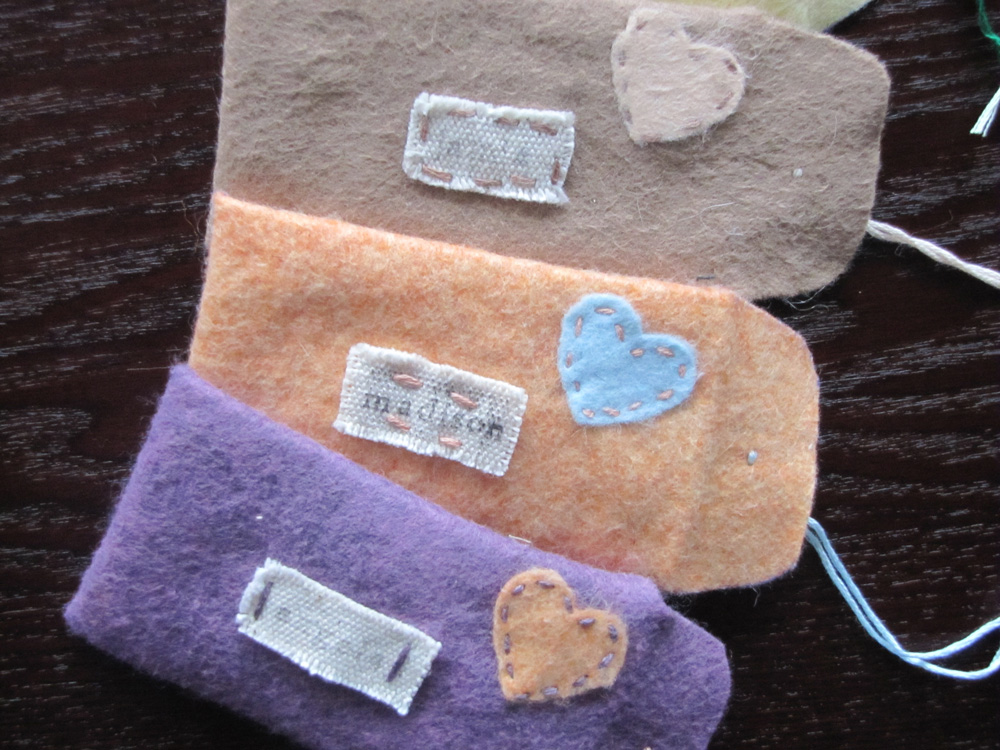
IMG_2148IMG_2150When I saw this project I knew I wanted to make about 450 of them! My finished project wasn’t as polished as Gail’s, the original creator, but I still love them and can’t wait to send them out to my friends and family…

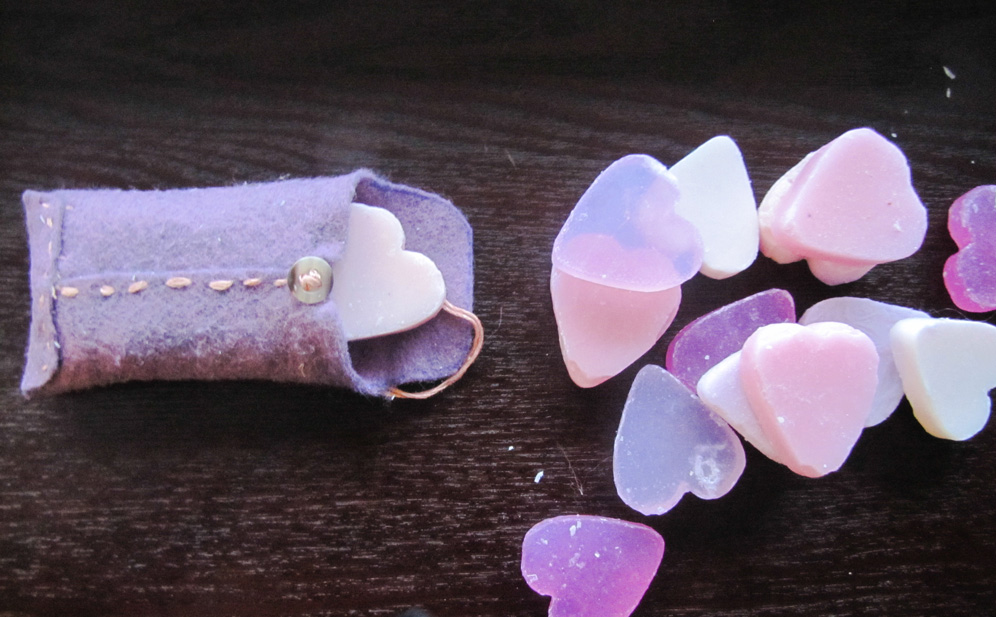
…especially with the little gift I put inside.IMG_2152-Edited

I used:
felt
embroidery thread
baby envelope template (purchase here)
canvas
Martha Stewart alphabet stamps
Martha Stewart heart craft punch
really big needle
scissors
iron

Felt
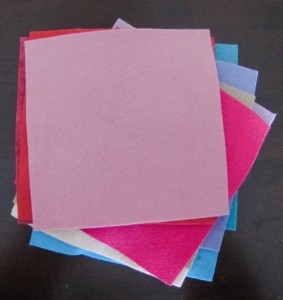
I learned a lot about felt making this project. The first thing you should know is that the felt you will find at Joann’s and Michaels is crap. You don’t want to use that felt for this project. It’s acryllic and almost transparent. You want wool felt or at least felt that has 20%-35% wool blend. Otherwise you will hate this project. I shopped online for my felt and from eBay. The price was great, the variety of colors was extensive and I got free shipping – which I couldn’t find at the other online felt stores.IMG_1983-Edited

Thread
Gail recommended embroidery thread in contrasting colors. Thankfully, I had a plethora of DMC Mouliné Spécial 25 Six Strand Embroidery thread left over from my cherry blossom blanket.IMG_2153

Prep Work

Heart
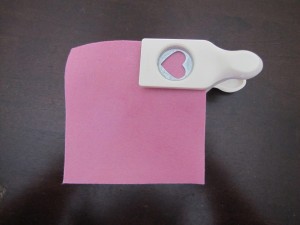
Once I got all of my supplies I spent about 5 hours deciding which color hearts to use with which flowers. Once I made the decision I started punching out the hearts. The Craft Punch is made for punching paper, the felt fits in but when you “punch”…you’re going to need to put your back into it!IMG_1986

Canvas Name Plate
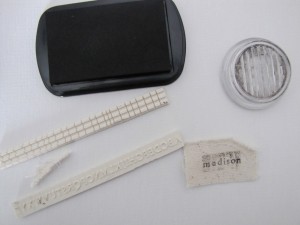
I bought some canvas at a craft store and the Martha Stewart Alphabet stamp set to make the name plates. I don’t know that much about canvas but the stuff that I bought had the consistency of string cheese and the stamp set was such a pain. I almost scrapped the whole name plate idea. I am definetely going to invest in a better alphabet stamp set soonIMG_2123-Edited

Baby Envelope Template
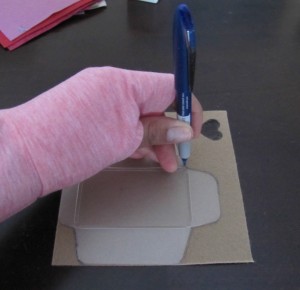
The Paper Source “baby” envelope template is made of thick plastic – measuring 2 1/8 inches by 3 1/2 inches. I traced the baby envelope onto the felt with a pen and then cut it out. My horrid cutting skills sure made each of these envelopes unique.IMG_1995-Edited

Seaming
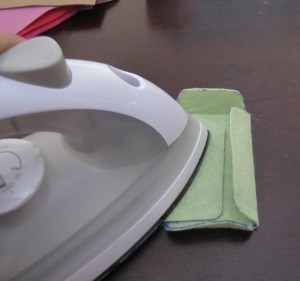
Gail recommended that before you sew the envelope together you use a iron to “seam” the folds. It helps with sewing your pieces together as well as the next step.IMG_1994-Edited

Sewing

Envelope Face
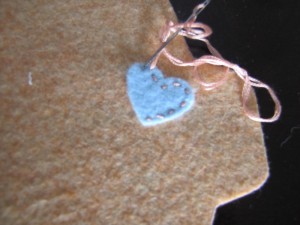
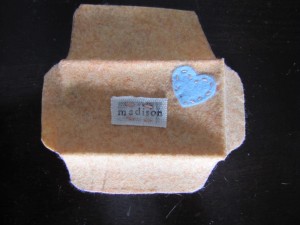
Next I sewed the heart and canvas name plates onto the face of the envelope. This was my favorite part of the process. I’m so glad I didn’t skip this step. The contrast stitching looks adorable.IMG_2130
As I mentioned above it helps if you do this after you “seamed” your folds because you will have a better idea where the heart and name tag goes.IMG_2133

Flaps
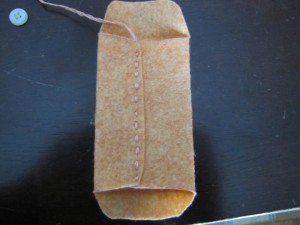
I don’t really have any tips on this. I try to stay mum on area’s where I – well I suck. But it should look something like this;IMG_2136

Button
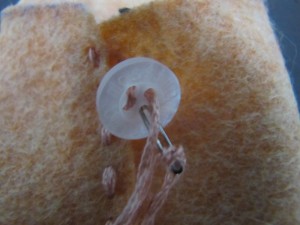
Any time my husband retires a dress shirt he cuts the buttons off, so I had plenty of extra buttons to use. Adds a little “fancy” right?? 🙂IMG_2138-2Tie-String

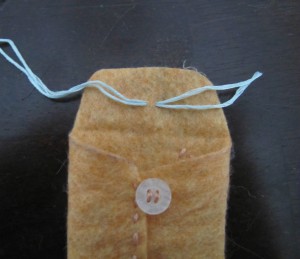
I folded the thread in half, slipped in through a needles and inserted it into the felt. then i drew the ends through the loop to make a slip knot thingy.IMG_2141-Edited


Add a Goodie
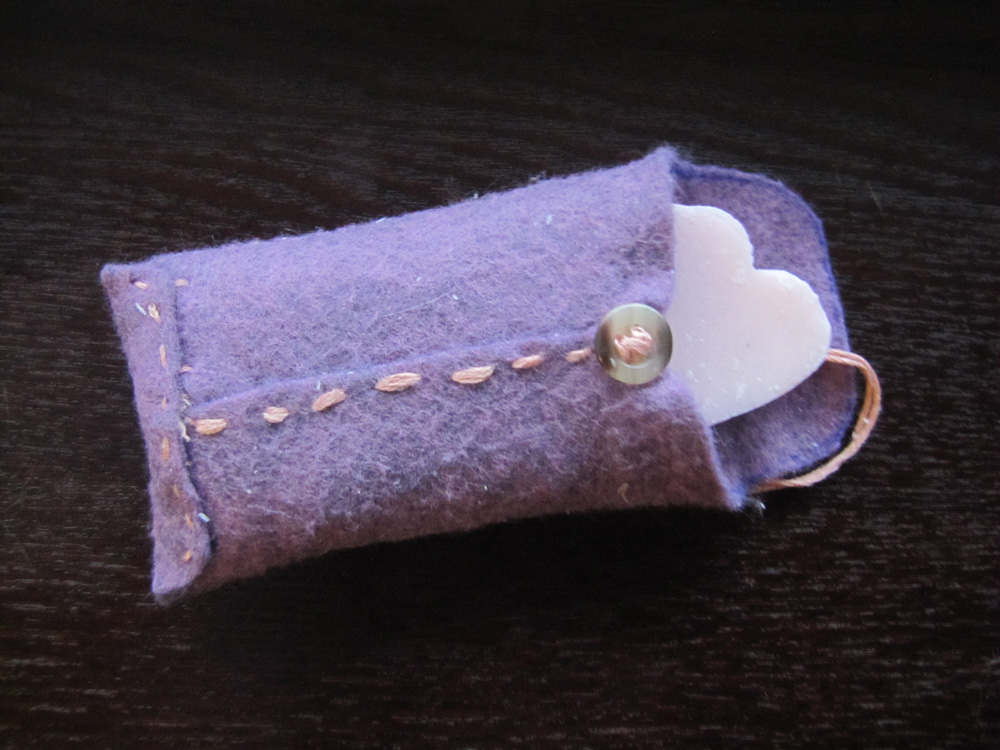
Gail put little cards inside, but I had my heart shaped soaps saved for this project. What did you fill your envelopes with?IMG_2151

DIY canvas art….sorta

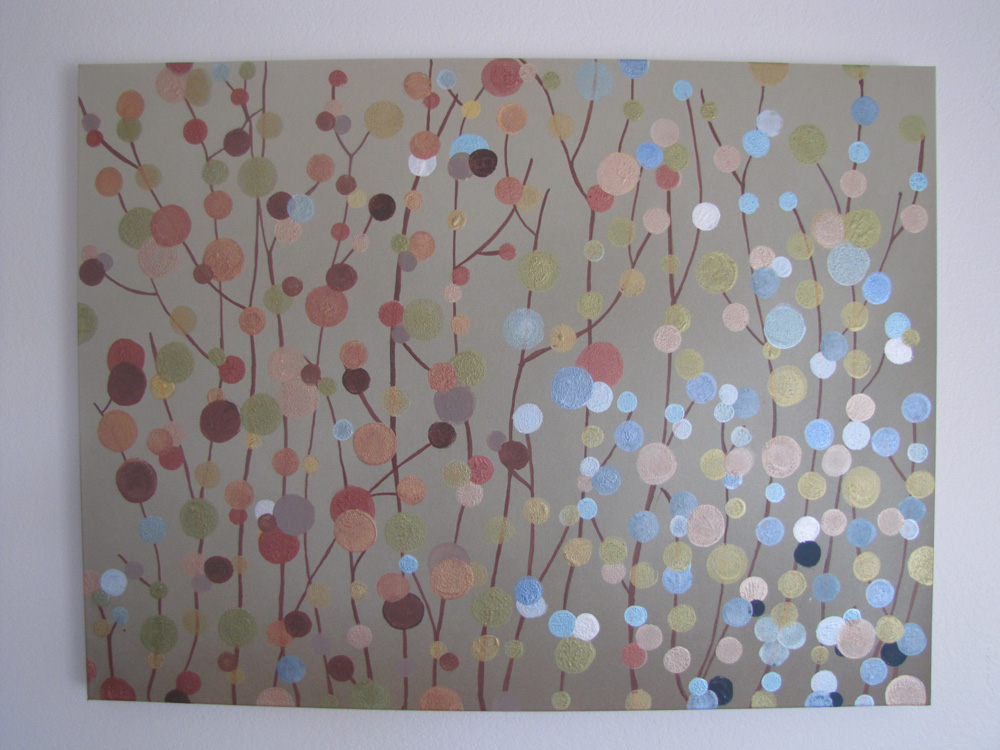
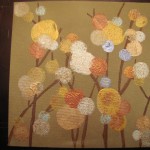
IMG_2211bigIMG_2209bigIMG_2063-Edited-2bigLately I’ve been staring at the walls in my house. I want to be one of those people who has interesting walls with fantastic art. But I have a budget and I am not really that good with decorating. My mother calls me “beige” and I suppose it’s true. When I saw this fantastic project on Pinterest I thought it was something even I, with my severely limited artistic ability could do and it seemed like something that would fit in with my tastes considering my love of neutral colors.

IMG_1668bigI love the piece above my couch but I haven’t been able to find something that I love just as much for the space above my TV, so it’s sat empty for over two years. I hoped this project would fill that space.

To make this be a tutorial it would be something like the blind, deaf, and dumb leading…someone who likely has more skill than me. So instead, I will just tell you what I did and hope it helps you not make the same mistakes.

The first step was the base coat of the canvas. I wanted it to have a ombre effect so I used about four coats of Rustoleums’ Almond Spray Paint and two coats of Design Masters’ Copper Fusion Spray Paint to get this look:IMG_1734big

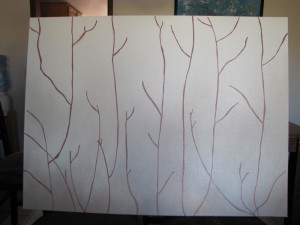
Next I needed to draw the branches. I did really well with this step.

Until…

I decided there was a space that could use a extra branch and for some reason instead of drawing another slightly flowing branch I drew a crazy straw branch. The more I tried to fix it the worse it got until the crazy straw branch looked like a thick crazy tree trunk dominating the left side of the canvas. I tried to ignore it but it was a wild and CRAZY branch! So I had to start the spray painting process over again.IMG_1736big

I tried to spray paint over my big mistake but I could see it underneath the spray paint like Poe’s tell-tale heart mocking my attempt to fill the gaping hole above my TV. Eventually, I had to admit defeat and buy another canvas which made me very cranky. It seems to be a recurring theme with these projects; they start out inexpensive and then slowly but steadily get more and more costly. I’ve convinced myself I will be able to use primer paint to save the canvas but that’s for another day. Anyway, new canvas, spray paint, and branches and finally it was time to start painting the dots. By now I was a nervous wreck so I went about the next step very very slowly.

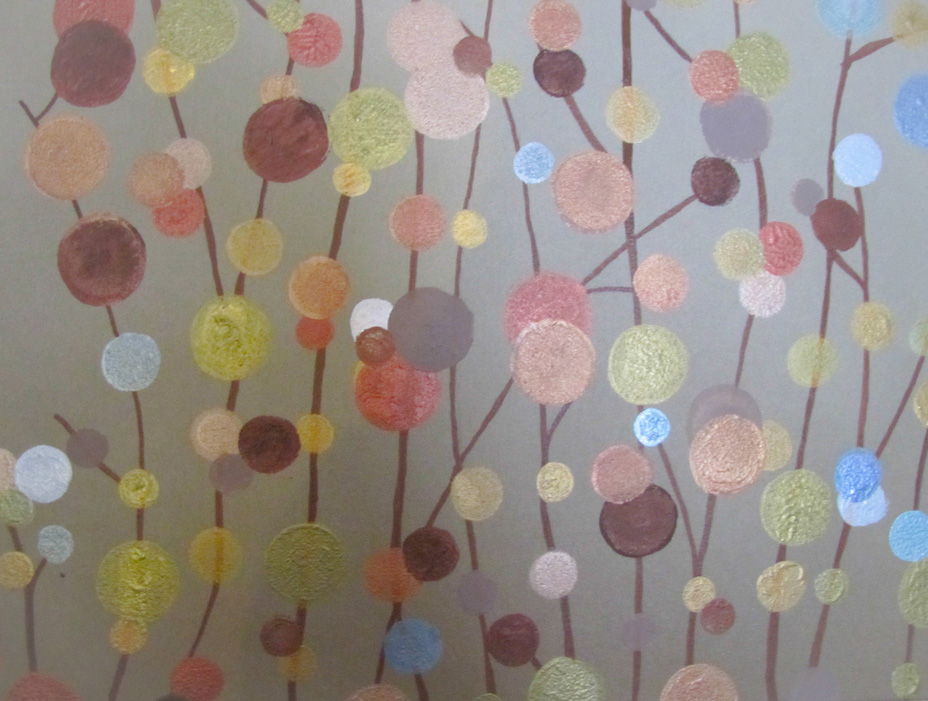
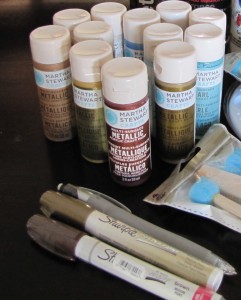
IMG_1681 EditedI used the Martha Stewart Acrylic Pearl and Metallic Paint Set which came with 10 colors – Mint Chip, Aquarium, Jet Stream, Eclipse, Pink Taffeta, Fruit Punch, Tiger Lily, Yellow Gold, Gold, and Sterling. I also bought a few extras – Gazing Ball, Cornflower, Citrine Gold, Mother of Pearl, Rose Gold, and Rust. I used the Sharpie oil based paint pen and a brown Crayola colored pencil to draw the branches and three packs of sponge brushes to make my dots – the sponge brushes come in three sizes. Even with the three packs, I had to constantly rinse out the sponge brushes, wait for them to dry and reuse them with different colors. This was very annoying. However the packs were $5 each and I was determined to stay within some semblance of a budget. I suppose in a way it did help me pace myself and not go too fast which helped me avoid getting sloppy or hurried, but nobody likes rinsing out sponge brushes, let alone 15 times a day over the course of a three day project. I suppose what I’m saying is that if a budget is not an issue for you, buy lots of brushes.

Anyway, I was a nervous wreck because I had an idea of what my dots were going to look like and it was not good. One thing I have not mentioned is that I made practice canvas’s along the way. When I say that I lack artistic ability I am not joking. These were smaller cheaper canvas’s that I used to practice spray painting, drawing branches and finally the painting. I would say that up until the painting step I had felt ok – no encouraged by the results of the practice canvas’s… but when I tried my painting skills on the practice canvas…It looked like something you found at an estate sale of somebody who stopped shopping in the early 70’s. It also didn’t help that when my husband came home from work and saw the practice canvas…. well, he didn’t dissuade me of that opinion.

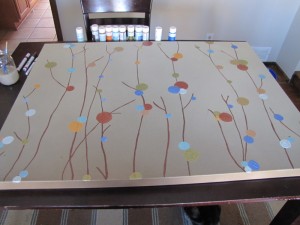
It took me about three days to paint the whole canvas. Originally I planned to just fill the canvas with random colors everywhere.IMG_1979big

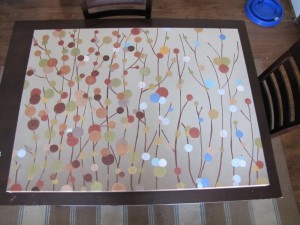
After the first day I noticed that even if I painted dots all over the branches that I’d drawn, it would have big gaps. So I filled in the empty spaces with more branches. I also decided that it would look better If instead of random colors everywhere, I placed the colors in a more balanced setting – Browns and golds on the left side and teals and blues on the right side. I also experimented with mixing some of the colors together so I would have more variety.DIY Canvas Sponge Art

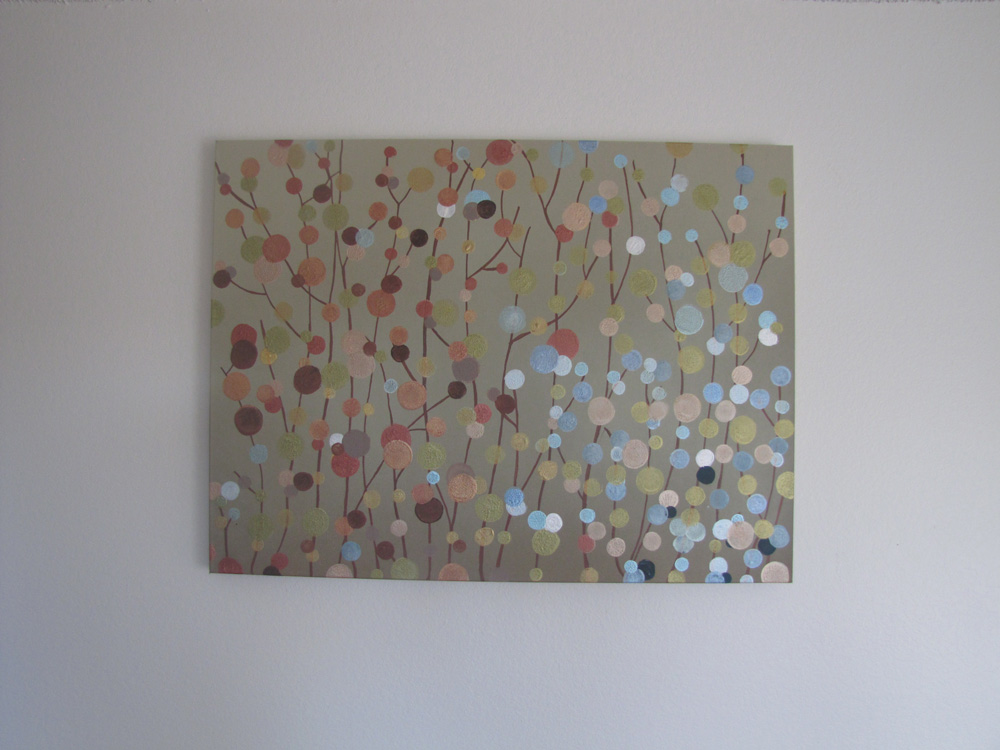
Finally I used the green as the main color through the whole canvas to draw the whole picture together. Again I stress that I am not an artist so this may look like crazy sauce but I like it and really, who gets to say what is art…right?

So that’s it… I think it looks pretty good. Oh and in case 70’s estate art is your thing…IMG_2081big

Crochet Flower Fabric Rug For Mom

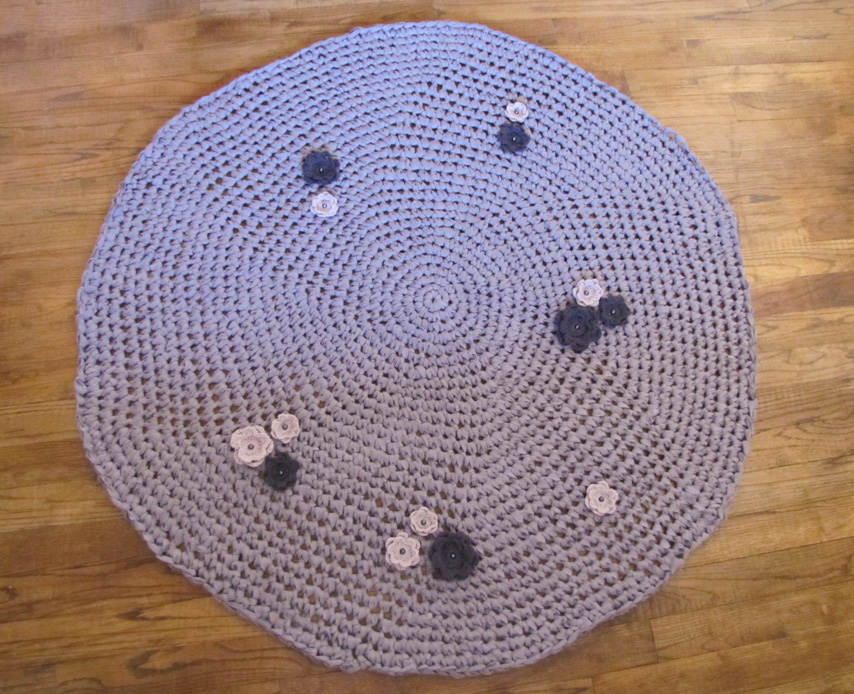
Crochet Flower Fabric RugCrochet Flower Fabric RugCrochet Flower Fabric RugThis rug was one of the first projects I found on Pinterest. It is a relatively simple project. The only skills you really need are basic crochet skills and a lot of patience. Preparing your fabric can take twice as much time as crocheting the rug.

Make “yarn” out of fabric:

There are two ways to do this. The tortuous way (the slip knot method) and the preferred way (the t-shirt yarn method). Previously, I would use the t-shirt method for pillow cases or duvets and the slip stitch method for sheets, curtains, and other fabrics. I do not like the slip stitch method. It can leave lumps and “tags” in your finished projects which can become loose over time and more importantly, it is the BIGGEST pain knotting them together. This is the process that prompted me to ask for a sewing machine for Christmas.

I considered including a tutorial for the torturous way, but A. I hate it and B. Gillian at Ecletic Me, explains it way better in her fantastic blog post (and with pictures).

My favorite way is also used to make t-shirt yarn. So if you decide to make your rug out of stocked up t-shirts you only need to modify this pattern slightly by incorporating the tube theory by cutting off the upper half of the shirt (underneath the armpits).

I used 30 yards of fabric/48 inches wide to make the rug. Assuming you are starting with the same measurements, the first thing you want to do is cut your fabric into 10 yard lengths. The best way to do this is to ask the craft store to cut it this way for you as they have a long table and sharp scissors. However, if you order it online as I did you can use a yard stick, fold it in thirds, or if you have a really long house lay it out and cut it. I did not do this. I am so anti slip knot that I tried to make my fabric one long 30 yard loop. DO NOT DO THIS. YOU WILL BE SORRY.

If you do not have a sewing machine, do not have a friend who has a sewing machine, or are not (cringe) sewing by hand and have opted to use the slip knot method skip to “Crochet your Rug”

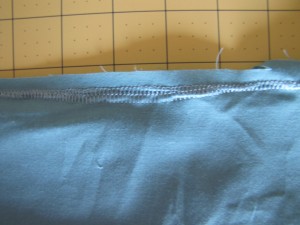
Once you have your 10 yard piece you need to make the fabric into a loop. To do this take the end pieces of the fabric and sew it together. I went back over my fabric twice with the sewing machine to reinforce the stitches.Crochet Flower Fabric Rug
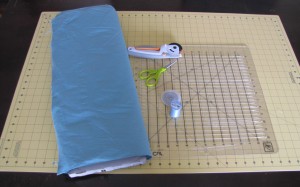
All you really need are scissors and a ruler to cut your fabric. I am the sloppiest cutter ever. I use a rotary cutter, rotary mat and a shape cut to keep me from going crazy with the rotary cutter. Even when I try and use this wide variation of tools which basically amounts to crafting training wheels, I still somehow manage to get a snake after a meal look to my fabric strips every once in awhile.IMG_1774-Edited
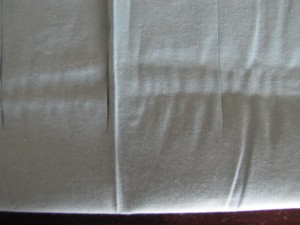
What’s most important in this process is that when you get to the top of your fabric you leave a inch to 1.5 inch area margin uncut. (see picture) It is important that you do not cut through the end of the fabric. If you do, visit the split knot blog for instructions on how to tie your strips together.IMG_1783
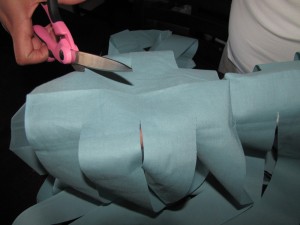
Once you’ve finished cutting your fabric, slid your arm, husband’s arm or some handy PVC pipe inside the fabric. Cut diagonally from the first strip to second strip on the other side.
IMG_1822

Continue cutting diagonally across the strips until you get to the end of the fabric.IMG_1835-Edited
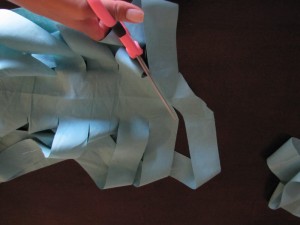
This step took me a really long time to figure out, I had to stare at the fabric forever and read the instructions over and over again before I made the first cut, IF you did this right you will have a really long 2 inch wide length of fabric yarn. Roll up your basket ball sized skein of fabric yarn and start on your next 10 yards of fabric (or you can crochet what you have and then slice up your next batch later).

Crochet the Rug:

There are two forms that I have tried for the crotchet rug, the basic circle and the octagon. I found that making a “perfect circle” is – at least for me – challenging. My circle always seems to resemble mans’ first wheel invention. I have searched the web looking for blogs or info that may shed some light on what I’m doing wrong but I can’t find what it is. My stitch count is perfect (I know this because I have counted it after every row). It may be my issues with tension. I tend to knit/crochet very tightly so I will make an effort in the beginning to be loose and fluid but inevitably I’m always back to my old habits. I think I may be a bi-polar knitter/crotchet and unfortunately it’s reflected in my circles.  Whereas the octagon which is almost the exact same pattern comes out without any curious angles or sides. You may not experience the same frustration as I did. However, I have noticed from some of the pictures of circular rugs that other people have posted online, that they are experiencing the same challenges making circles, so you may feel more comfortable starting with the octagon shape as well. Who knows?

As I mentioned this is a very easy pattern, the only challenge that I had was keeping track of the stitches and repeats. Regardless of which pattern you choose, I recommend that you use stitch markers. I use a key chain to mark the beginning of the round stitch and bobby pins to mark the beginning of each stitch increase.IMG_1739
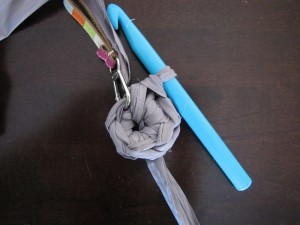
I used the circle rug pattern for this rug. The pattern can be found here. This rug took me about 15 hours to finish. I was able to complete 27 rounds before I ran out of fabric which made the rug a little over 5 feet in diameter. I felt that at this size the rug was too big and looks a bit ridiculous. (picture below is 4 foot rug size).IMG_1752
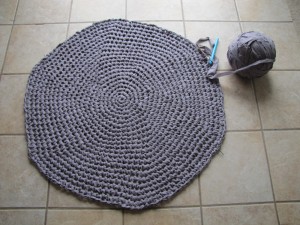
I was curious to see how much I could get out of 30 yards. I think that a rug with crochet flowers should be a accent piece. However, at this size, at least in the three rooms I tried to photograph it in, it looked big and cumbersome. I suppose it would be cute in a nursery or child’s room.

I know that 20 rounds will make a rug that is approximately 4 feet in diameter. IMG_17531
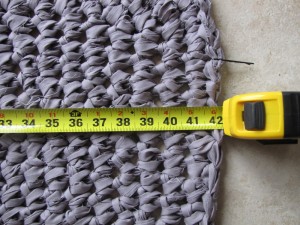
I’m just not sure how much fabric is needed for 20 rounds. You might think it would be 10 yards less, but keep in mind each round is increasing and you are using more and more fabric as well so I really don’t know. I am currently making a rug with measured strips to see how much fabric I need to get a rug with the shortened length so I know exactly how much fabric to buy in the future.

Embellish the Rug:

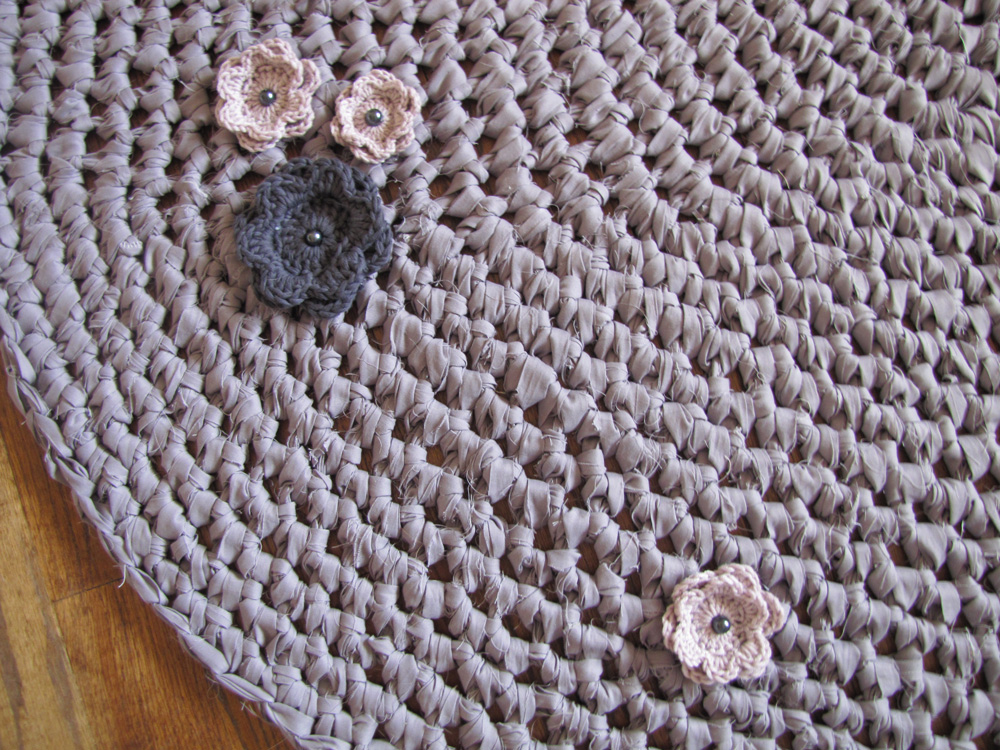
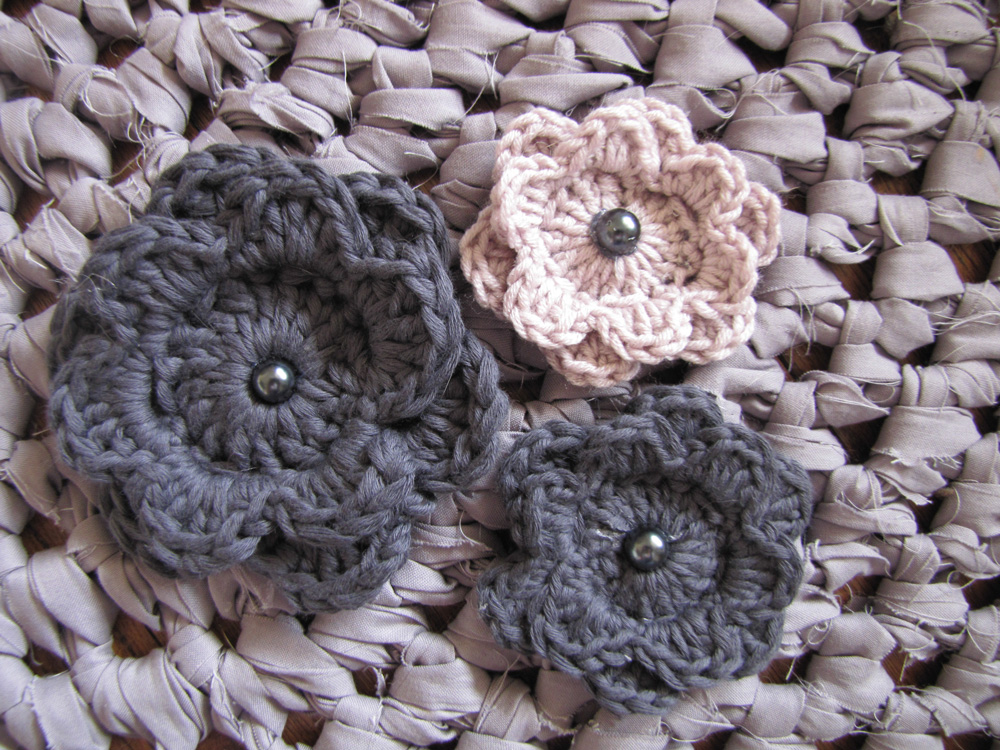
I experimented with about 10 different crochet flowers before I chose the 3D crochet flower pattern.

I acknowledge that it may not be the most practical looking but I loved how it looked once it was finished. The only change I made was that I bound off after row 6 so the flowers weren’t quite so high. I used varying size hooks between D and K for the flowers, for the larger ones I doubled the yarn.IMG_1907
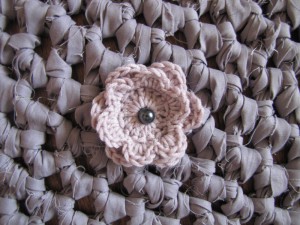
I used glass jewelry beads for the embellishments. I liked these because they had holes for wire or string and I used the holes to sew the pearls into the flowers and then sewed the flowers to the rug. I also used a glue gun for added reinforcement since these will be stepped on and the threads might break over time.IMG_18161
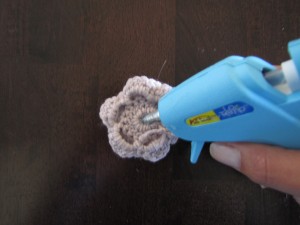
It wasn’t until after I was looking at the rug that I considered what glass pearls might feel like underneath bare feet (as this was a giant rug that would most likely monopolize a room). Not quite like stepping on a thumb tack, but definitely not the best feeling. Unfortunately the glue gun really worked cause those pearls are sure stuck in there! Sorry Mom 🙁
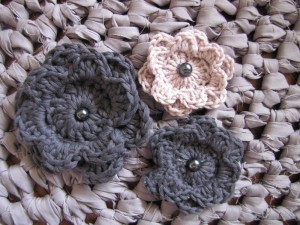
Crochet Flower Fabric Rug

Originally my mother asked for a purple and green rug. Although the fabric that I ordered appeared to be a very deep vibrant purple, you can clearly see that it is not what I received. 95% of the time I think it’s grey. Thankfully, she responded positively to the photos I sent to her of the fabric. She did however, ask for black flowers. I tried. I really did. I tried very hard to give her black flowers but they looked like dead baby crows or dehydrated dog poo that everybody had stepped over pretending they hadn’t seen it, hoping that someone else would pick it up until it became hard black dried crochet flowers.
I even sent her a picture and asked her “do you like this?” I did not receive a reply so I made an emergency veto and went with blue and purple flowers. Hopefully she will find a place for a custom oversized not so purple rug with dark blue and lilac flowers.